
Do you’ve gotten a command or a collection of tasks you execute perpetually or over and over on your Mac (I.e., Convert .jpg to .png, or convert bureaucracy to pdf, and lots of others.)?
How about creating the movement, together with it to the right-click context menu, and executing them on the fly?
In this submit, I’ll show you tactics to check out this exactly. The problems we’re going to quilt are:
- Learn how to create a customized motion within the Context Menu,
- Learn how to upload a shortcut key to the customized motion, and after all
- Learn how to in finding and delete the created customized motion.
.no-js #ref-block-post-3896 .ref-block__thumbnail { background-image: url(“https://assets.hongkiat.com/uploads/thumbs/250&instances;160/100-free-useful-applications-for-mac-part-i.jpg”); }
Custom designed Movement: Change Area with Dash
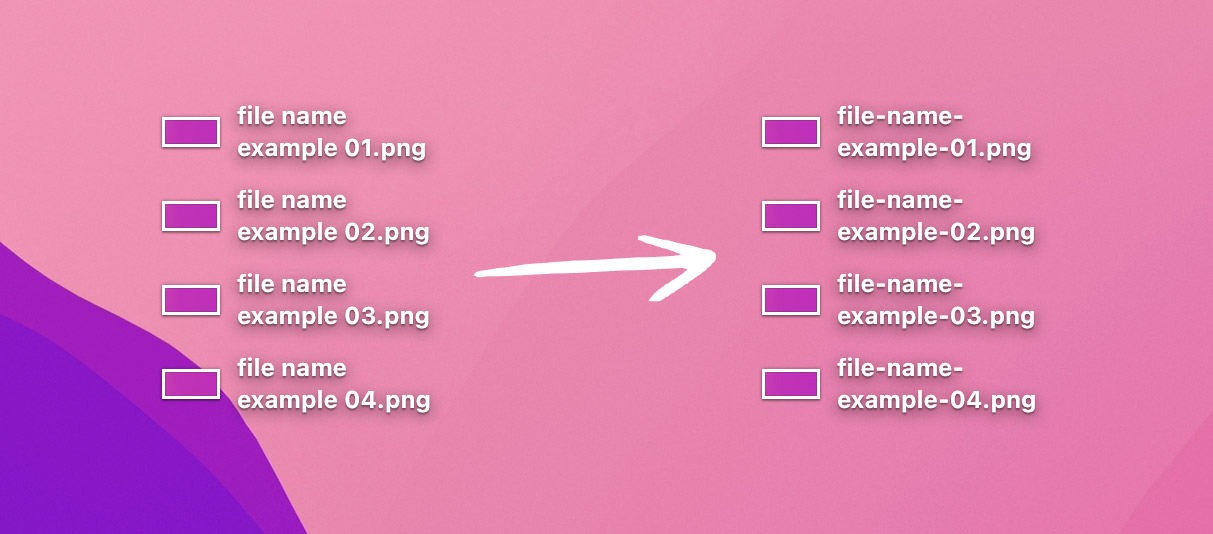
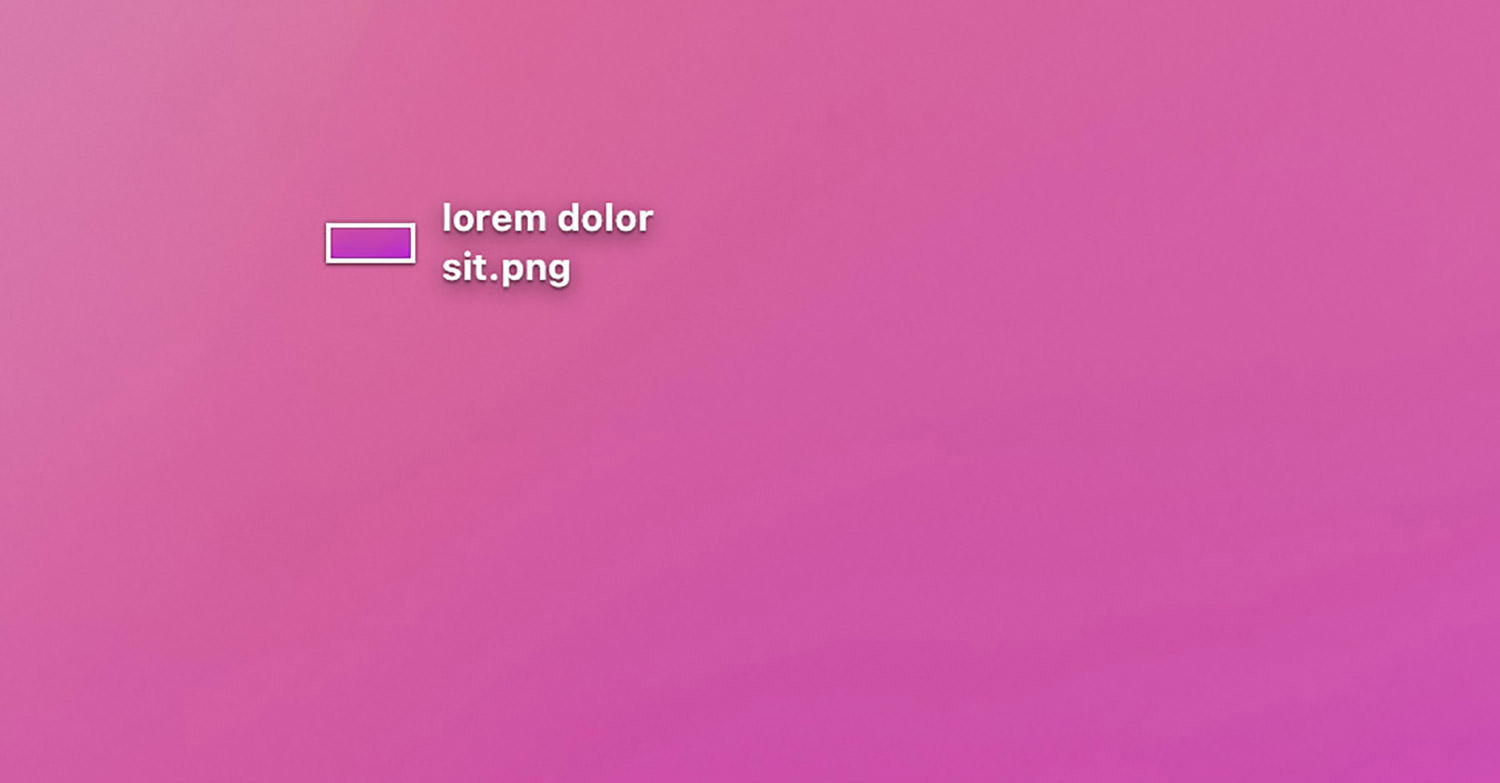
For instance for this tutorial, we will create a custom designed movement that replaces spaces in a filename (Example: lorem ipsum dolor.jpg) with dashes (Example: lorem-ipsum-dolor.jpg).
To execute the command, you merely need to make a choice the file (or data), right-click, and select the custom designed movement created.
Let’s get started.
1. Create Custom designed Movement in Context Menu
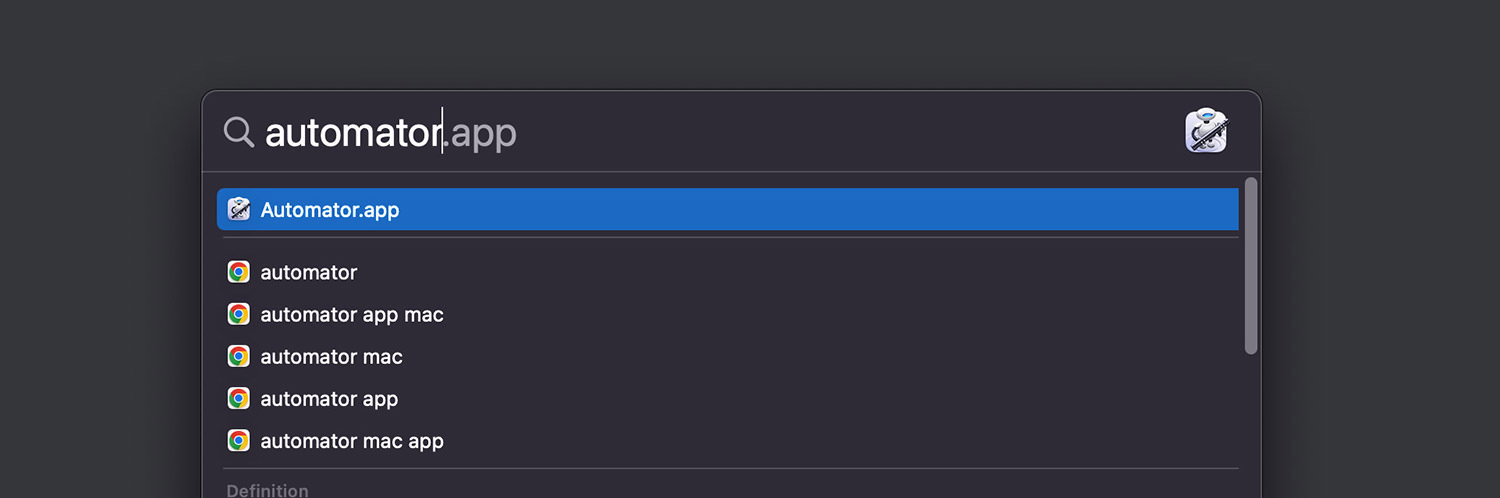
- Unlock Automator app. You’ll each do a quick Spotlight search for Automator, or find the app within Macintosh HD > Systems > Automator.app.
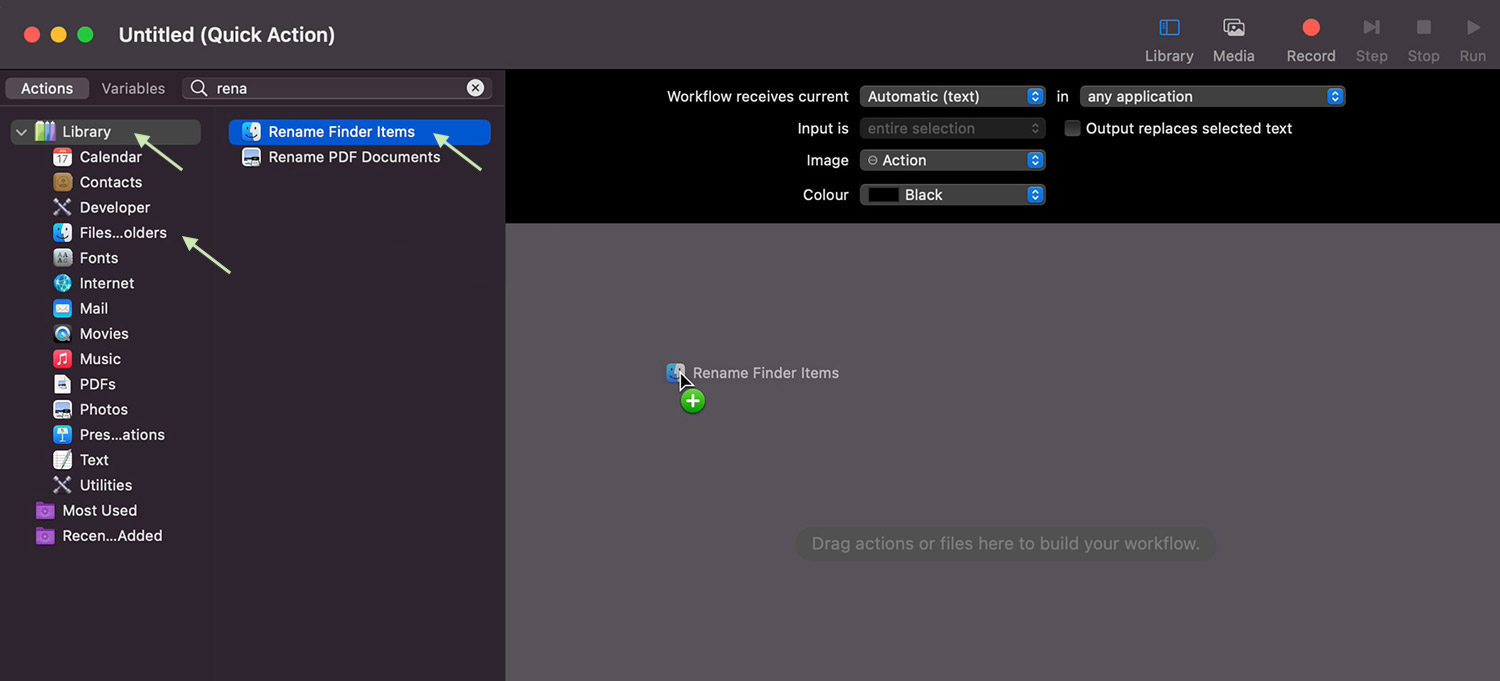
- Make a selection Rapid Movement in Automator app.
- Search for “Rename Finder Products” inside the search box, then drag it to the correct panel. You’ll moreover find it under Library > Knowledge and Folders on the left panel.
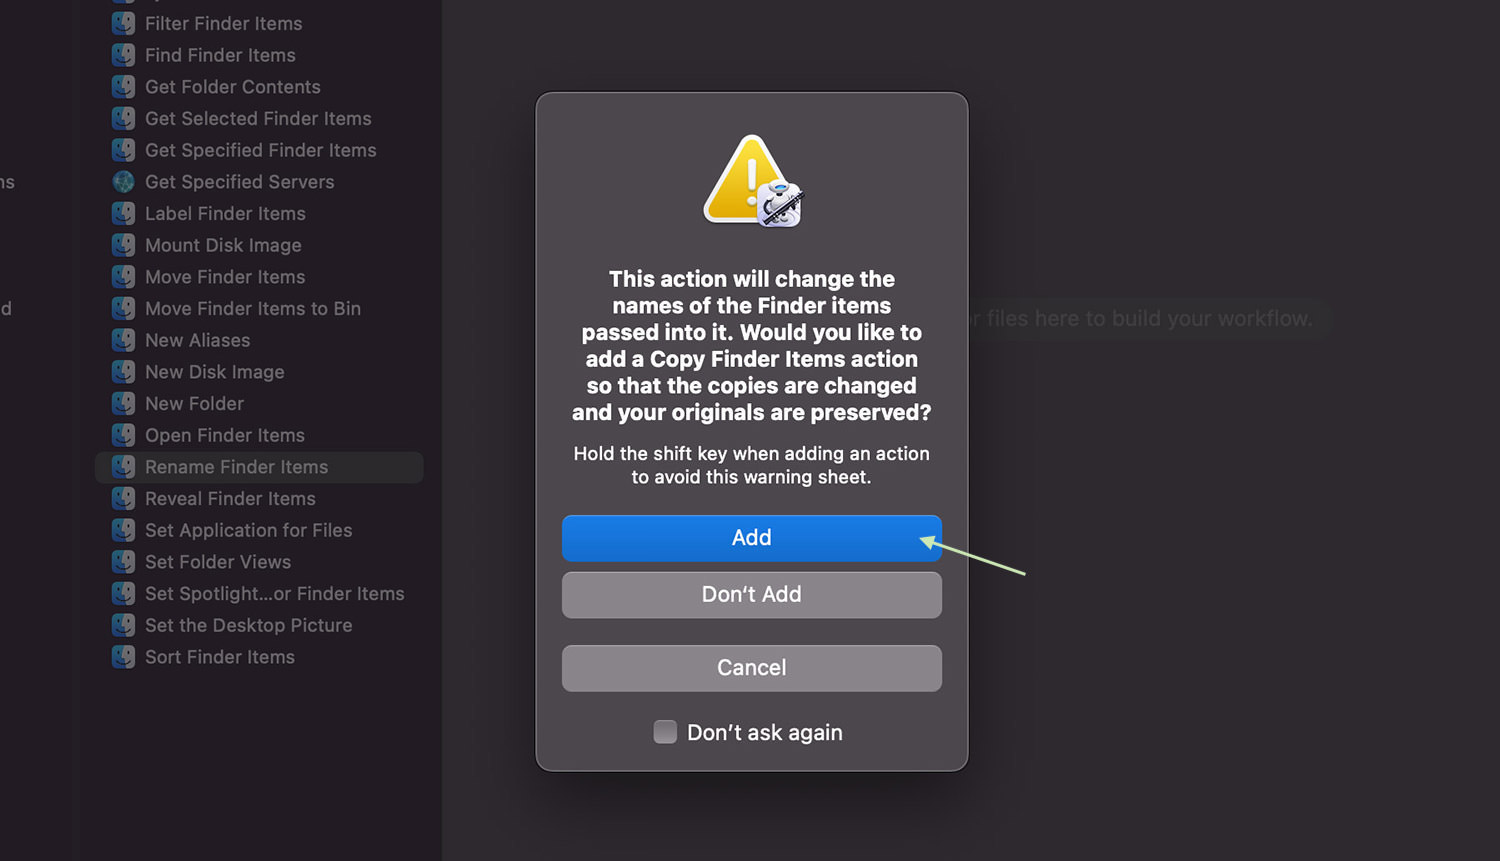
- Click on on “Add” if this dialogue pops up.
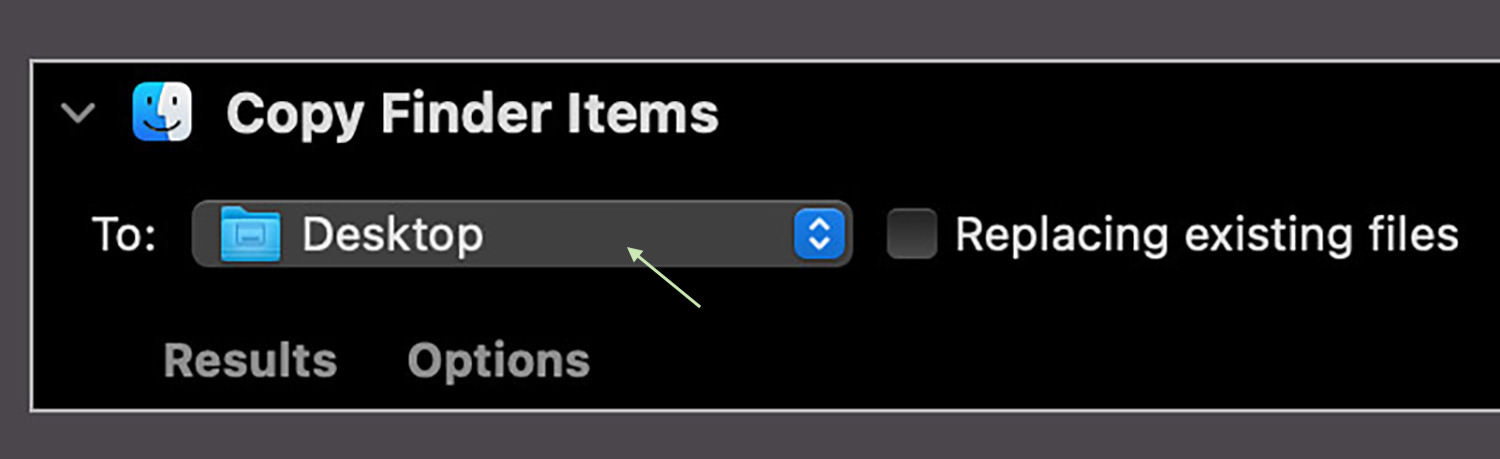
- In “To” under Replica Finder Items, select the location you want the output to be saved. Check “Converting present data” if you want to have your output to switch any present products.
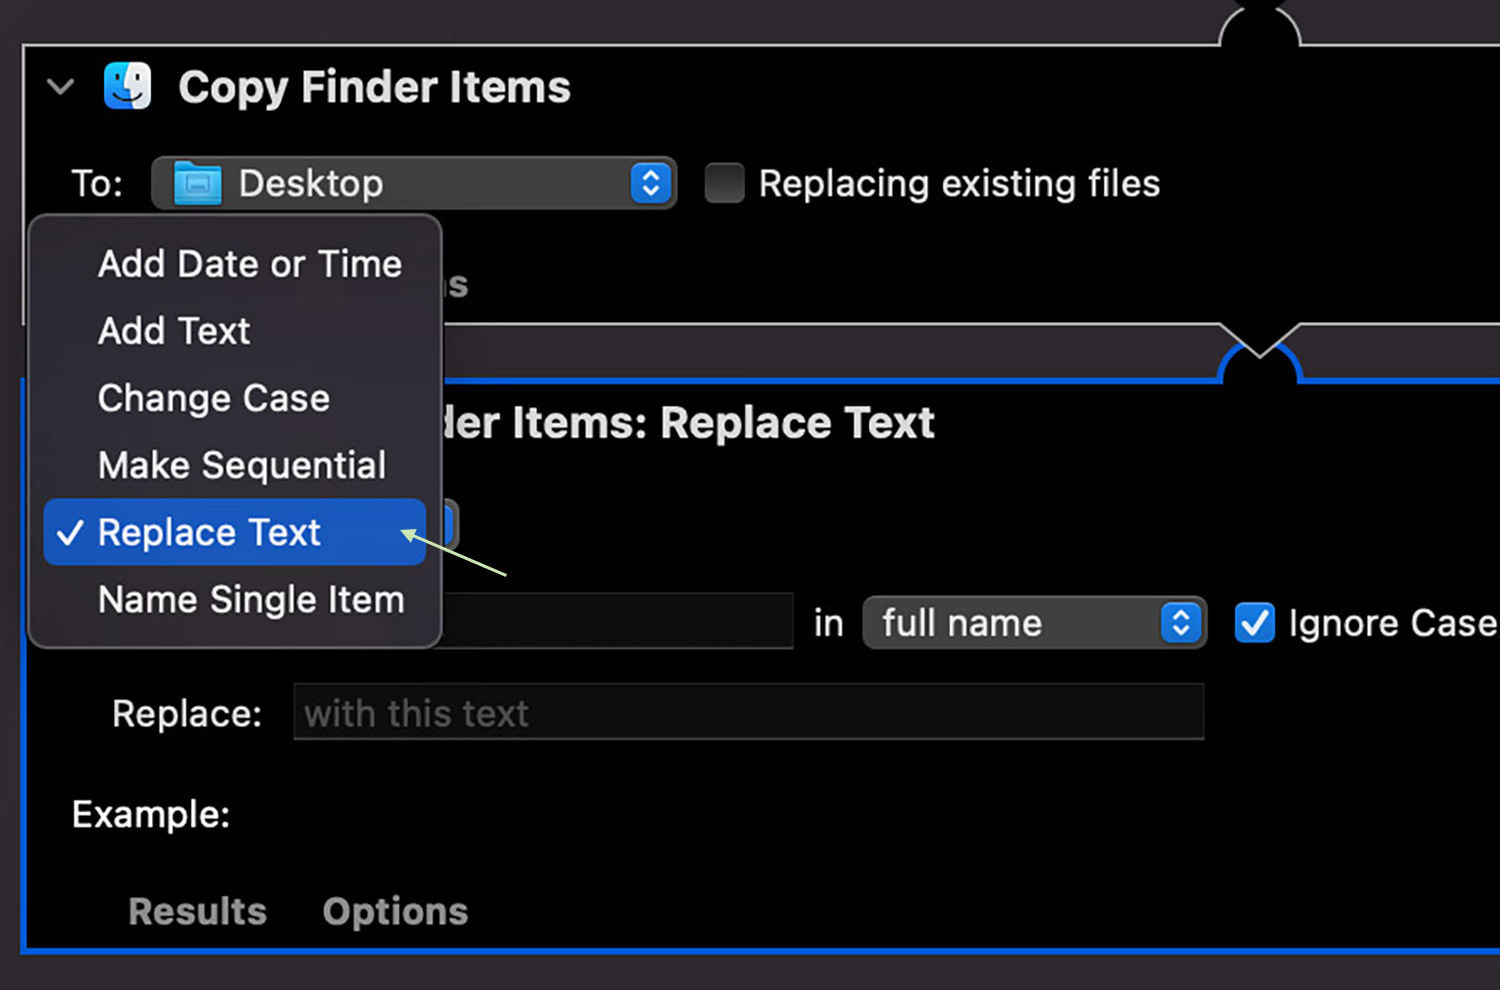
- Change “Add Date or Time” with “Change Text” in “Rename Finder Items:“.
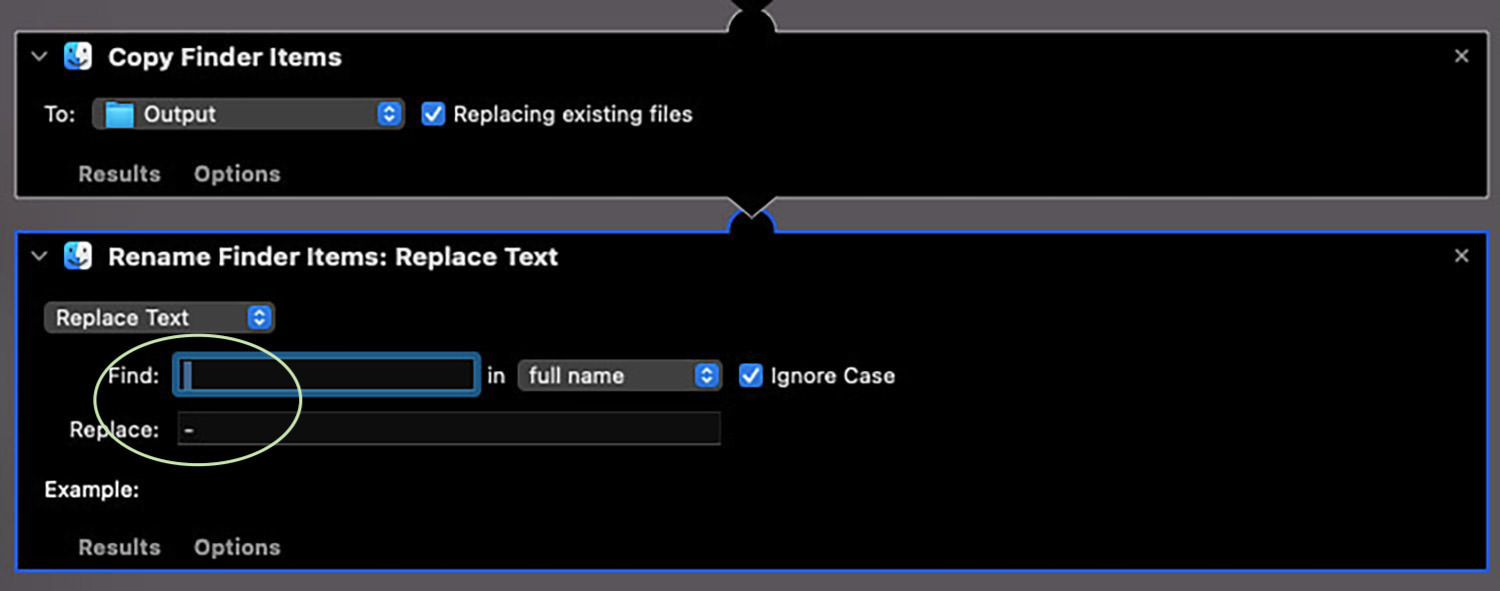
- In “To seek out:“, hit space key once to add a space, and in “Change:“, add a dash (-).
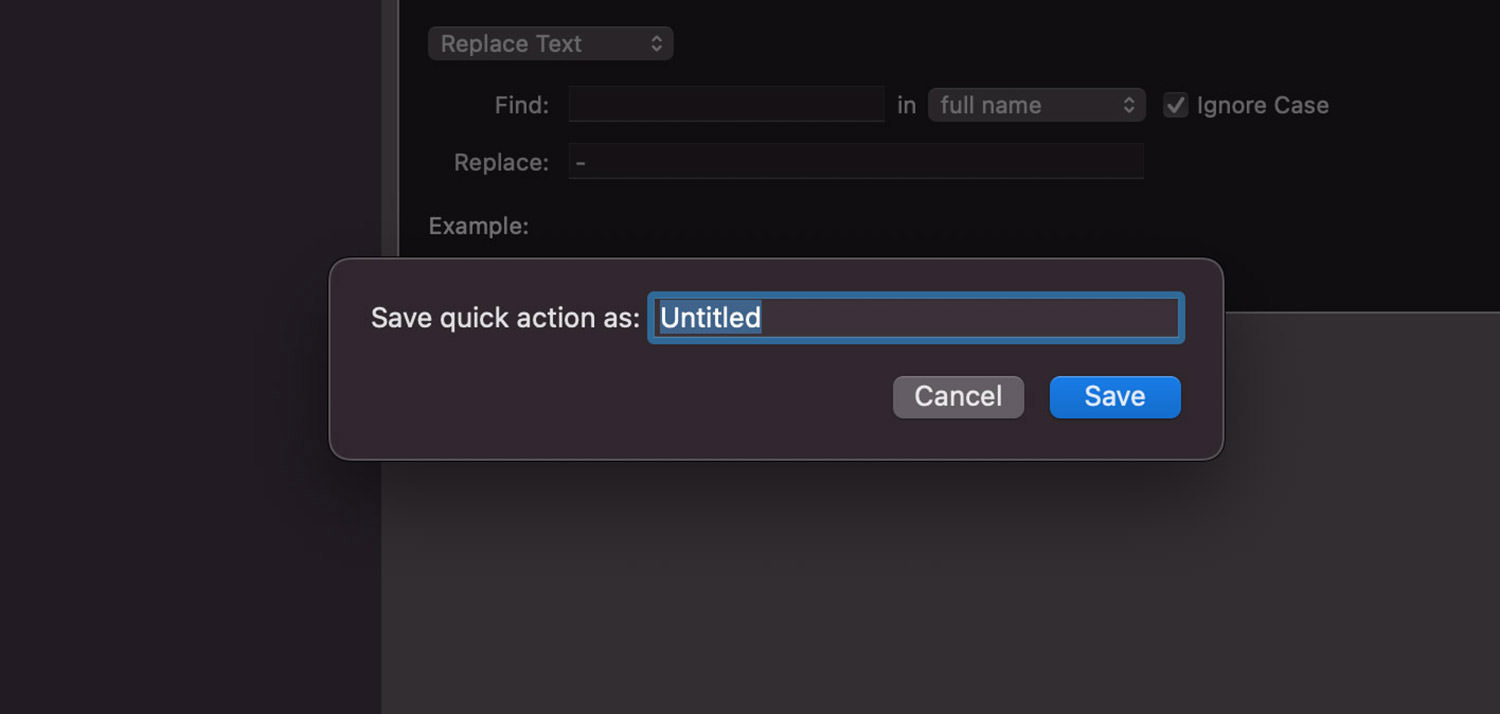
- Now, you will need to save the short movement created. Go to File > Save, give it a name, then click on on Save. For this tutorial, we will identify it – Change Area with Dash.

That’s it! A Rapid Movement named Change Area with Dash has been successfully created.
Test the Custom designed Movement
Now, let’s check out it to appear if it actually works.
- Create a file on your Desktop. It can be an image or any report construction.
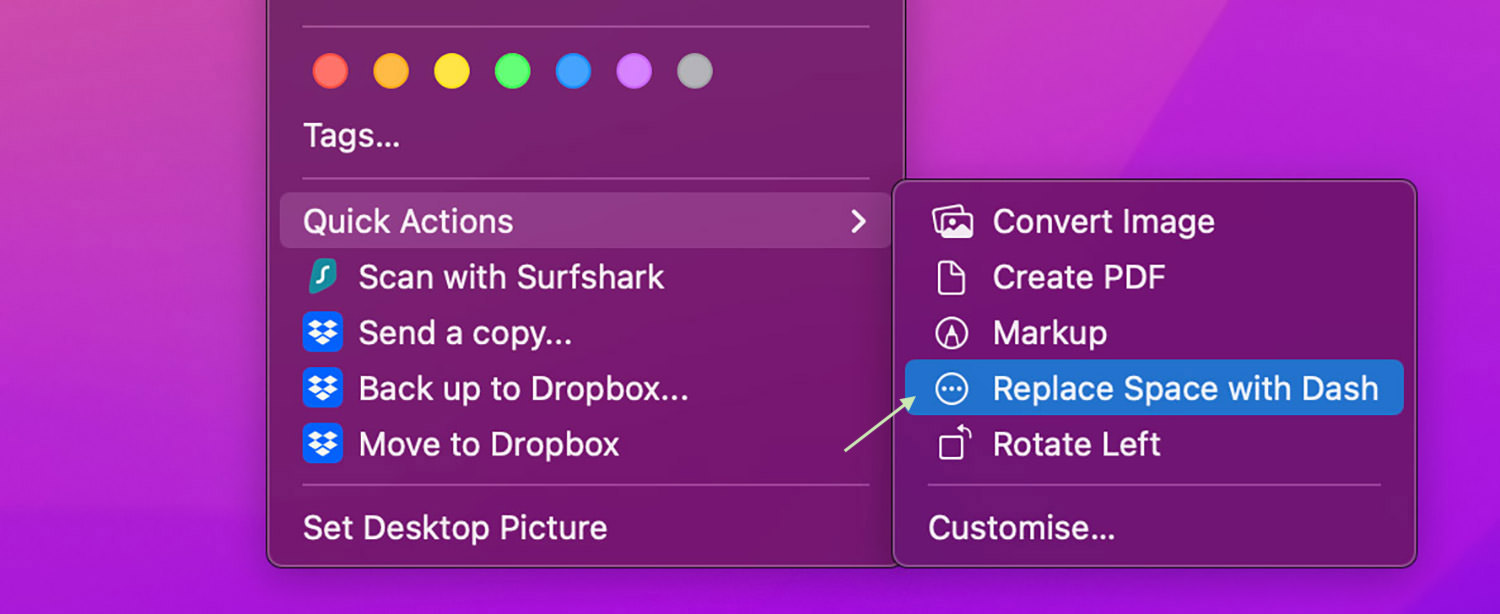
- Left click on on once to make a choice it, then suitable click on directly to get right of entry to the context menu.
- Navigate to “Rapid Actions” and select “Change Area with Dash“.
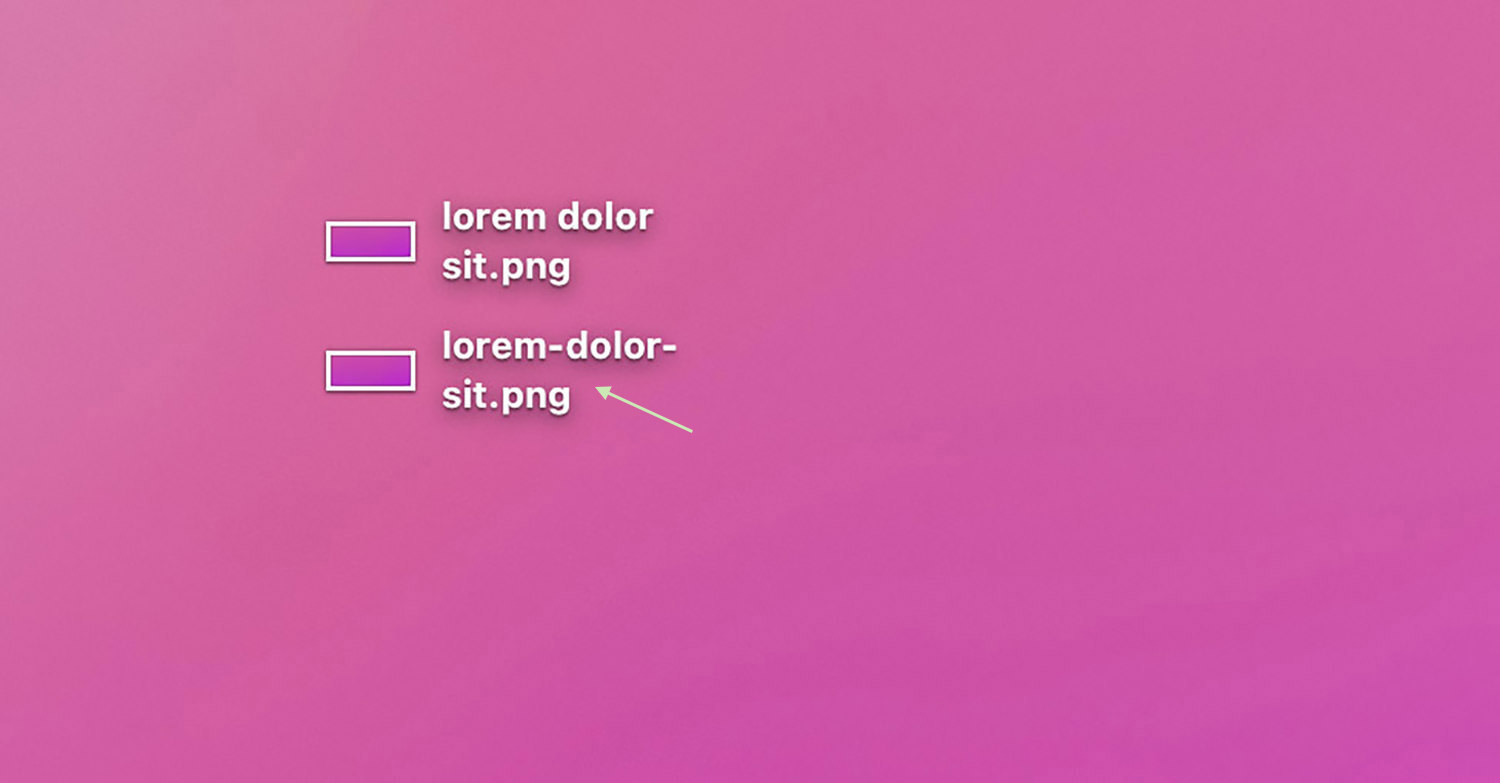
- Check the newly created file. Spaces in its filename should be replaced with dashes.
2. Create Keyboard Shortcut for Custom designed Movement
You’ll moreover create a keyboard shortcut for this movement, making executing it even faster! To create a keyboard shortcut, do the following:
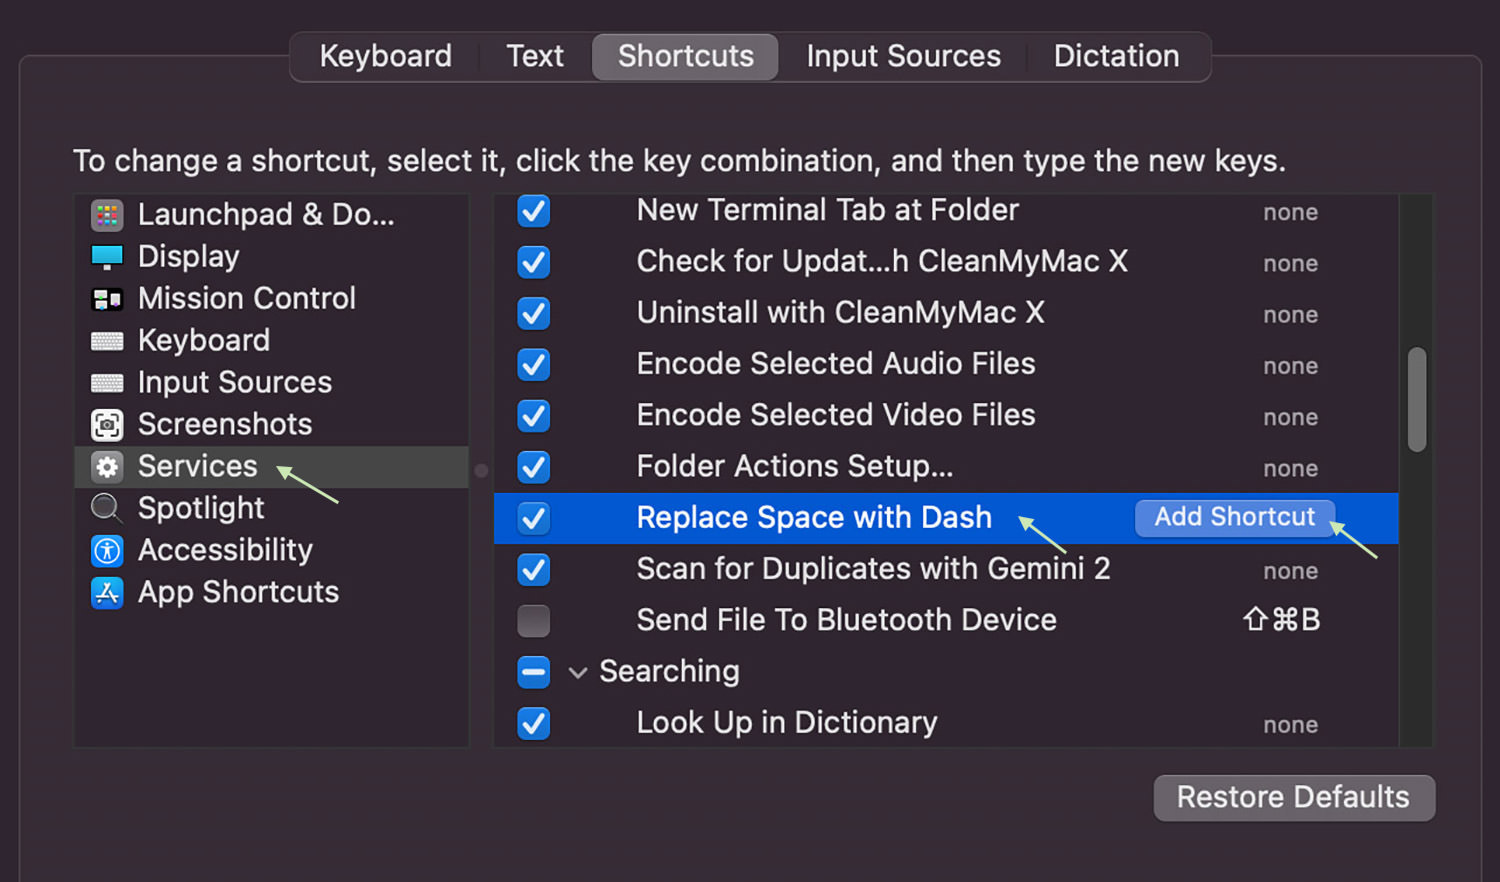
- Go to Apple > System Preferences.
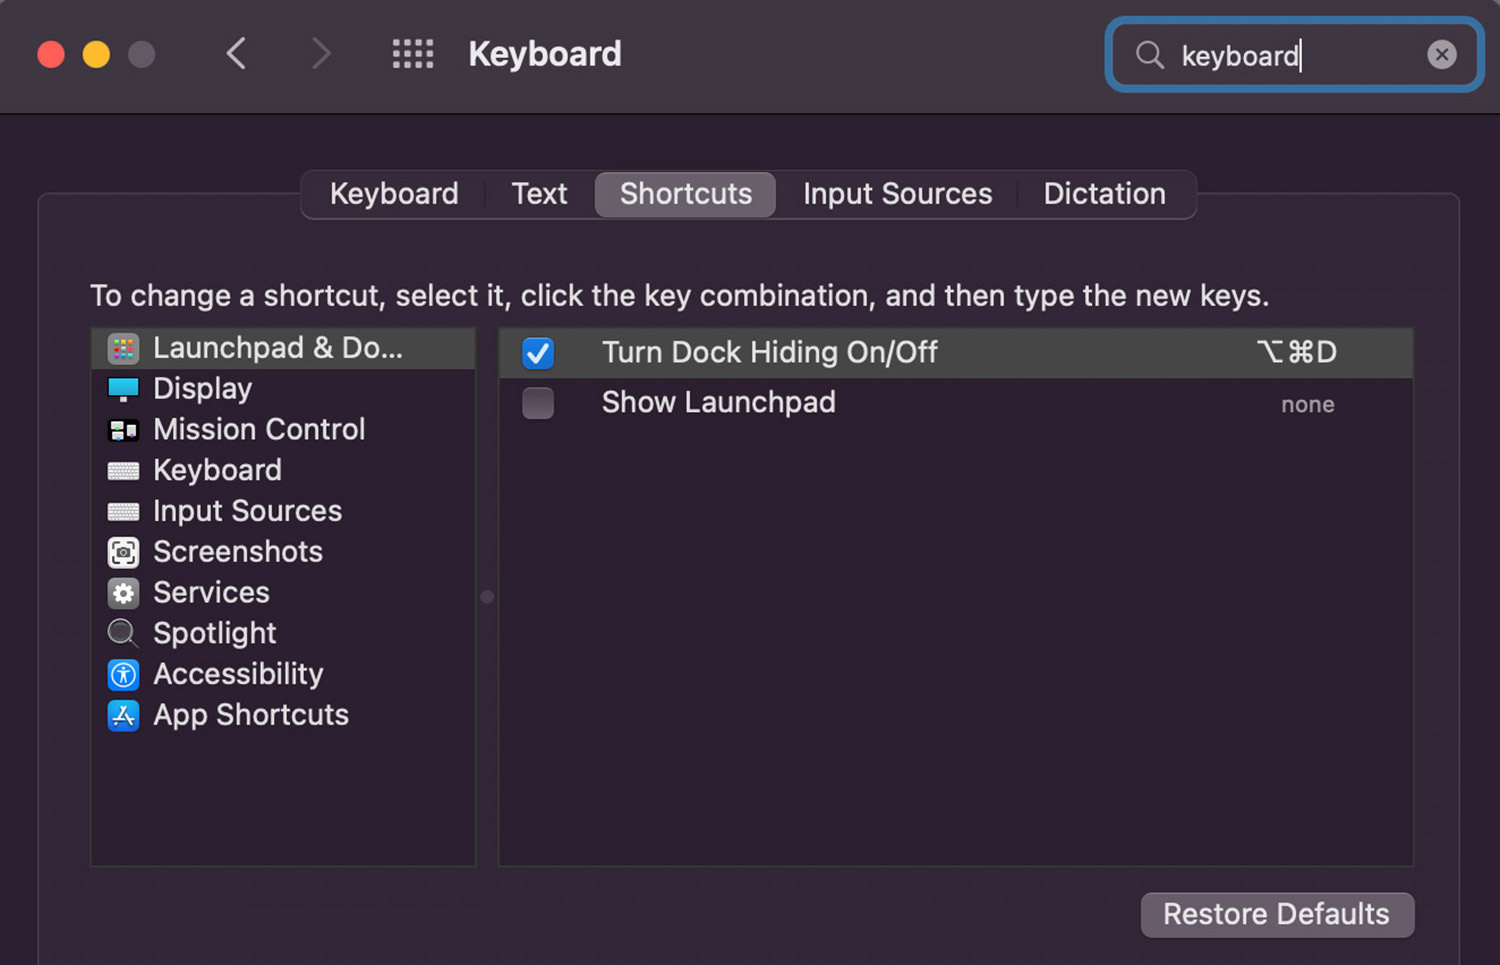
- Make a selection Keyboard, then go to the Shorcuts tab.
- Click on on Services and products, then seek for the created Rapid Movement on the suitable panel.
- Click on on once to select the short movement, then click on on “Add Shortcut“.
- Enter the shortcut key once, and hit Return.
And now, you’ll be capable to perform the custom designed Rapid Movement even faster at the side of your keyboard shortcut.
3. Delete Custom designed Actions in Context Menu
For those who occur to’ve created too many items on your right-click context menu and need to declutter them, you’ll be capable to too. To delete custom designed Rapid Actions from your context menu, you will need to to find it first.
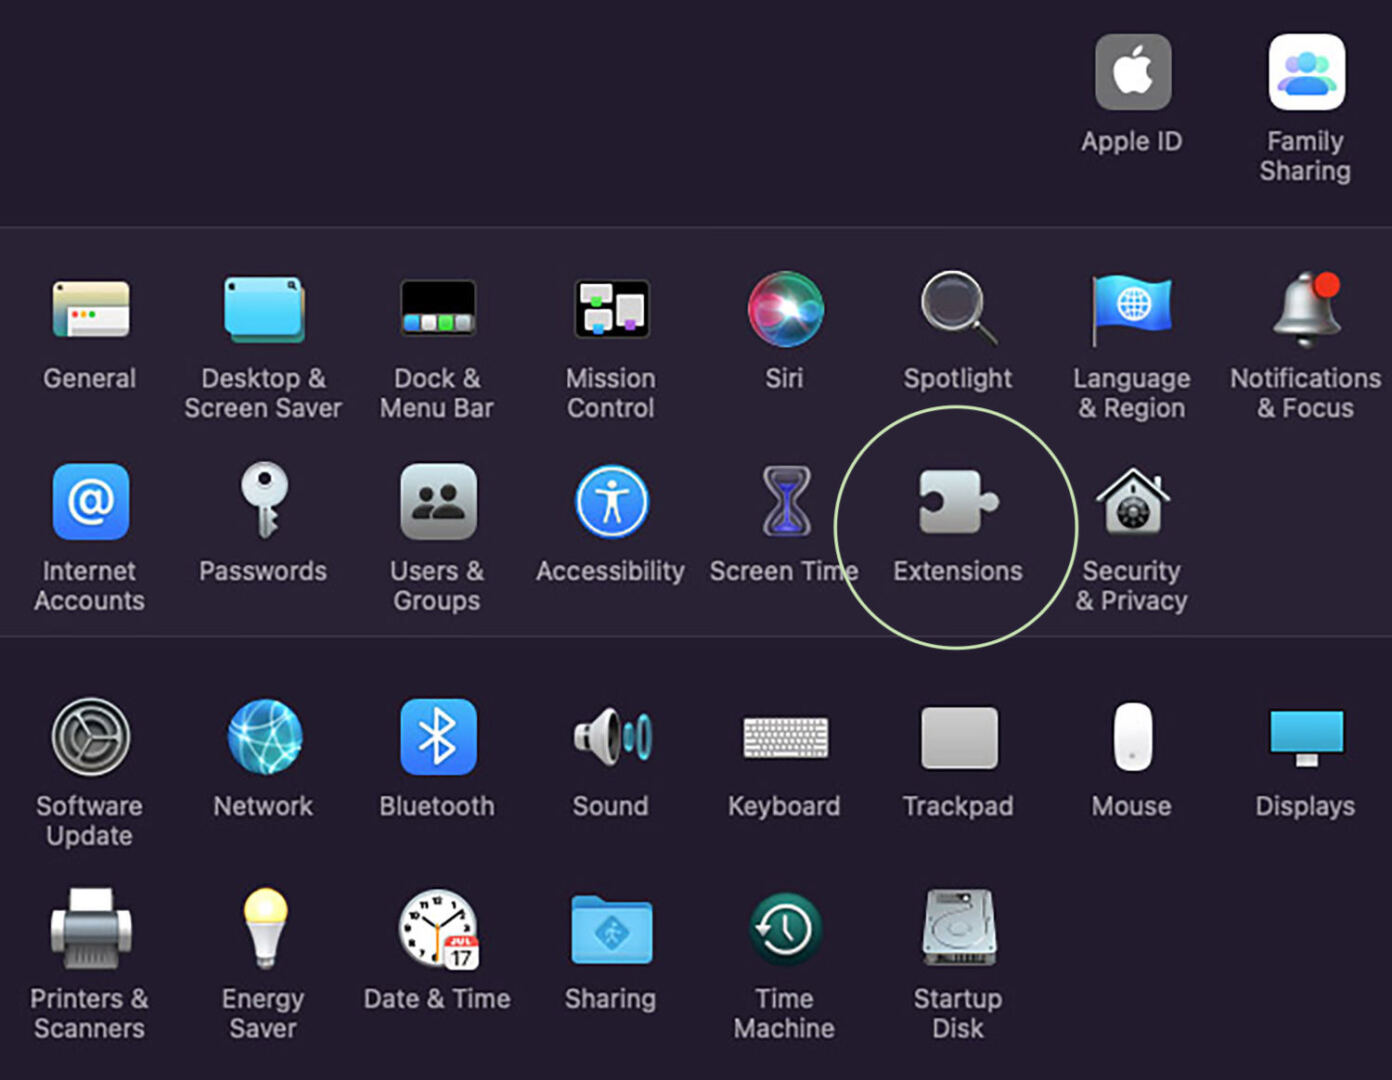
First, go to Apple > System Preferences, then select Extensions.
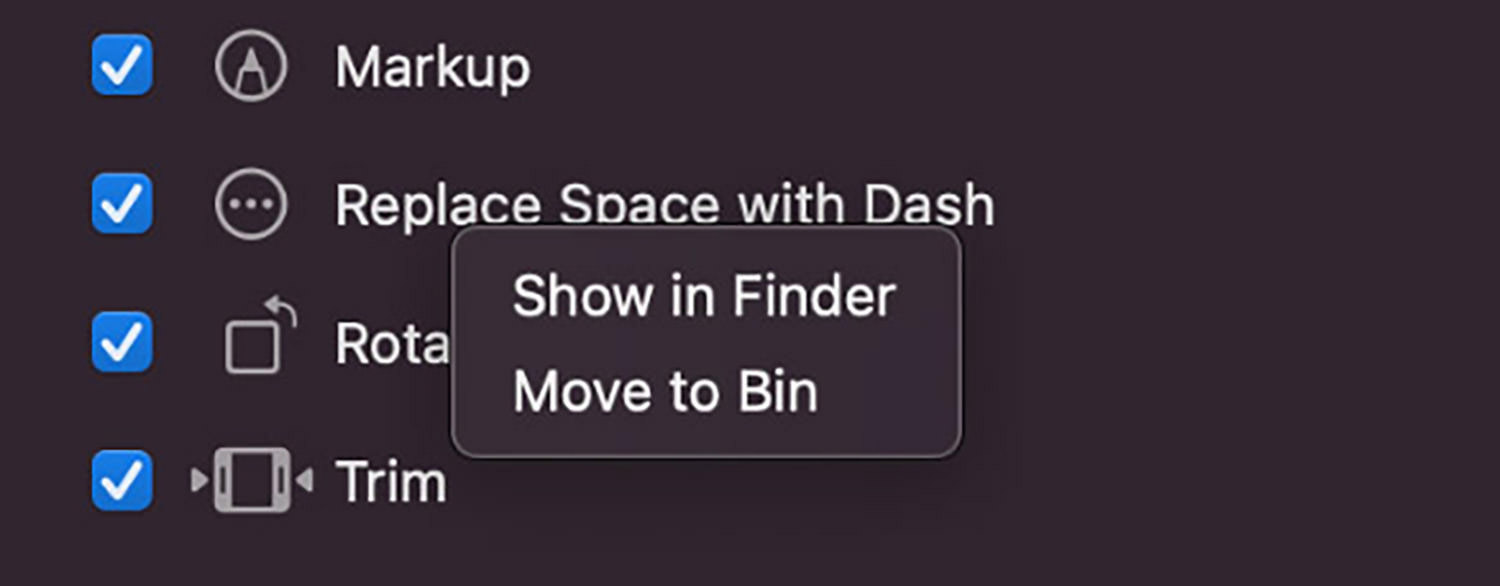
Make a selection Finder on the left panel, and in addition you’ll have to see the created rapid actions on the suitable panel. Make a selection it, then right-click and it give you the following alternatives:
- Show in Finder — In finding where the short movement is stored
- Switch to Bin — Delete it from context menu.
The submit Learn how to Upload New Pieces in macOS Context Menu appeared first on Hongkiat.
Supply: https://www.hongkiat.com/blog/customize-mac-right-click-menu/
Contents
- 0.1 Related posts:
- 1 Consumer Interface Design: Figuring out It & Present Traits (2025)
- 2 New Divi Starter Site for Interior (Quick Install)
- 3 How one can Create Merchandise Diversifications in Your Divi Cloud

0 Comments