
Are you looking for a strategy to create popups with Positive/No buttons on your internet web site?
Most likely you’ve were given spotted the ones popups used as an email list optin or some other specific offer on a big internet web site. Multi-step Positive/No campaigns can improve your conversion fee by the use of encouraging shoppers to click on on on your promotion.
In this article, we will show you tips about easy methods to create a Positive/No optin for your WordPress web page.
What Is a Positive/No Optin, and Why Must You Use One?
A Positive/No optin is a popup form that has 2 alternatives, which may also be each buttons or links. You’ll click on on ‘Positive’ to make a decision in or ‘No’ to refuse the offer.
Now and again the ones are known as 2-step optins or multi-step optins because of they require the individual to take 2 steps instead of 1.
Proper right here’s an example of a Positive/No optin from Complicated Coupons offering a discount deal. Shoppers can each click on on on the ‘Claim Your Discount’ button or the ‘Most likely next time’ selection.

Realize: The decisions don’t necessarily need ‘Positive’ and ‘No’ labels.
It is going to seem odd to get shoppers to transport by way of an extra step quicker than they may be able to join your e-mail e-newsletter or take some other movement.
Alternatively, Positive/No popups can also be extraordinarily environment friendly. This is because they use a psychological tactic known as the Zeigarnik Affect.
The Zeigarnik Affect says that when someone starts a process, they’re vulnerable to finish it. In this case, it means that someone who clicks ‘Positive’ will almost definitely go ahead and put in their email take care of.
Plus, a Positive/No optin provides your visitors a choice. That feeling of freedom is robust. It makes it a lot more most likely that your visitors will make the sure way to make a decision in for your e-mail listing.
Even upper, you’ll be capable to use the ‘No’ selection effectively, too.
As an example, it’s excellent to create an optin like this one from WP Mail SMTP. It seems that if an individual looks like they’re about to leave the WP Mail SMTP web page’s pricing internet web page.

If the individual clicks ‘Get WP Mail SMTP Now’, then they preserve on the pricing internet web page. Or within the match that they click on on ‘I’ve a few questions first’, then they’re directed to the Contact internet web page. Proper right here, they may be able to merely contact your product sales or improve staff, which would possibly ultimately lead to a a success conversion.
Creating a Positive/No Popup The usage of OptinMonster
One of the most most simple techniques to create a positive/no popup in WordPress is by the use of using OptinMonster. It’s the best lead-generation device this is serving to you convert internet web site visitors into customers and subscribers.
It means that you can create surprising popups, countdown timers, slide-in forms, and additional to nudge shoppers in the proper route.
OptinMonster is the best answer if you’re looking for tricky display alternatives for your popup. It offers a couple of display laws that be in agreement uncover particular person habits and purpose your campaigns.
As an example, you’ll be capable to show the positive/no optin when an individual is waiting pass out your web page or when someone clicks a link or visits a selected internet web page.
That discussed, let’s create a positive/no optin using OptinMonster.
Setting Up OptinMonster and Creating a New Advertising and marketing marketing campaign
First, you will need to join on the OptinMonster web site. Simply consult with the internet web site and click on at the ‘Get OptinMonster Now’ button.
For this educational, we will be using the OptinMonster Skilled plan because it incorporates the Positive/No optins.
It is very important arrange and switch at the loose OptinMonster WordPress plugin. For added details, please see our data on tips on how to set up a WordPress plugin.
This lets you connect your WordPress web page at the side of your OptinMonster account. For many who don’t have a top rate account with OptinMonster however, go ahead and get it.
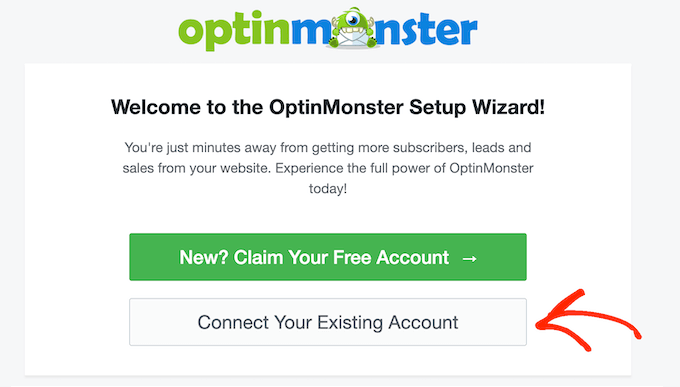
Upon activation, you’re going to peer the OptinMonster welcome show and a setup wizard. Transfer ahead and click on at the ‘Connect Your Present Account’ button.
You’ll now see a small window where you’ll be capable to take a look at in for your account.
Simply click on at the ‘Connect with WordPress’ button so that you could upload your WordPress web site with OptinMonster.

Now, go to the OptinMonster » Campaigns internet web page on your WordPress admin.
Simply click on at the ‘Create Your First Advertising and marketing marketing campaign’ button to make a brand spanking new advertising marketing campaign.

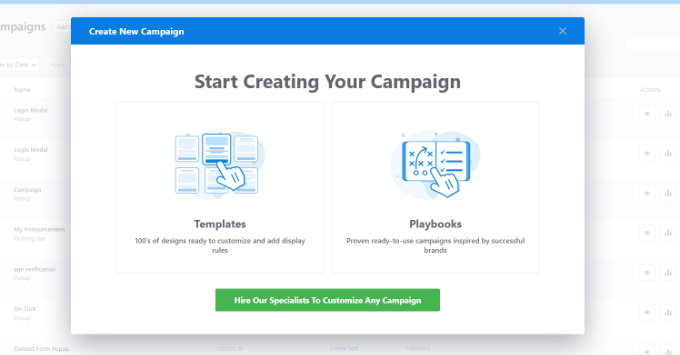
OptinMonster will now ask you to choose a template or use a playbook. If you select the template selection, then you definitely’ll be capable to create your positive/no popup and customize it. OptinMonster moreover has ready-to-use campaigns inspired by the use of a success producers.
You’ll go ahead and choose the ‘Templates’ selection.
After that, OptinMonster will show you different advertising marketing campaign sorts to choose from.
We can use a Popup marketing campaign sort and the Get a divorce template for this educational.

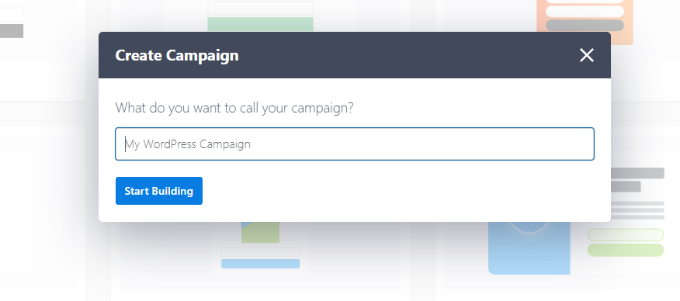
Next, you’re going to be asked to offer your advertising marketing campaign a name.
Once that’s completed, simply click on at the ‘Get began Construction’ button.
Your most popular template will now open inside the OptinMonster drag-and-drop advertising marketing campaign editor.
Proper right here, you’re going to to seek out different alternatives to customize your advertising marketing campaign. You’ll add different blocks like footage, motion pictures, buttons, expansion bars, social media icons, and additional from the menu on the left and drop them onto the template.

Bettering Your Positive/No Optin in OptinMonster
By the use of default, OptinMonster can have the Positive/No optin selection enabled.
Alternatively, some templates isn’t going to have a built-in Positive/No view. With the ones, you’re going to get a blank canvas to design your optin.
To permit the optin, simply click on on on the ‘Positive/No’ tab with regards to the bottom of your show. From proper right here, you want to click on at the ‘Permit Positive/No for This Advertising and marketing marketing campaign’ button.

Next, go ahead and edit the Positive/No view as you wish to have.
Simply click on on on the part of the template you wish to have to switch. As an example, you’ll be capable to business the text inside the headline.

It’s moreover easy to edit the image inside the advertising marketing campaign builder. Merely click on on on it and then upload the image you wish to have to use.
You’ll upload an image from the WordPress media library or use a stock image.

You may additionally want to business the Positive and No buttons. Simply click on on on them to edit the buttons. It’s super easy to switch their text, color, and additional.
Merely make your changes inside the left-hand panel, and the preview of your optin will mechanically change at the right kind.

By the use of default, clicking the ‘Positive’ button will take the individual to the optin view of the promoting marketing campaign. Clicking the ‘No’ button will simply close the promoting marketing campaign.
You’ll business the ones actions by the use of deciding at the button and then clicking the ‘Button Click on on Movement’ dropdown.
For example, you’ll be capable to redirect shoppers to a URL, reload the internet web page, open an email shopper, copy the text, click on to name, and additional.

Next, you presently need to edit the optin view of your advertising marketing campaign. That’s what your shoppers will see upon clicking on the ‘Positive’ button.
Simply click on on on the ‘Optin’ tab at the bottom of the show to edit the optin view. Then, edit the text, image, and the remaining you wish to have to switch.

In any case, you want to switch the ‘Good fortune’ view of the promoting marketing campaign. That’s the show shoppers will see after entering their email addresses.
First, click on at the ‘Good fortune’ tab at the bottom of the show. Then, go ahead and change the design until you’re happy with it.

After you have finished creating your optin, you’ll want to click on at the ‘Save’ button at the top of the show.
Connecting Your Optin to Your Email Checklist
In case you’re using your optin to assemble email addresses, then you want to connect it at the side of your e-mail advertising and marketing carrier.
To check out this, you’ll have to open the ‘Integrations’ tab at the top and then click on at the ‘Add a New Integration’ button.

Next, you’ll be capable to choose your email provider from the list. You’ll moreover search for an email provider using the hunt bar.
OptinMonster will then give instructions for connecting your account for your preferred email provider.

After you have attached your account, go ahead and click on at the ‘Display Rules’ tab for your advertising marketing campaign.
Setting the Display Rules for Your Positive/No Advertising and marketing marketing campaign
By the use of default, your optin will appear after the individual has been on any internet web page for 5 seconds. Alternatively, you’ll be capable to use different types of display laws.
As an example, you’ll be capable to show the positive/no optin on a selected internet web page, after scroll distance, based on a person’s bodily location, and additional.
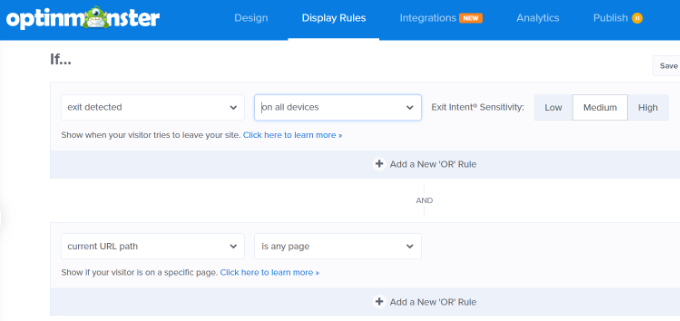
For our optin, we will use the ‘Cross out Intent’ display rule. This manner, our positive/no popup will appear merely as an individual is able to leave our WordPress weblog.

OptinMonster moreover permits you to choose the sensitivity of the Cross out Intent era.
In the end, you’ll be capable to choose where the promoting marketing campaign will appear on your internet web site. OptinMonster will use the ‘provide URL path is any internet web page’ selection by the use of default. This manner, the popup will appear on your whole internet web site.
While you’ve were given set your display laws, click on at the ‘Save’ button at the top of the show.
Making Your Positive/No Optin Live on Your Web site
Now, it’s time to make your optin survive your web page.
First, you want to click on at the ‘Publish’ tab at the top of the show. Then, business the ‘Publish’ Status to ‘Publish’.

Your Positive/No optin is probably not survive your web page however. Simply click on at the ‘Save’ button at the top and pass out the promoting marketing campaign builder.
Next, you’re going to peer the WordPress Output Settings for your advertising marketing campaign.
Merely make certain that your advertising marketing campaign status is ‘Printed’. If not, then you definitely no doubt should click on at the dropdown menu and choose the ‘Printed’ selection.
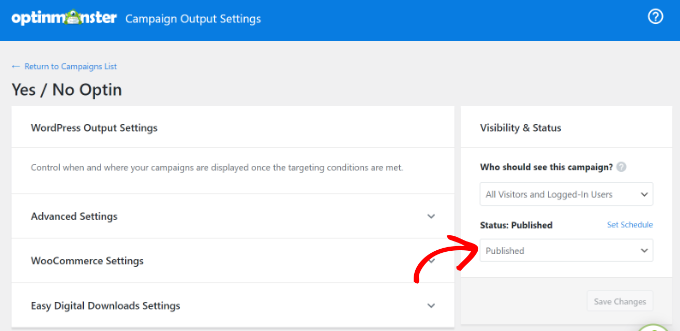
Your advertising marketing campaign will now be survive your internet web site.
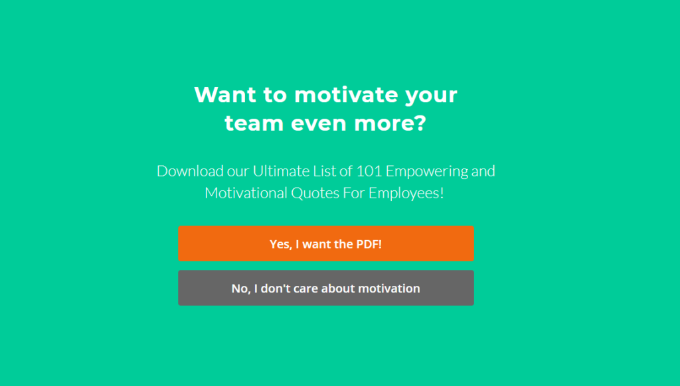
That is how ours appeared on our demo web page.

That’s it! You’ve successfully created a positive/no optin for WordPress using OptinMonster.
Variety approach: Another way so that you could upload a positive/no popup for your web page is by the use of using Thrive Leads. It is part of Thrive Subject matters suite and helps you generate leads, increase your email list, and boost conversions. The plugin lets you create lightbox popups, alert bars, slide-in popups, and additional.
Positive/No Popup Types to Create to Get Further Conversions
Now that you know how to make a positive/no popup, there are different types of campaigns you’ll be capable to create to get further conversions.
Let’s take a look at a few examples of positive/no popups that you just’ll be capable to design for your WordPress internet web site.
1. Offer Content material subject material Upgrades to Expand Your Email Checklist
A positive/no content material subject material beef up offers shoppers bonus content material subject material within the match that they sign up for your email list. As an example, likelihood is that you’ll offer spreadsheets, PDF data, eBooks, motion pictures, and additional.
This is great for getting further leads on your internet web site. You’ll merely increase your email list by the use of offering free valuable content material subject material to shoppers.
To be informed further, please see our data on tips on how to upload content material upgrades in WordPress.
2. Show Specific Provides and Discounts
Another way to use positive/no popups is by the use of offering distinctive cut price coupons or promoting specific offers for your visitors.
This may increasingly most likely be in agreement inform shoppers about an offer they may be able to profit from. Plus, it’s going to boost conversions and product sales on your internet web site.
You’ll pair this with OptinMonster’s Cross out Intent era and show a popup merely since the particular person is able to leave the internet web site. For example, OptinMonster presentations a positive/no optin on their internet web site, appearing a definite offer.

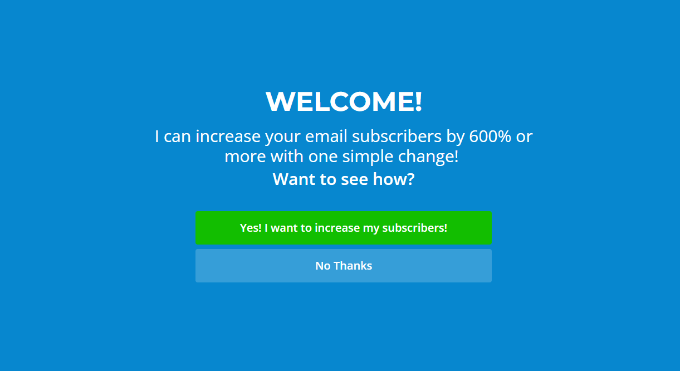
3. Knowledge New Shoppers with a Welcome Mat
You’ll moreover show new internet web site shoppers a welcome mat or a full-screen popup with positive/no alternatives to be in agreement them upper understand your emblem.
This is great to signify other people in the proper route when they first arrive on your web page. You’ll inform them about your services and products by the use of redirecting them to a selected blog post or landing internet web page.
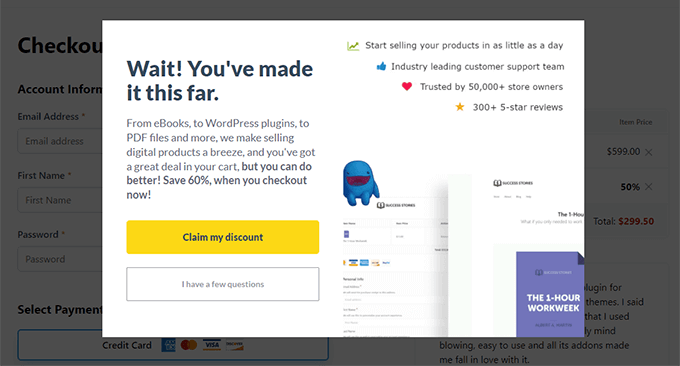
4. Convert Leaving in the back of Visitors
Additionally, you’ll be capable to convert leaving behind guests by the use of showing a positive/no popup. Simply show the popup when an individual supplies items to the cart on the other hand doesn’t check out.
You’ll offer different incentives like discounts or free downloadable content material subject material to stick visitors on your web page and convert them into paying customers.
For example, Simple Virtual Downloads presentations a popup with positive/no alternatives when an individual tries to abandon the checkout internet web page.
You may additionally want to see our data on tips on how to building up your touchdown web page conversions by way of 300%.
We hope this newsletter helped you discover ways to create a Positive/No optin for your WordPress web page. You may also like our a professional choices for the highest WordPress survey plugins to boost your particular person engagement and our data on tips on how to get extra site visitors in your web site.
The post Find out how to Create a Sure/No Optin for Your WordPress Website first gave the impression on WPBeginner.

0 Comments