
Are you in search of a approach to robotically put up new Instagram pictures in your WordPress website?
Thru together with new Instagram pictures in your internet web site, you’ll have the ability to increase emblem exposure and even energy further guests in your Instagram account. The ones pictures can also make your WordPress internet web site further attractive and interactive.
In this article, we will show you simple how one can robotically put up new Instagram pictures to WordPress, step by step.
Why Post Instagram Photos to WordPress?
Instagram has over 2 billion per month lively customers, and it lets in people to percentage motion pictures and images on the social media platform. It even we could people discover new particular person accounts in step with what they already like.
If you already have a WordPress web site and easily started the use of Instagram, you then’ll have the ability to merely succeed in further fanatics by way of posting your new Instagram pictures in your internet web site.
This can help you assemble social proof by way of showing that you simply’re full of life on Instagram, have interaction in conjunction with your audience on the platform, and increase the time period visitors spend in your website.
That being said, let’s take a look at simple how one can merely and robotically put up new Instagram pictures to WordPress. You’ll use the short links below to jump to the opposite methods:
Approach 1: Add Instagram {Photograph} as a New Post in WordPress
The program is for patrons who wish to create a brand spanking new blog put up showing their latest Instagram {photograph}.
You’ll merely do this the use of IFTTT (If This Then That), which is an excellent device that lets you automate your WordPress website online with social media.
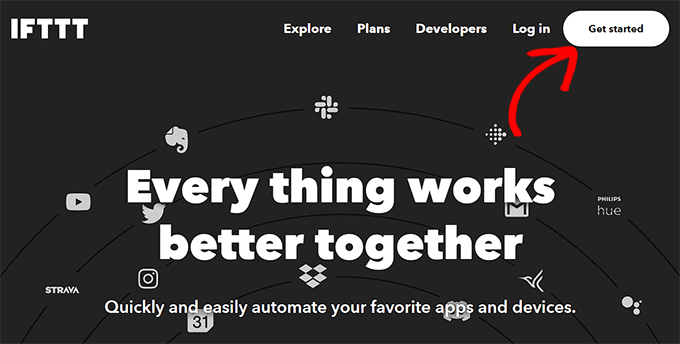
First, you need to talk over with the IFTTT internet web site and click on on on the ‘Get Started’ button inside of essentially the most good right kind corner of the computer screen.
After that, you will have to log in or create your new account on the internet web site.
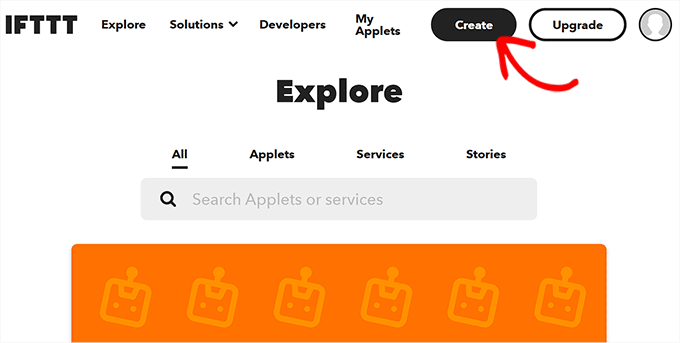
On every occasion you’ve finished that, merely talk over with your IFTTT dashboard and click on at the ‘Create’ button inside of essentially the most good right kind corner to start out out building an applet.
This may occasionally sometimes take you to a brand spanking new internet web page where you will have to configure the motive and movement settings.
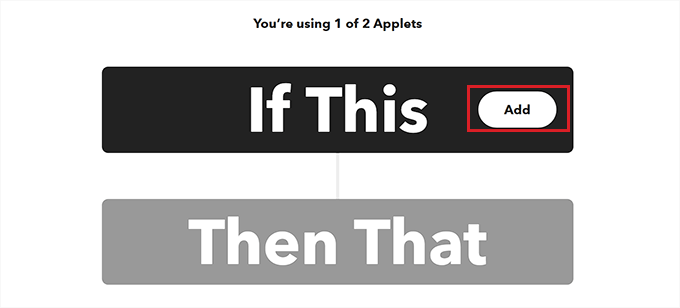
You’ll get began by way of clicking on the ‘Add’ button next to the ‘If This’ chance.
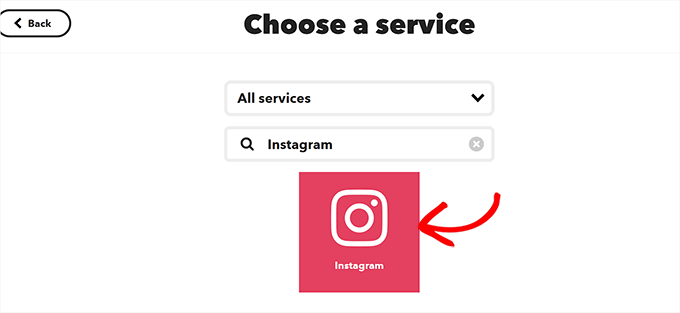
You’ll then be directed to the ‘Choose a provider’ internet web page, where you’ve were given to select a platform for the motive.
If you want to publish a blog put up each and every time a brand spanking new {photograph} is uploaded in your Instagram account, you then’ll have to make a choice Instagram for the reason that provider.
This may occasionally sometimes take you to the ‘Choose a motive’ internet web page.
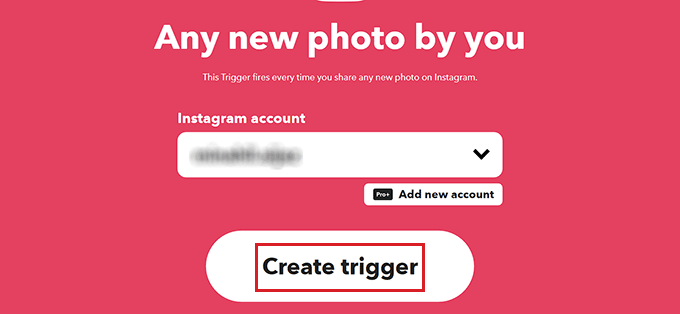
From proper right here, simply select the ‘Any new {photograph} by way of you’ chance for the reason that motive.

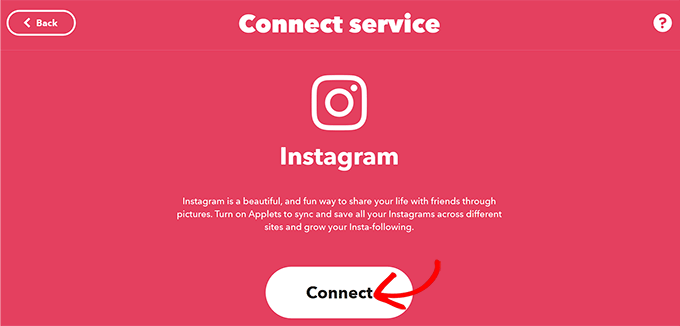
You’ll now be taken to the ‘Connect Service’ internet web page, where you will have to connect your Instagram account to IFTTT.
To check out this, merely click on at the ‘Connect’ button.
This may occasionally sometimes open an Instagram advised in a brand spanking new window where you will have to log in in your account.
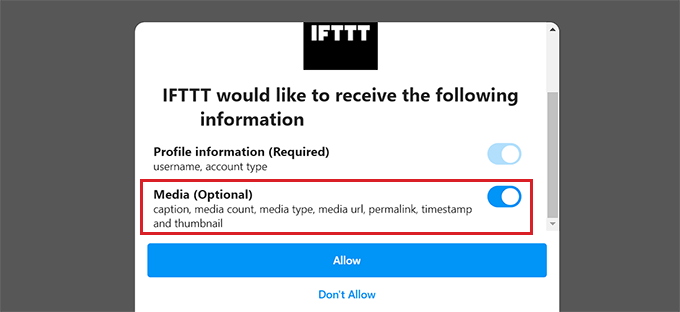
On every occasion you do that, IFTTT will ask for permission to procure your Instagram account media information. Simply toggle on the ‘Media’ switch and click on at the ‘Allow’ button.
You’ll now be redirected to the IFTTT internet web page, where your Instagram account has been hooked up.
From proper right here, click on at the ‘Create motive’ button to complete the process.
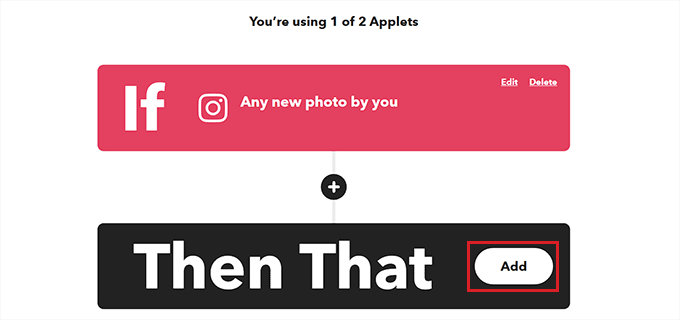
Now that your motive has been created, it’s time to create the movement. That’s what’s going to happen after the motive occurs.
For this, you will have to click on at the ‘Add’ button next to the ‘Then That’ chance.
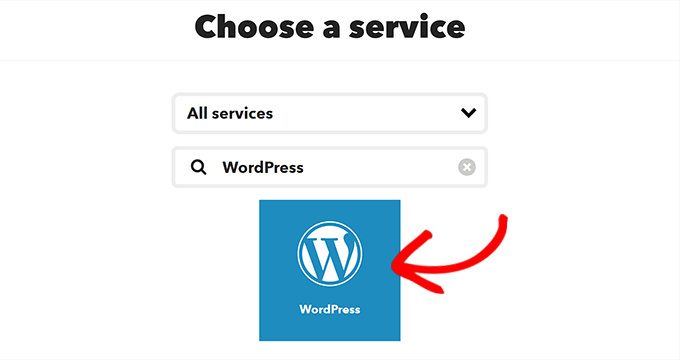
You’ll over again be directed to the ‘Choose a provider’ internet web page.
This time, to seek out and make a choice WordPress as your provider.
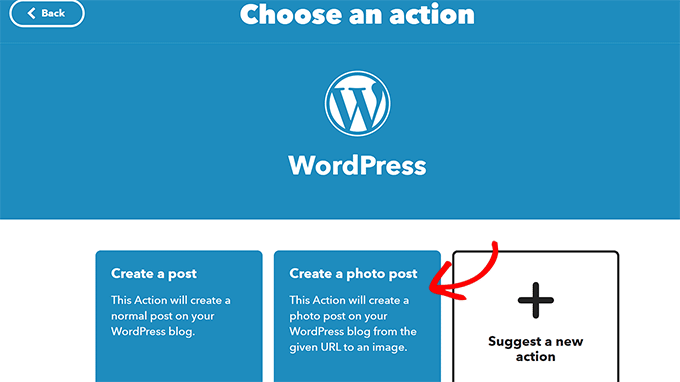
Now, you’re going to be taken to the ‘Choose an movement’ internet web page, where you’ve were given to select an movement that your internet web site will take as quickly because the motive happens.
From proper right here, you need to select the ‘Create {a photograph} put up’ chance for the reason that movement.
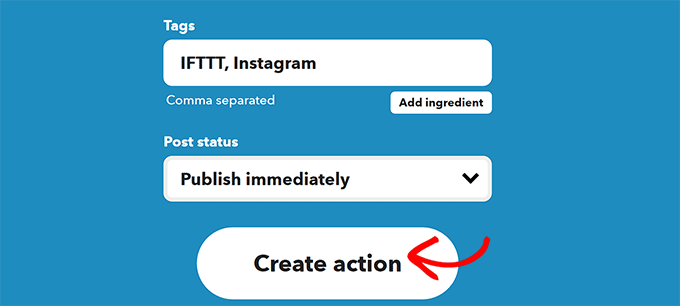
This may occasionally sometimes take you to a brand spanking new internet web page where you’ll need to add your internet web site URL and login details to connect it with IFTTT.
Upon getting finished that, simply click on at the ‘Create movement’ button at the bottom of the internet web page.
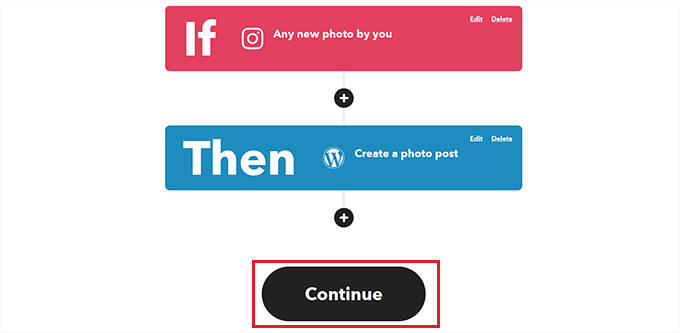
You’ll now be directed to the new computer screen, where it’s conceivable so that you can to seem the motive and movement that you simply’ve were given created the use of IFTTT.
If you want to have, you’ll have the ability to moreover edit the ones actions by way of clicking on the ‘Edit’ link. On the other hand, for those who occur to don’t wish to make any changes, then simply click on at the ‘Continue’ button.
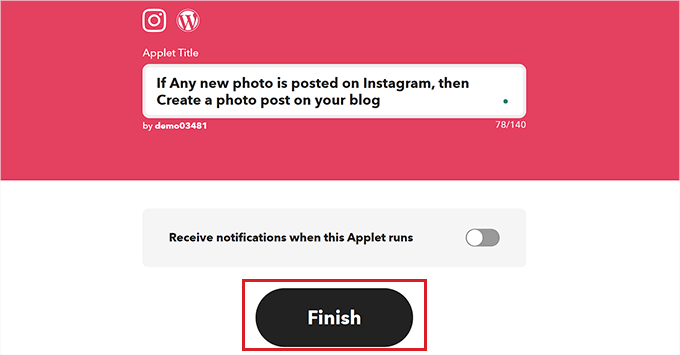
This may occasionally sometimes take you to a brand spanking new computer screen where you’ll have the ability to trade your applet title and toggle the switch if you want to download a notification each and every time this applet is used.
In any case, click on at the ‘Finish’ button.
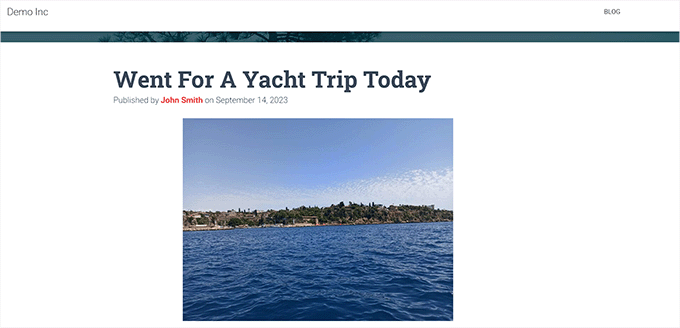
You’ll now put up a brand spanking new {photograph} in your Instagram account, and it’s going to be robotically posted in your WordPress website.
That’s what it appeared like on our demo WordPress weblog.
Approach 2: Display Your Instagram Feed on Your WordPress Internet web page
The program is for patrons who merely wish to show their Instagram feeds on their WordPress internet websites without creating new blog posts.
You’ll merely do this the use of the Instagram Feed plugin by way of Injury Balloon. It’s the absolute best WordPress Instagram plugin that lets you merely add your Instagram feed to any internet web page or put up.
First, you need to position in and switch at the Instagram Feed plugin. For additonal details, see our step-by-step data on easy methods to set up a WordPress plugin.
Realize: The Instagram Feed plugin moreover has a loose model. On the other hand, we will be the use of the paid plan for this tutorial as it has further customization alternatives.
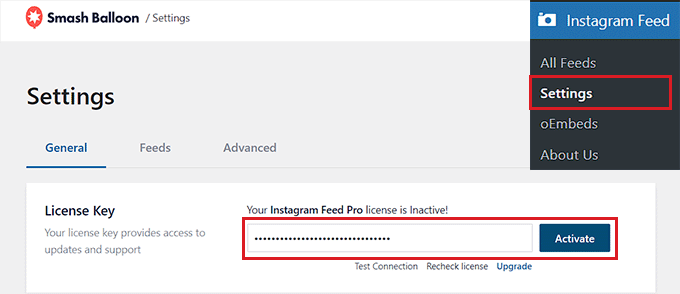
Upon activation, head over to the Instagram Feed » Settings internet web page from the WordPress admin sidebar to enter your license key.
You’ll to seek out this knowledge in your account on the Injury Balloon internet web site.
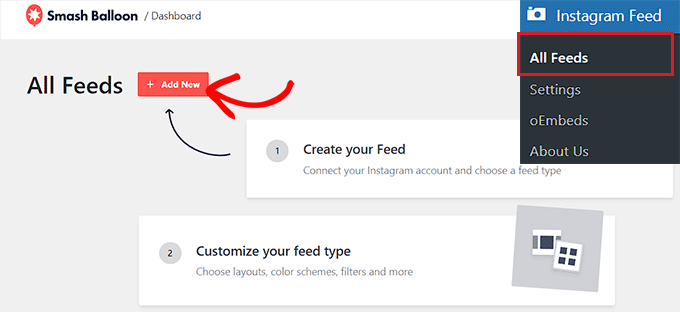
Upon getting finished that, you need to talk over with the Instagram Feed » All Feeds internet web page from the WordPress dashboard.
Proper right here, click on at the ‘+ Add New’ button to start out out embedding your Instagram feed.
You’ll now be directed to the ‘Create an Instagram Feed’ computer screen, where you will have to make a choice the ‘Individual Timeline’ chance for the reason that feed sort.
Because of this Injury Balloon will now straight away fetch posts for the feed from your Instagram account and substitute the feed robotically whilst you put up new pictures.
After that, click on at the ‘Next’ button to continue.

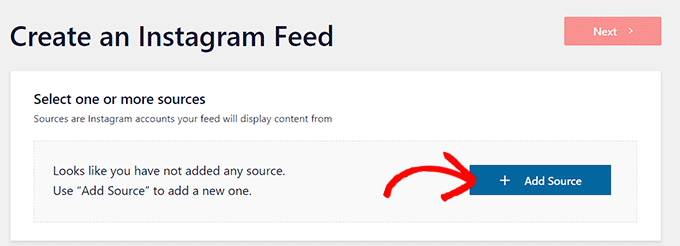
On every occasion you do that, you’re going to be taken to the ‘Select quite a few belongings’ internet web page.
To glue your Instagram account in your internet web site, merely click on at the ‘+ Add Provide’ button.
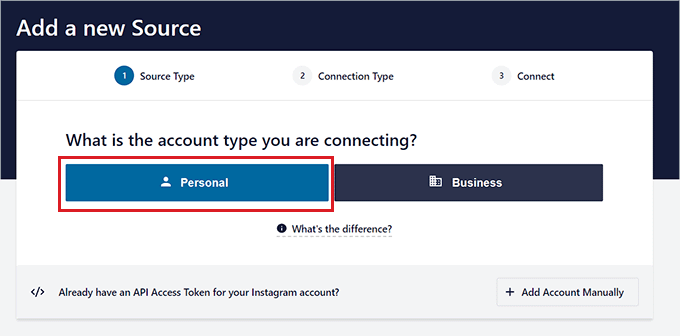
This may occasionally sometimes direct you to the Injury Balloon internet web site, where you’re going to be asked to select your Instagram account sort.
Remember the fact that whilst you’ve were given a personal Instagram account, then Injury Balloon will robotically connect your internet web site with it.
On the other hand, whilst you’ve were given a industry Instagram account, then it will have to be hooked up in your Facebook internet web page, which will then be hooked up with Injury Balloon.
For this tutorial, we will be deciding at the ‘Private’ chance.
Now, you’re going to be taken to your next step.
Proper right here, you will have to click on on on the ‘Hook up with Instagram’ button to move forward.
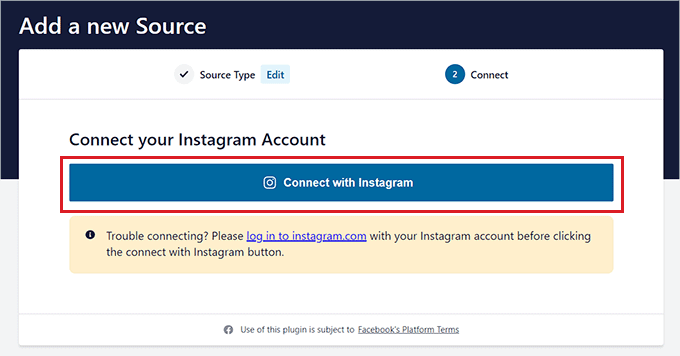
The Instagram platform will open up on the computer screen, and also you’ll need to log in in your account.
Upon getting finished that, Injury Balloon will ask for your permission to collect wisdom from your Instagram account. Simply click on at the ‘Allow’ button.
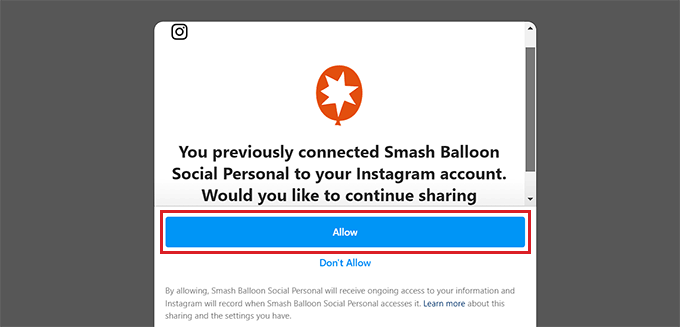
You could have now successfully hooked up your Instagram account in your internet web site.
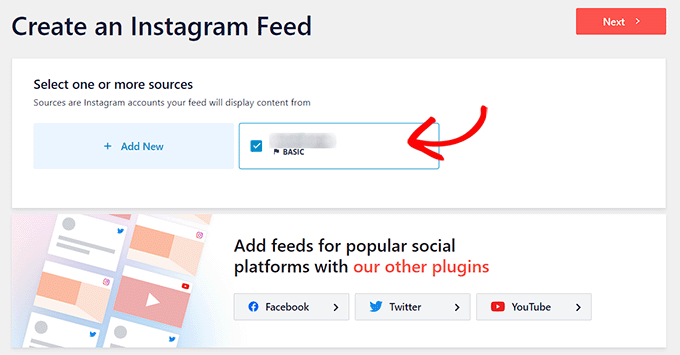
Now, you need to make a choice your account and click on at the ‘Next’ button on the ‘Select quite a few belongings’ internet web page.
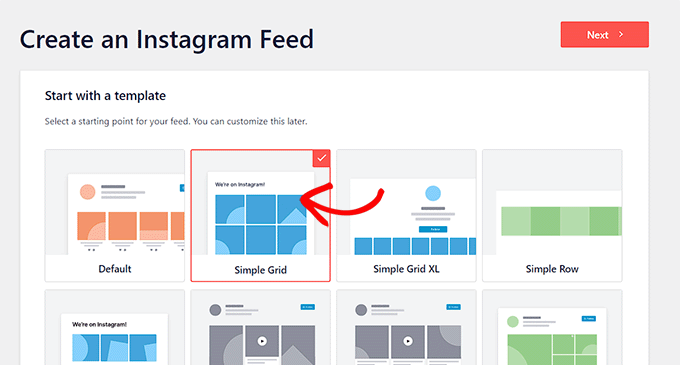
This may occasionally sometimes direct you to the ‘Get began with a template’ internet web page, where you’ll be ready to select any of the premade templates presented by way of Injury Balloon for your Instagram {photograph} feed.
After that, click on at the ‘Next’ button.
The plugin will now load your Instagram feed in its live preview editor. Proper right here, you’re going to know a feed preview at the right kind side and the settings column on the left side of the computer screen.
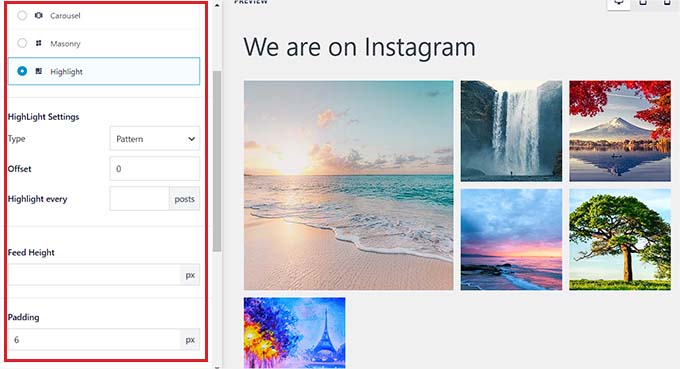
To start customizing your Instagram feed, click on on on the ‘Construction’ tab.
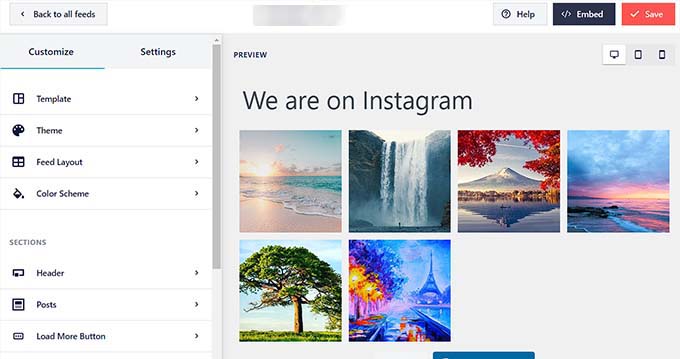
This may occasionally sometimes open some settings inside the left column, where you’ll have the ability to trade your layout to carousel, grid, highlight, or masonry.
Remember the fact that for those who’re the use of the unfastened plugin, then one of the vital customization alternatives could also be locked for you.
Upon getting finished that, you’ll have the ability to moreover configure the feed’s height, padding, and the choice of posts that will probably be displayed inside the feed from proper right here.
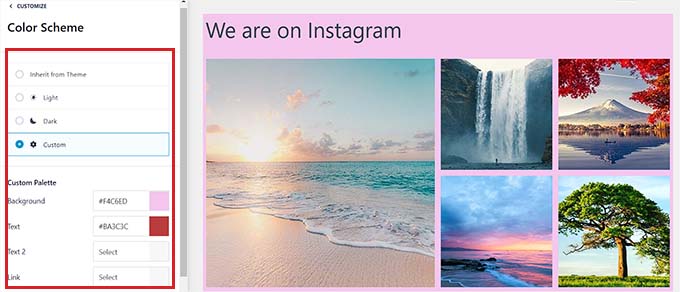
Next, click on on on the ‘Color Scheme’ tab from the left column.
You’ll keep your Instagram feed in delicate or dark mode or even create your individual custom designed color scheme for it by way of choosing the ‘Custom designed’ chance.
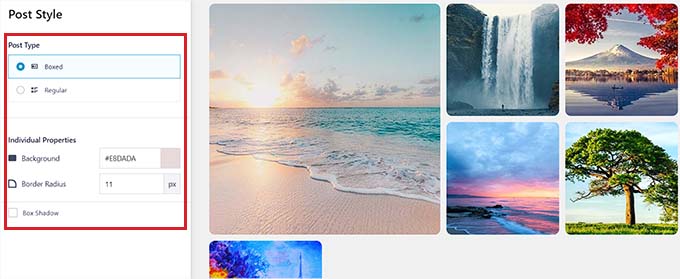
After that, click on on on the ‘Posts’ tab from the left column.
Proper right here, you’ll have the ability to customize the individual put up types, backgrounds, borders, and put up radius.
Next, you’ll have the ability to click on on on the ‘Load Further Button’ or ‘Apply Button’ tabs in an effort to upload those buttons in your feeds.
For additonal details on customization settings, please see our instructional on easy methods to simply embed Instagram in WordPress.
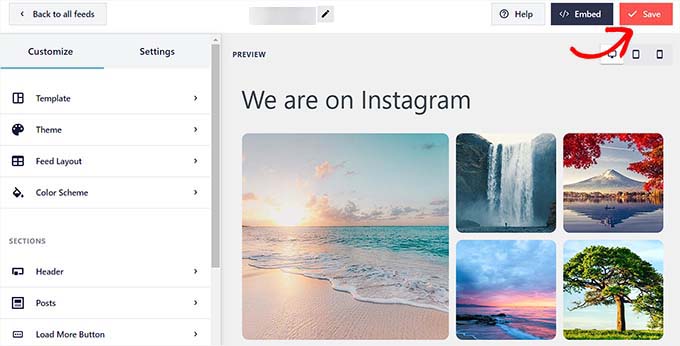
In any case, click on at the ‘Save’ button at the top to store your settings.
Now, it’s time as a way to embed your Instagram feed on a WordPress internet web page or put up.
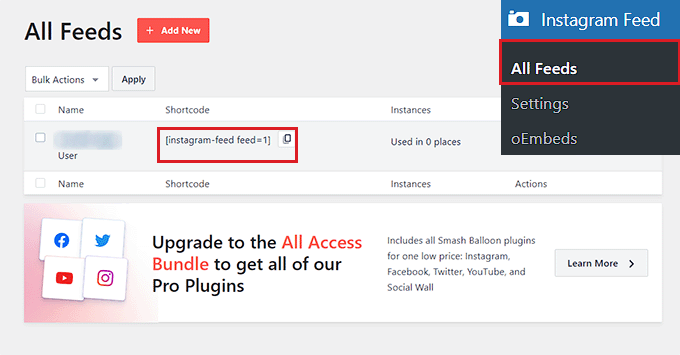
To check out this, talk over with the Instagram Feed » All Feeds internet web page from the WordPress dashboard.
Once you could be there, merely copy the shortcode for the Instagram feed that you just created.
After that, open a WordPress internet web page or put up of your liking inside the block editor.
From proper right here, click on at the add block ‘+’ button inside of essentially the most good left corner of the computer screen in an effort to upload the Instagram Feed block.
Next, paste the shortcode you copied earlier into the ‘Shortcode Settings’ segment.
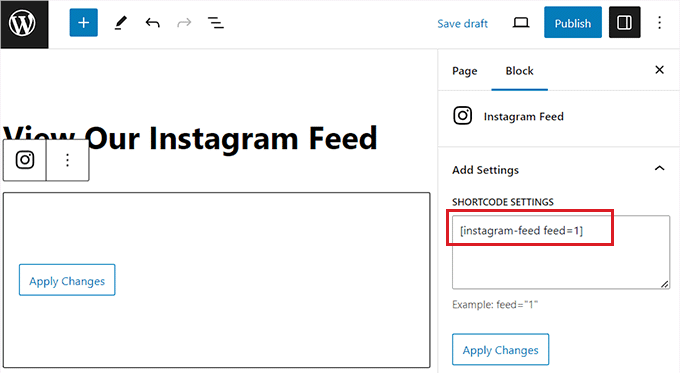
In any case, click on at the ‘Exchange’ or ‘Submit’ button to store your settings.
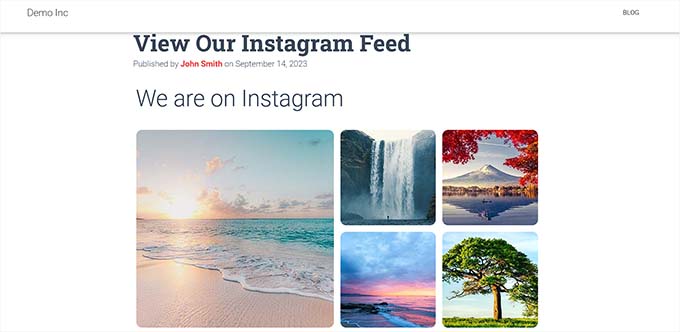
You’ll now talk over with your WordPress website to view the Instagram feed in movement.
Bonus: Create an Image Gallery in WordPress
Embedding your Instagram feed in your internet web site is just one approach to show off your footage. However, you’ll have the ability to create your individual image gallery in WordPress.
This can also be extremely helpful whilst you’ve were given a footage internet web site or promote photographs the usage of Simple Virtual Downloads. It might also make your internet web site look further attractive at the complete.
Plus, whilst you’ve were given an on-line retailer, then making a gallery for product photographs can help you display your whole products in one place and be in agreement boost product sales.
Envira Gallery is the most productive plugin for together with a wonderful image gallery in your WordPress internet web site.
It’s the absolute best WordPress gallery plugin that features a drag-and-drop builder, premade gallery templates, social sharing, image compression, watermarking, pagination, and so much more. The plugin can also mix with Pinterest, Instagram, WooCommerce, and Beaver Builder.
For additonal details, please see our instructional on easy methods to create a picture gallery in WordPress.
We hope this article helped you learn to robotically put up new Instagram pictures to WordPress. You may also wish to see our instructional on easy methods to create a customized Fb feed in WordPress and our top possible choices for the absolute best social media plugins for WordPress.
Should you occur to appreciated this article, then please subscribe to our YouTube Channel for WordPress video tutorials. You’ll moreover to seek out us on Twitter and Fb.
The put up Easy methods to Routinely Put up New Instagram Footage to WordPress first appeared on WPBeginner.

0 Comments