

Card layouts display up far and wide a web page, however you ceaselessly rebuild them from scratch or replica and paste the similar stack of modules. Module Groups in Divi 5 assist you to package a picture, heading, textual content, button, or some other module into one card and reuse it anyplace.
On this educational, we’ll construct a blank card, put it aside for your Divi Library, and import it on any web page. We’ll additionally pair it with the Loop Builder to auto-generate grids for posts or merchandise.
How Module Teams Paintings
A Module Staff in Divi 5 is a container that holds more than one modules in combination as one packaged unit. Recall to mind it like making a customized development block. As an alternative of running with particular person modules (a picture right here, a heading there, a button in different places), you team them right into a unmarried entity that strikes, saves, and purposes as one piece.
The convenience turns into obtrusive the instant you wish to have the similar design trend in more than one puts. You construct the cardboard as soon as, drop it anyplace you wish to have it, and all of the construction remains intact, together with its styling and spacing.
Subscribe To Our Youtube Channel
This issues maximum while you’re designing at scale. Construction a crew web page with twelve worker playing cards or a product grid with thirty pieces manner you’re both duplicating modules many times (making updates tedious later) or reconstructing the similar structure from reminiscence each and every time. Module Teams get rid of each issues. Design the cardboard as soon as, put it aside for your library, and pull it onto any web page in seconds.
Module Teams additionally paintings with the Loop Builder, which robotically generates repeated layouts through pulling knowledge out of your posts, merchandise, or customized submit varieties. Pair a Module Staff with the Loop Builder, and you’ll design the cardboard template as soon as, whilst Divi robotically fills it with dynamic content material. One card design can populate fifty product listings with out handbook paintings.
Learn Everything About Divi 5’s Module Groups
Construct Your Card Design
Prior to we begin development, right here’s the cardboard we’re aiming for.
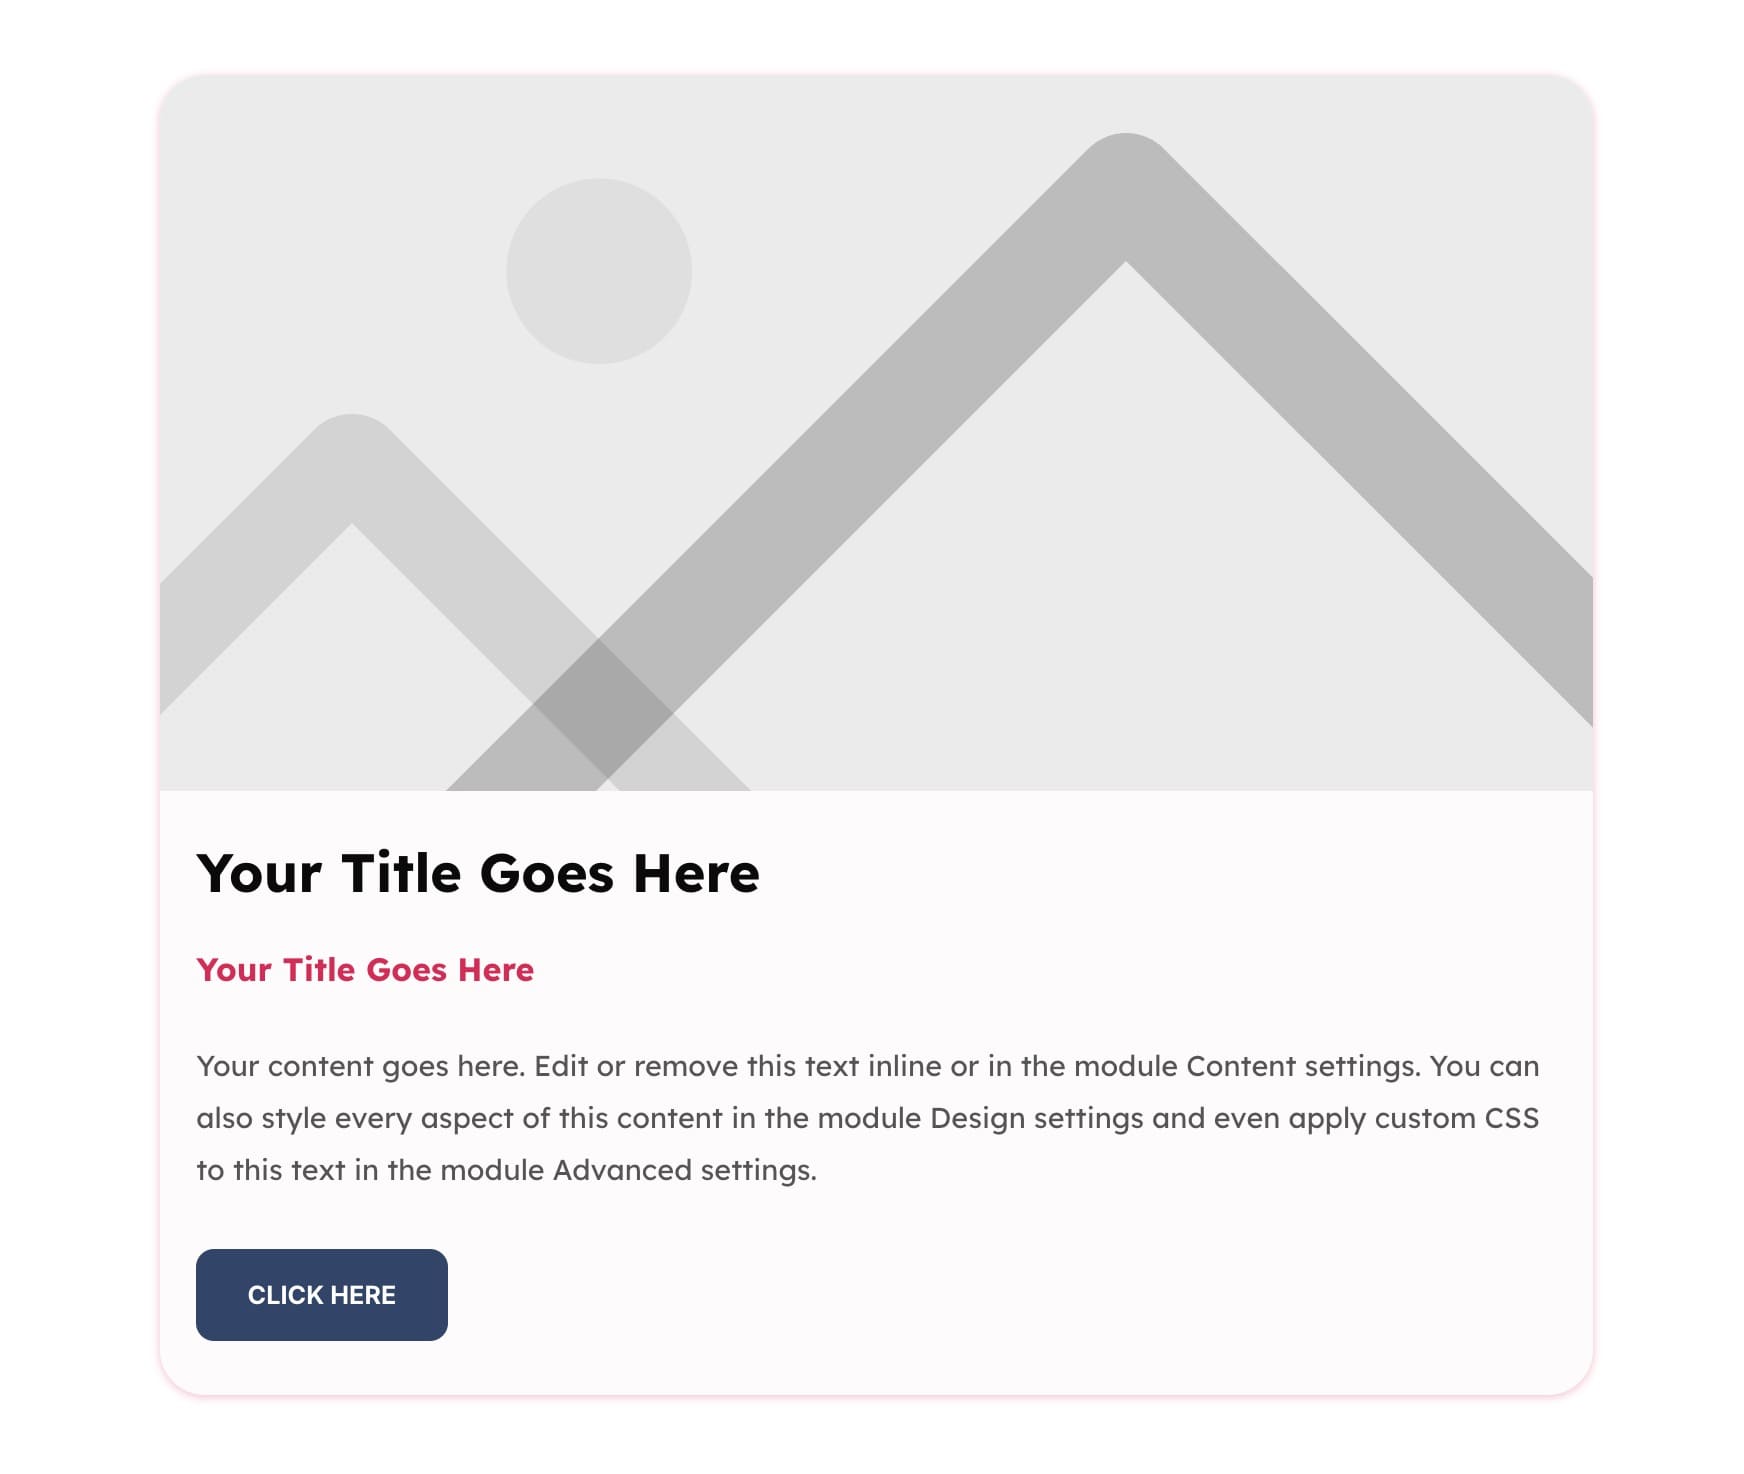
It includes a blank symbol space, a daring name, supporting textual content, and a button, all wrapped inside of a Module Staff. As soon as stored for your Library, you’ll drop this card into any web page and switch the content material. If you need, you’ll additionally modify its construction and styling as you prefer. Let’s construct it step-by-step.
1. Construct Card Construction
Open a brand new web page or segment and upload a single-column (Grid) Row. One column assists in keeping the cardboard targeted and we could the content material waft vertically, which is easiest for this structure.
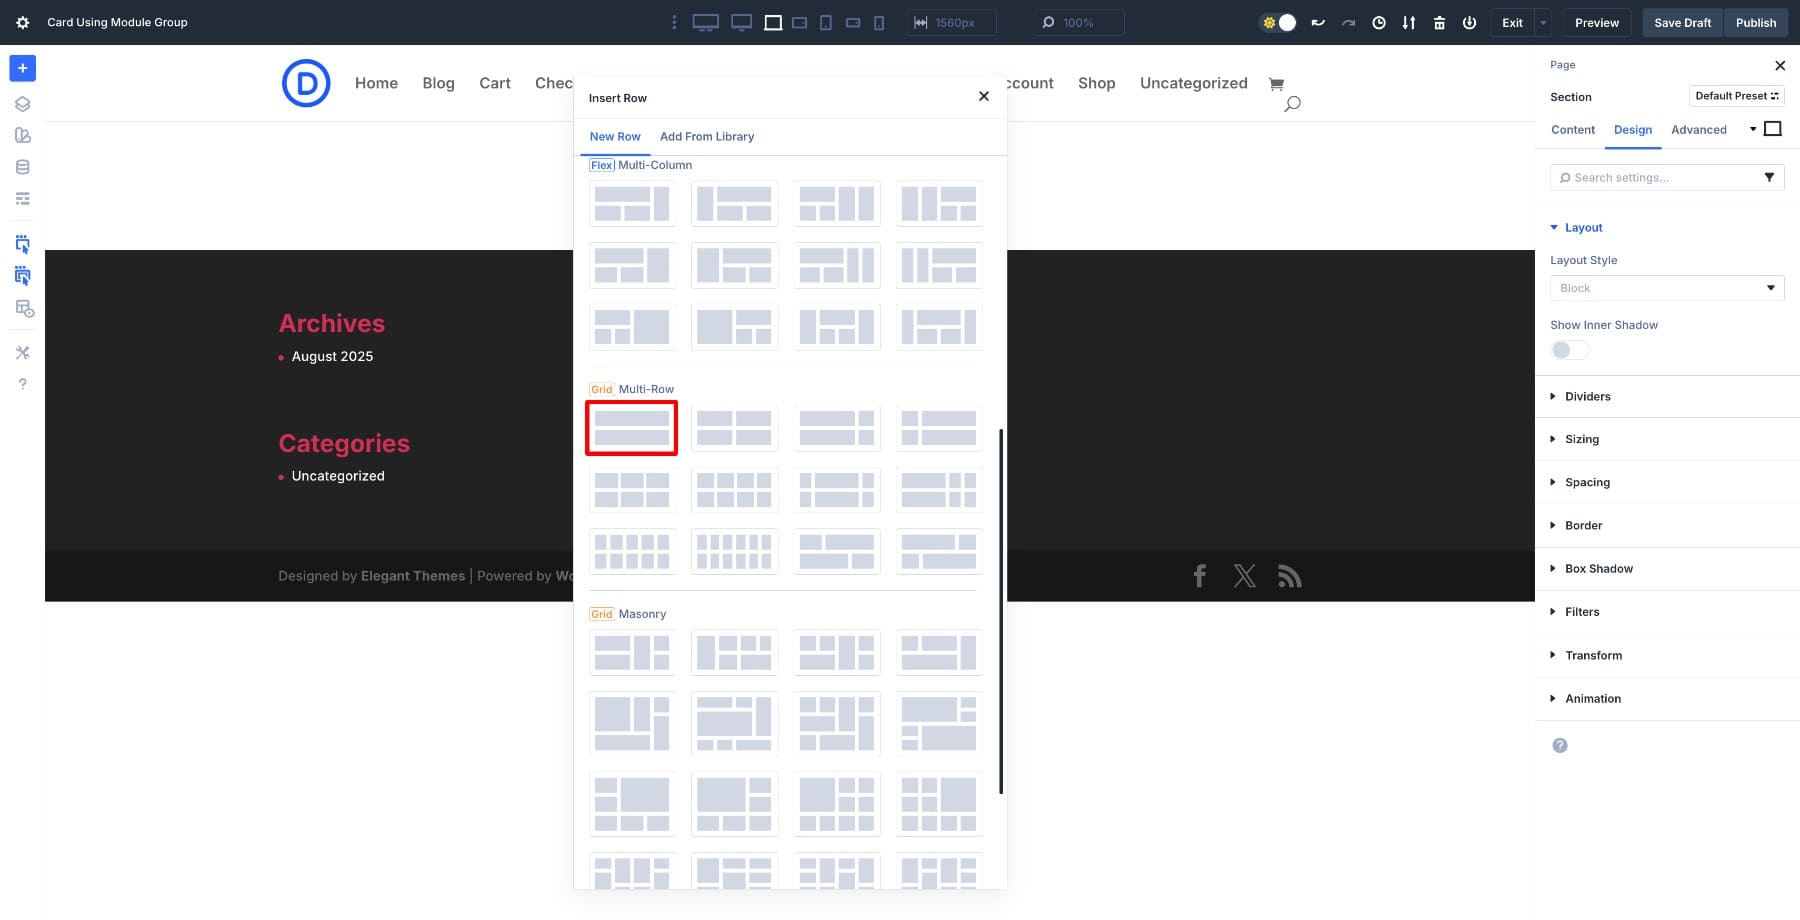
In case your Row has more than one columns, delete the extras. Then regulate the Row width to 55% (best whilst you’re designing, so parts have compatibility smartly).

Throughout the column, insert a Module Staff. This may act because the container for each and every component of the cardboard, retaining them bundled as one part.
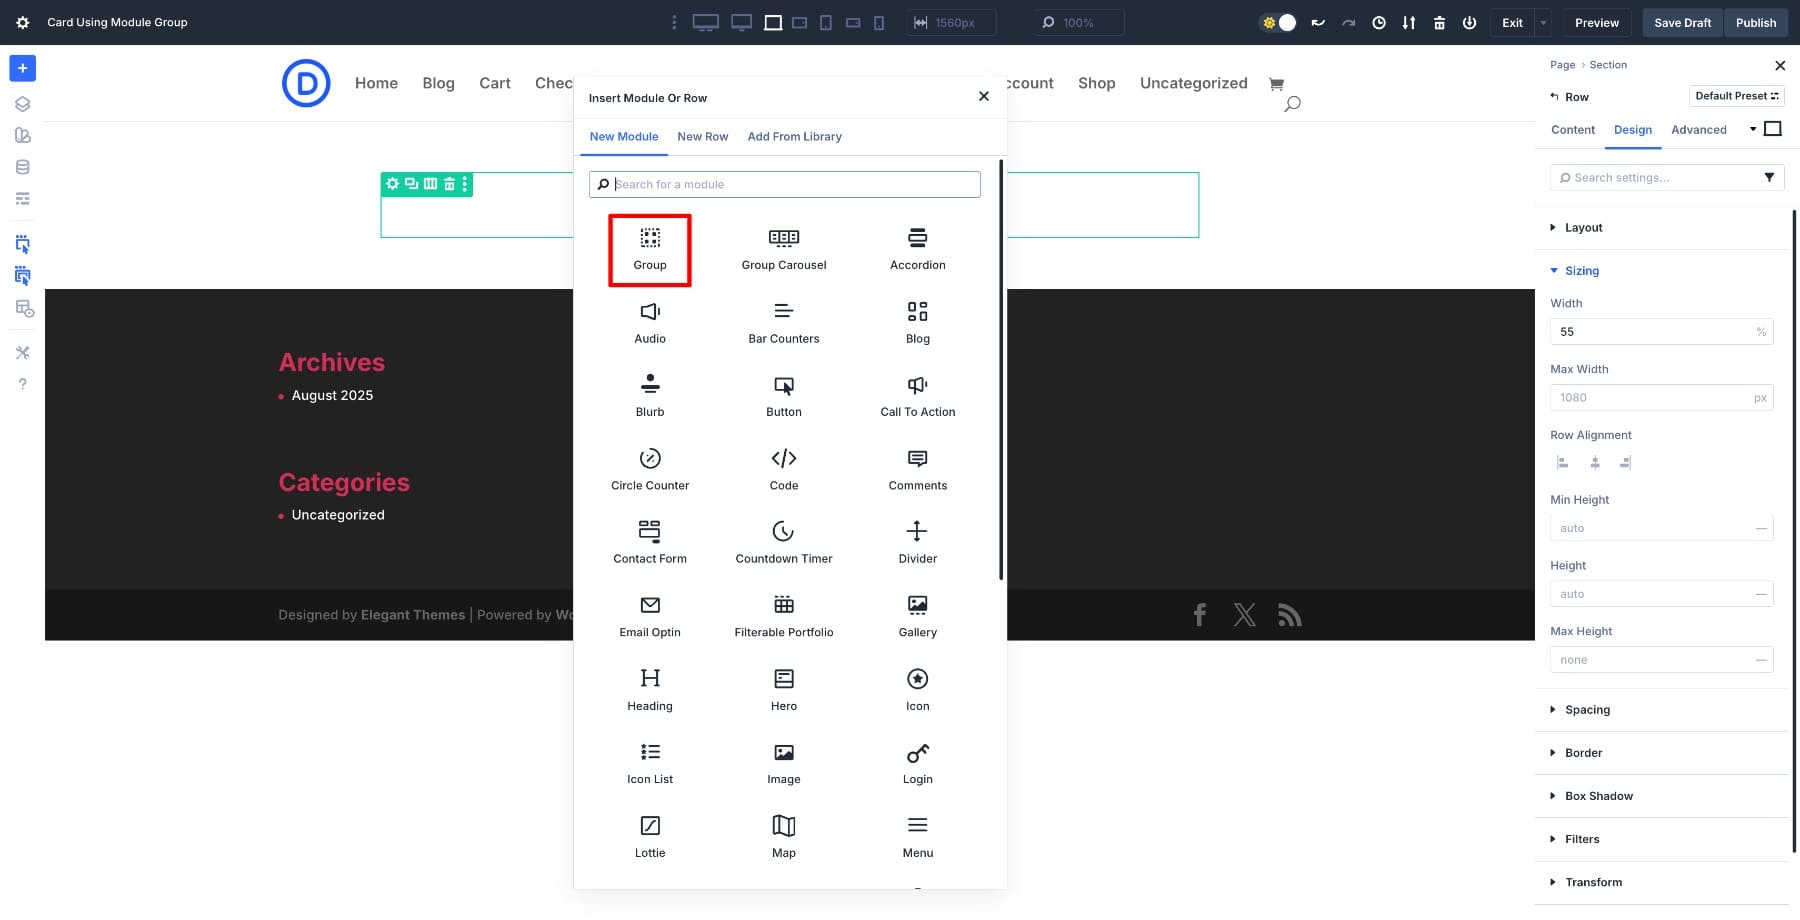
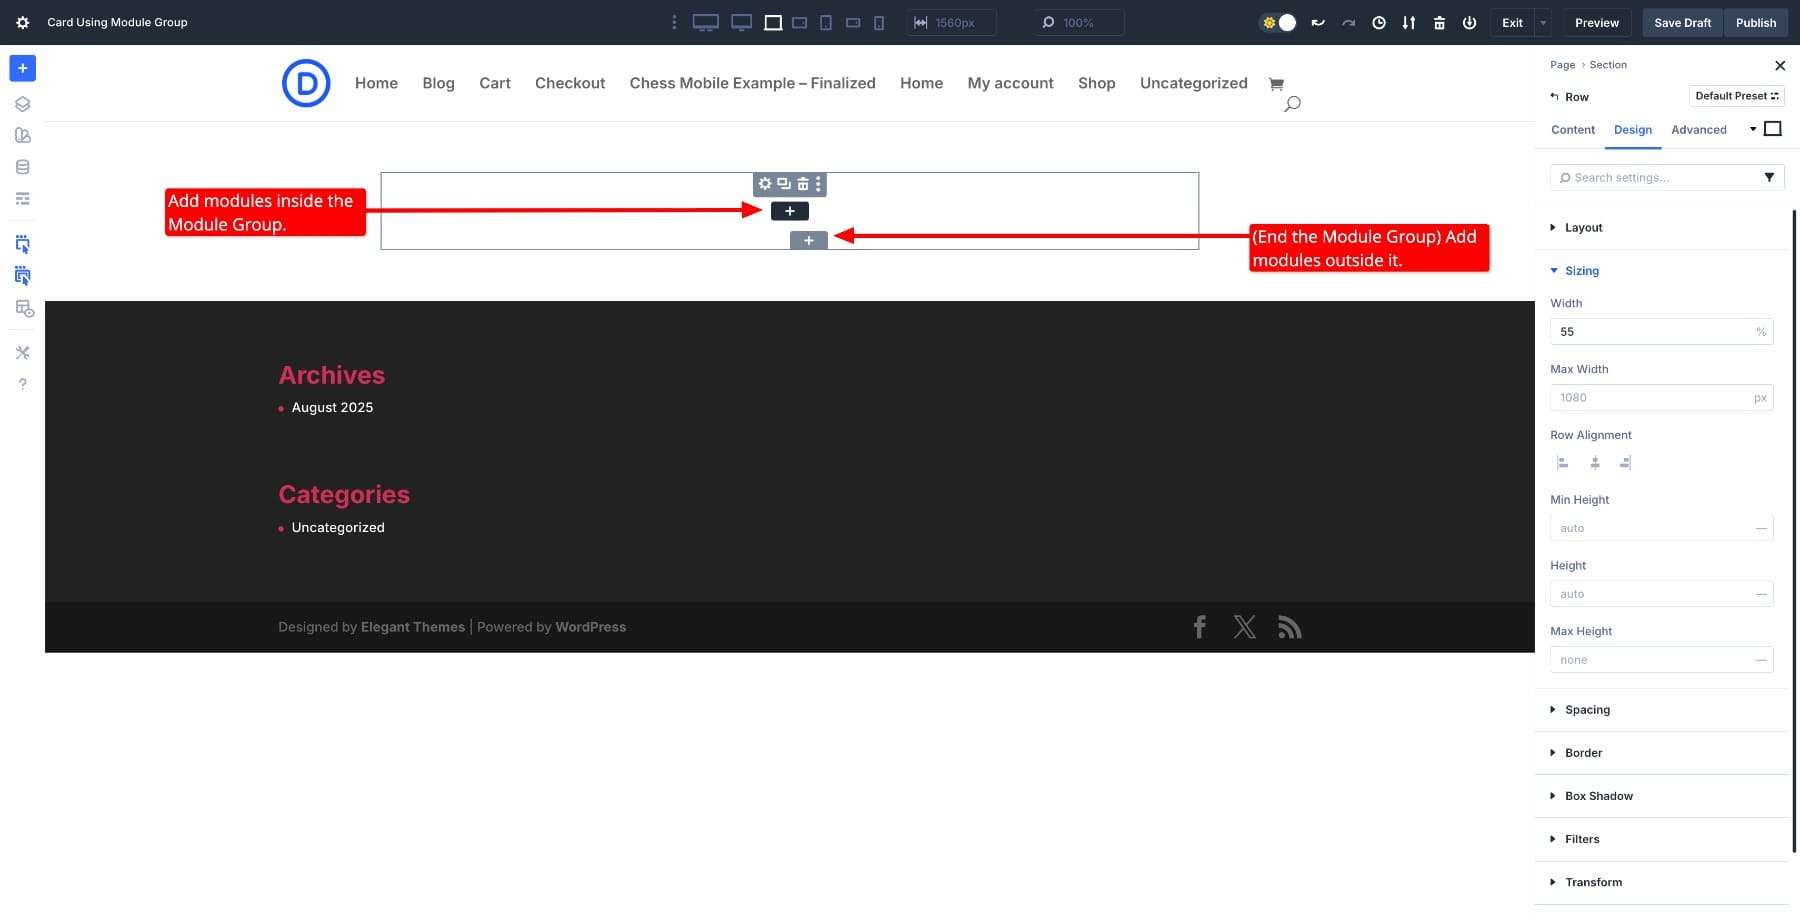
With the Module Staff in position, get started including modules inside of it. (Use the black plus button so as to add modules throughout the team. The grey plus button ends the gang.)
Upload an Symbol Module to function the cardboard’s visible header. Underneath it, insert a Heading Module and set it to H2. Upload any other Heading Module, this time styled as H4. You’ll be able to use it as a class label, tagline, or small subheading. Insert a Textual content Module for a brief description. End with a Button Module that hyperlinks to a web page, submit, product, or any URL.
Inside the Module Staff, those modules serve as as a unmarried unit. Transfer the Row construction to 2 columns and drag the gang between them, and the entirety strikes intact. You’ll be able to nonetheless rearrange modules freely throughout the team itself.
2. Taste The Card
At this time, the cardboard is only a stack of modules. Alter your Headings, Textual content, and Button Modules to check your design.
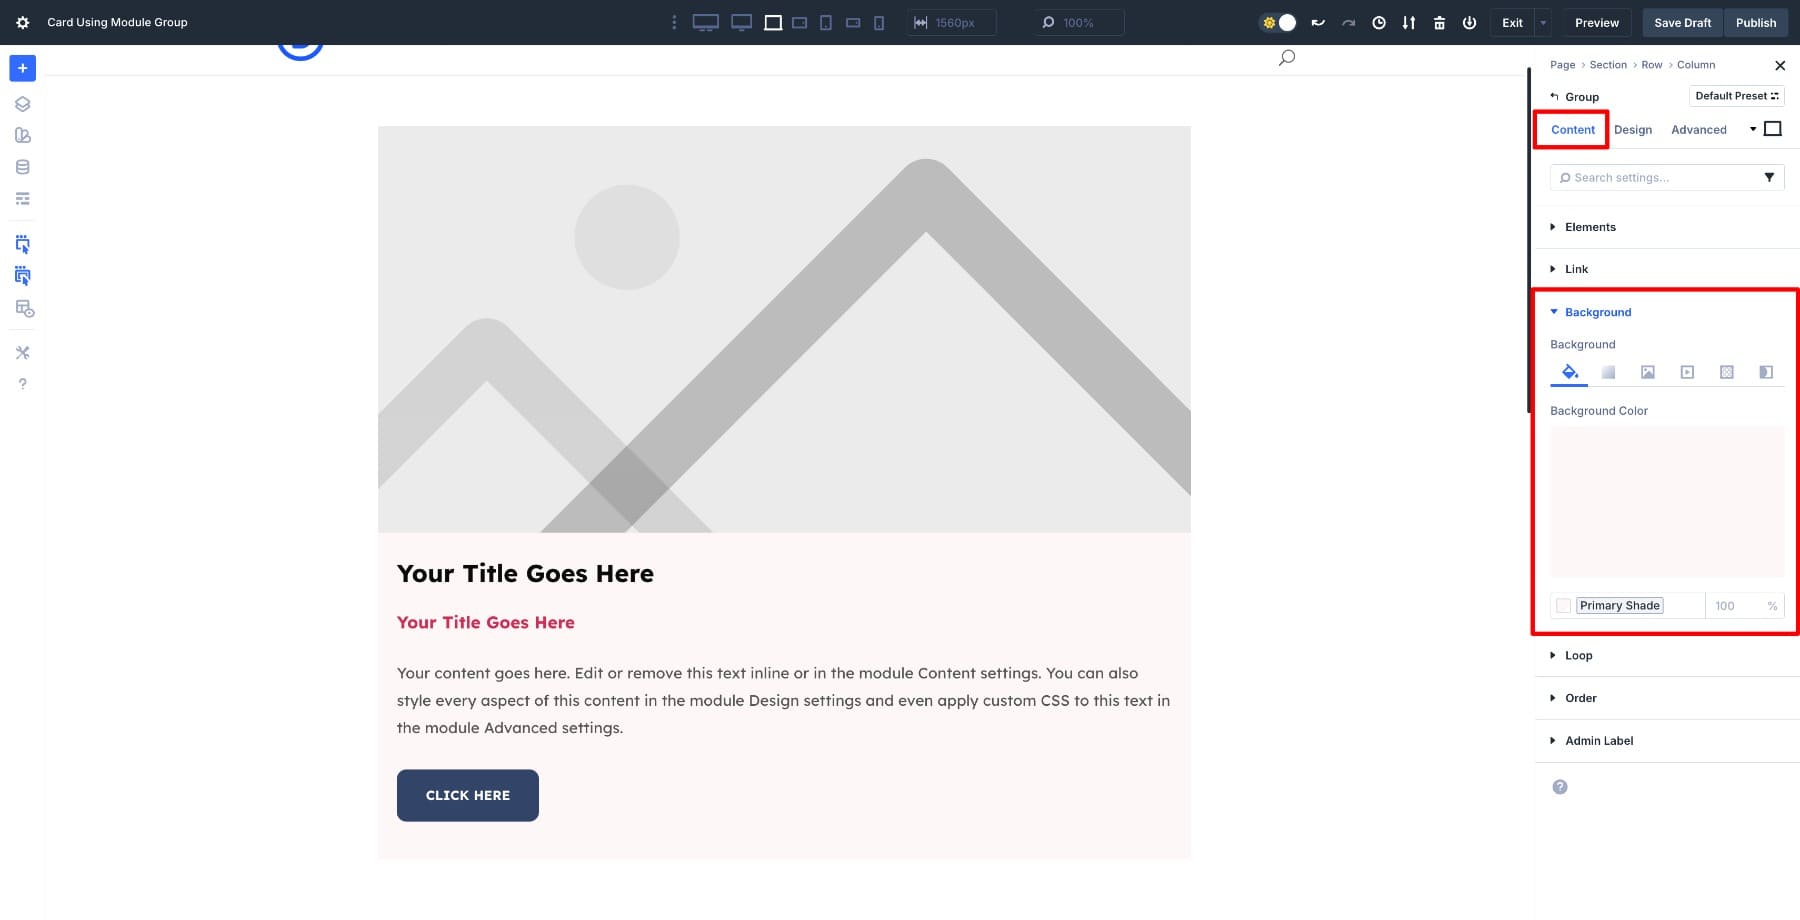
Because the team holds the entirety, it turns into the best position so as to add any background, spacing, border, or shadow. Any carried out results will wrap round all of the card.
Click on on Module Staff settings > Content material > Background. Upload a delicate colour because the background.
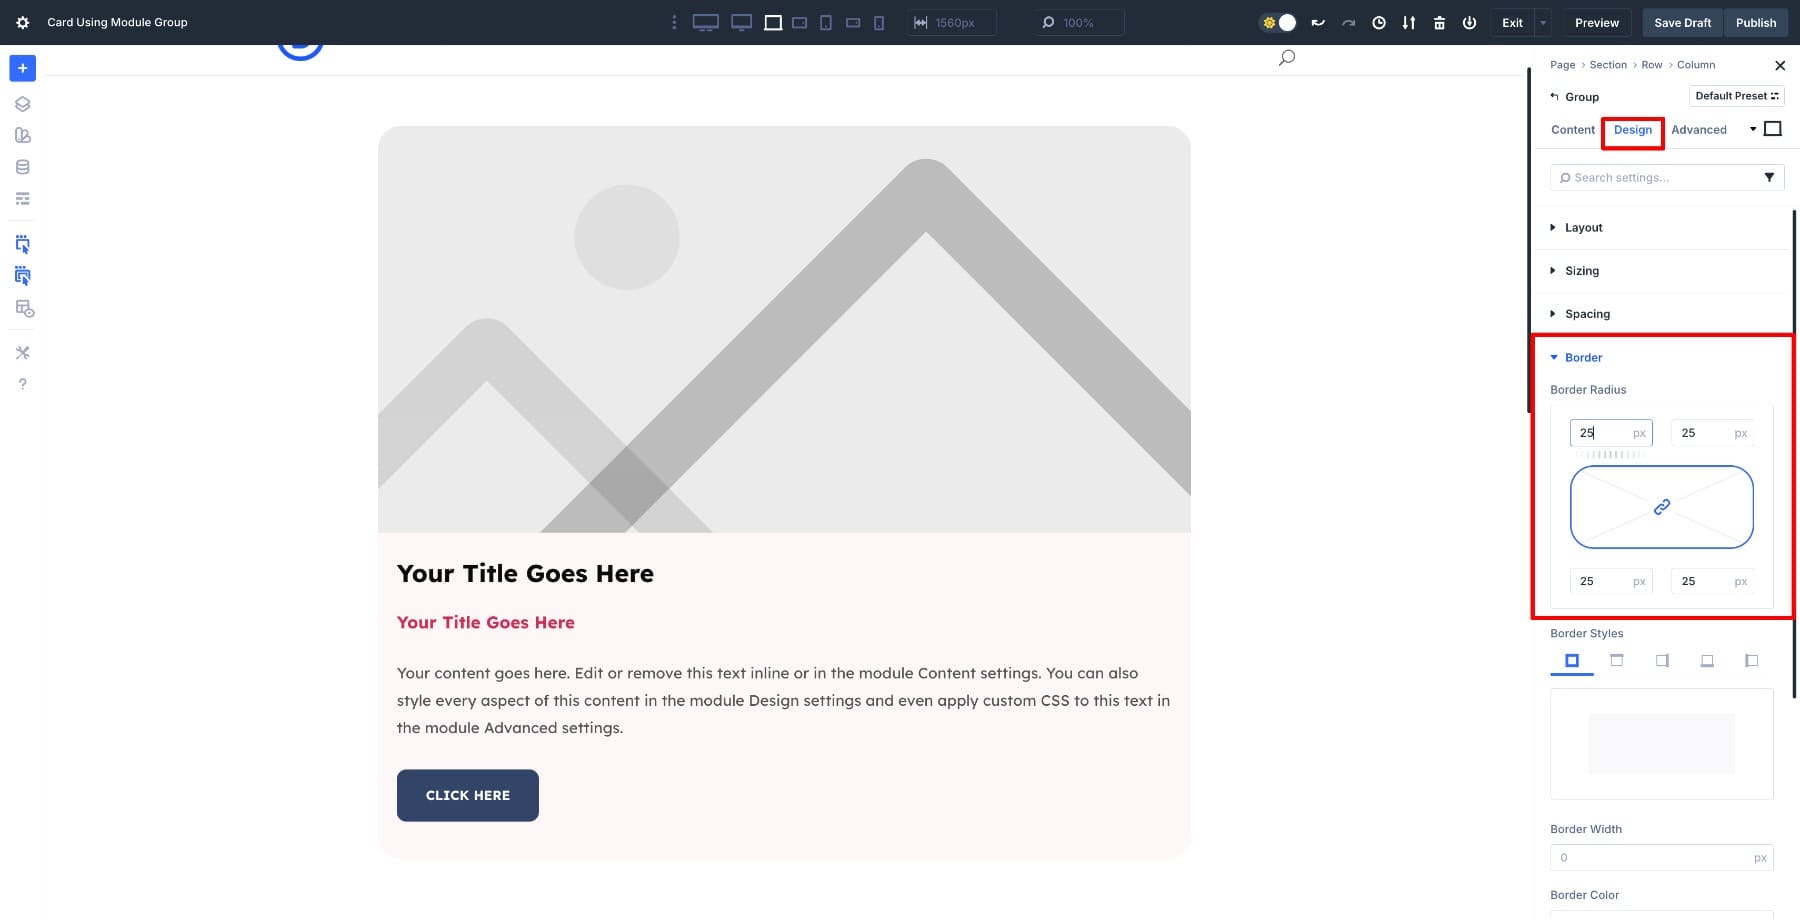
Subsequent, navigate to Design > Border. Upload 25px Border Radius to melt the perimeters.
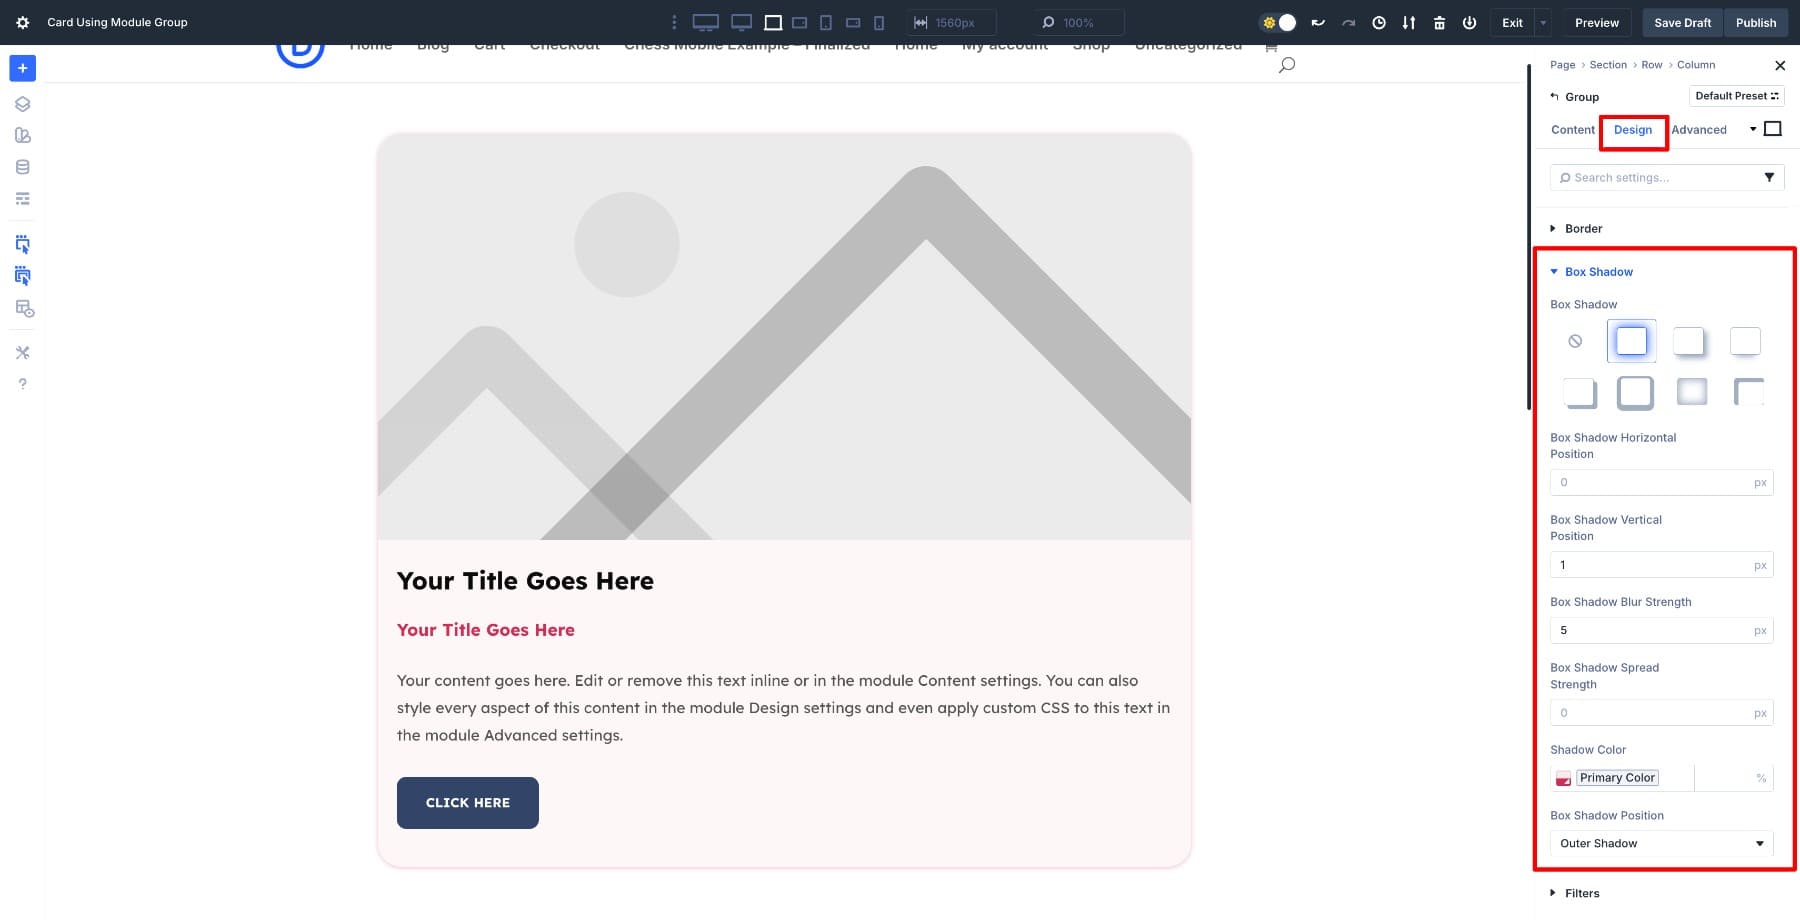
We’ll additionally upload a delicate Field Shadow to offer it a lifted impact.
You’ll be able to additionally regulate the Vertical Hole between internal modules through going to Structure (be sure that the Structure Kind is ready to Flex) > Vertical Hole.
3. Save Your Card To The Divi Library
As soon as the cardboard seems to be the best way you need, flip it right into a reusable part through saving all of the Module Staff at once for your Library.
Hover over the Module Staff, click on the 3 dots, and select Save to Library. Give your card a transparent identify. You’ll be able to additionally upload classes or tags to stay issues arranged, particularly on higher websites.
After saving, the cardboard turns into a part of your Divi Library, and you’ll pull it onto any web page. When you paintings throughout more than one websites, save this card to Divi Cloud to make it to be had all over the place you design.
4. Insert It Any place
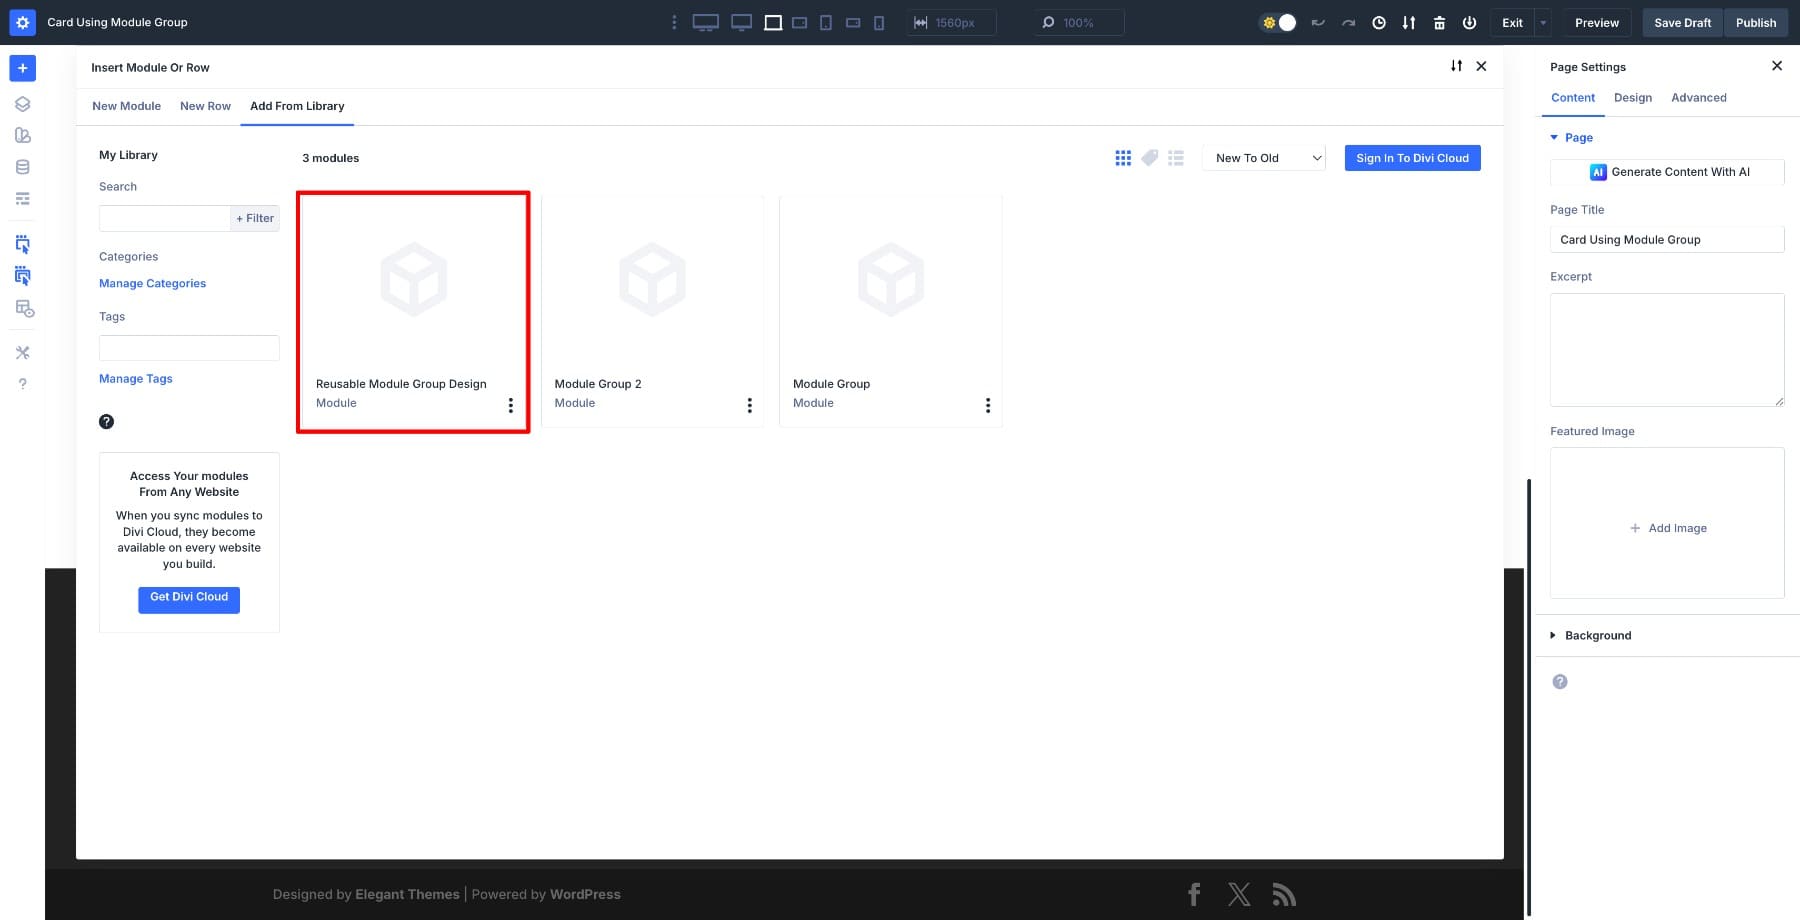
To reuse the cardboard on a brand new web page, open the Divi Builder and upload a Row. Transfer to the Upload From Library tab.
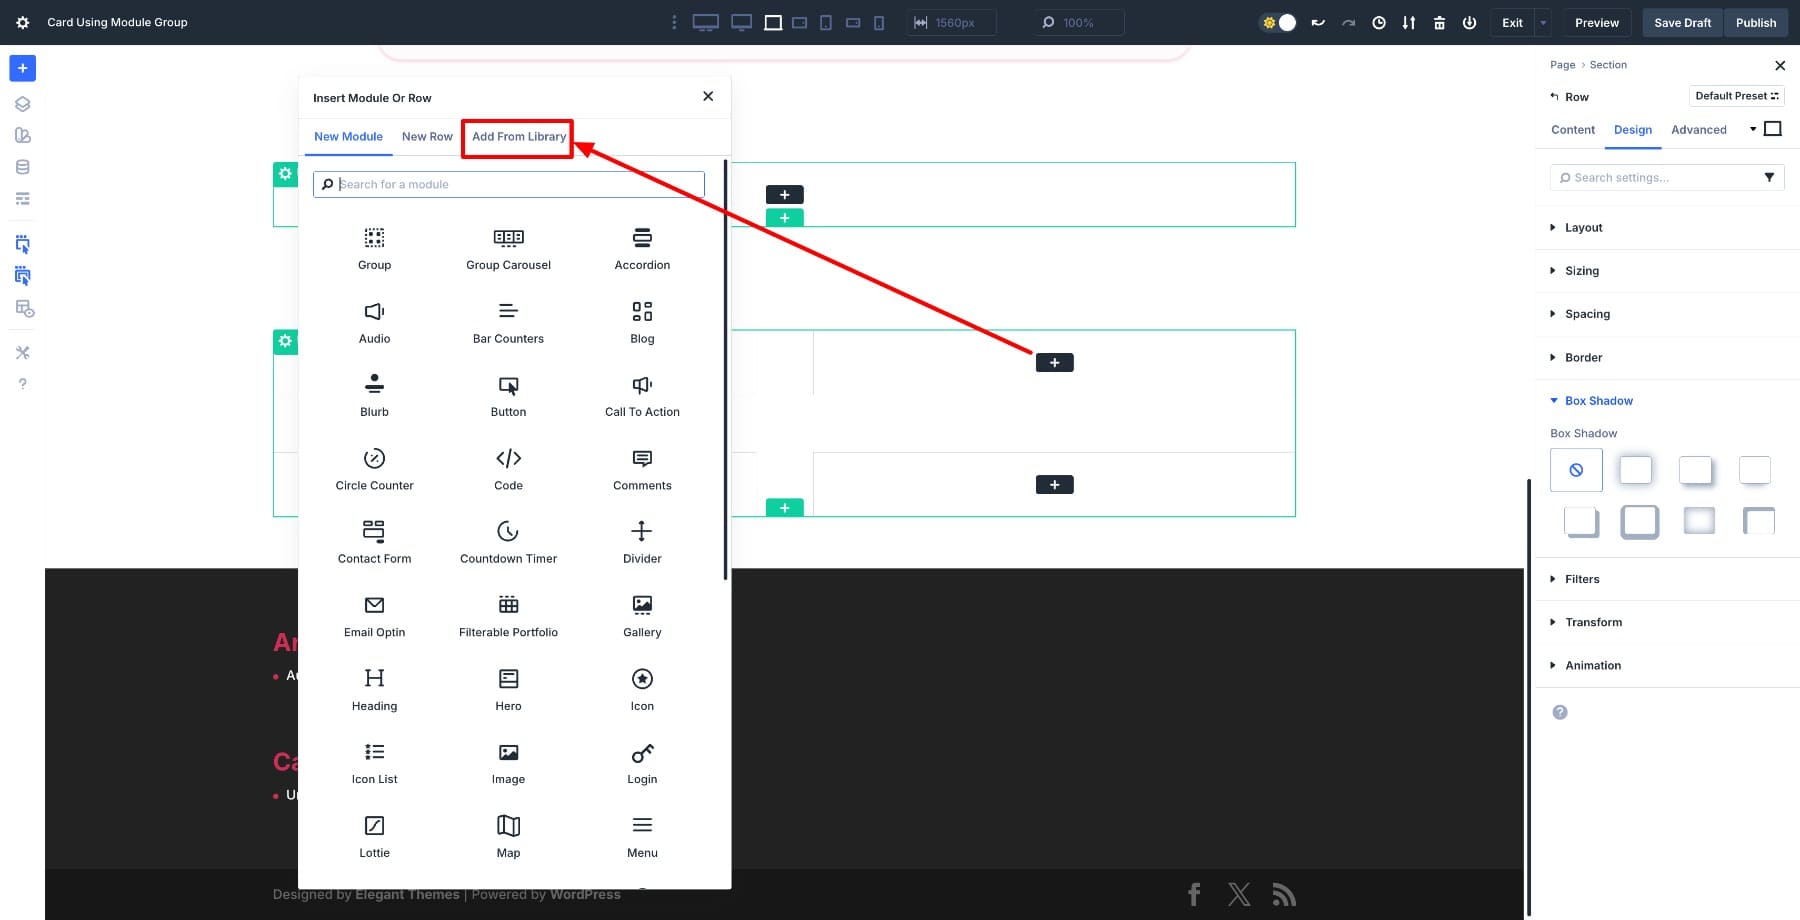
Within the subsequent window, select your stored card design.
All of the card drops in with the similar construction, styling, and spacing you already arrange. Change the picture, replace the textual content, or exchange the button hyperlink.
Bonus: Auto-Generate Card Grids With The Loop Builder
Now that you’ve got a Module Staff stored, you’ll pair it with the Loop Builder to auto-generate complete grids. The Loop Builder robotically pulls content material out of your posts, merchandise, or customized submit varieties and populates repeated layouts. Design the cardboard as soon as as a Module Staff, attach it to the Loop Builder, and watch it fill with dynamic content material.
The similar card construction you constructed can now show weblog posts, WooCommerce merchandise, crew contributors, portfolio pieces, or some other content material kind. Let’s have a look at two commonplace examples.
1. Weblog Publish Loop
Say you need to show your newest weblog posts in a grid. Upload your card structure from the library and move to the row’s column settings > Content material > Loop. Flip it on, set the Publish Kind to Posts, choose the choice of posts to show, and depart the opposite settings unchanged.
Hover over the content material fields to find the Dynamic Content material icon and select related choices. After you attach each and every box to Dynamic Content material, the Loop Builder populates your card with the featured symbol, submit name, excerpt, and hyperlink for each and every submit.
2. Product Loop
The method is the same for WooCommerce merchandise. Create a brand new Loop Builder Row, set the Publish Kind to Merchandise, and select a particular class (or depart unchanged). You’ll be able to pull in product photographs, titles, costs, and Upload to Cart parts through including the suitable Woo modules and connecting Dynamic Content material.
The Module Staff maintains visible consistency, whilst the Loop Builder handles the knowledge.
You’ll be able to additionally customise what seems in each and every card. In case your merchandise don’t use classes otherwise you’d choose to not display the date, delete the ones modules from the Loop Merchandise. Wish to upload writer names, learn time, or customized fields? Drop the ones modules into the gang, choose the related choices by the use of Dynamic Content material, and the Builder will populate them dynamically.
Since this card makes use of Design Variables, updating the design throughout each and every example takes seconds. Exchange the cardboard’s background colour through updating your Number one Colour variable. To regulate the border radius, replace a Border Radius Design Variable. Each and every card the use of the ones variables updates straight away.
This is applicable to spacing, typography, button types, and some other belongings managed through a Design Variable. One exchange updates all of the gadget, from a handful of playing cards to loads generated in the course of the Loop Builder.
Take a look at Module Teams In Divi 5 As of late!
You currently have a card design stored for your Divi 5 Library that works throughout any web page and robotically populates with dynamic content material in the course of the Loop Builder. Extra importantly, you might have a workflow that scales.
Design the construction as soon as, keep watch over it globally with Design Variables, and let the Loop Builder maintain repetition. This identical means works for crew grids, provider playing cards, testimonial layouts, or any repeating trend you wish to have on a web page.
The submit How To Create A Reusable Card Module Group In Divi 5 seemed first on Elegant Themes Blog.
Contents
- 1 How Module Teams Paintings
- 2 Construct Your Card Design
- 3 Bonus: Auto-Generate Card Grids With The Loop Builder
- 4 Take a look at Module Teams In Divi 5 As of late!
- 5 If Everyone seems to be a Content material Writer — Is Someone?
- 6 Absolute best WP FixAll Possible choices For WordPress | WordPress Safety: Past…
- 7 13 Companies With Good International Advertising Methods

0 Comments