

This text will dive into the choices of Laravel Breeze, overview it to other Laravel starter kits, and walk you at some point of the arrange process. Additionally, we’ll uncover generated files, customize the registration flow, and tweak the UI (shopper interface) to suit your endeavor’s needs.
What Is Laravel Breeze
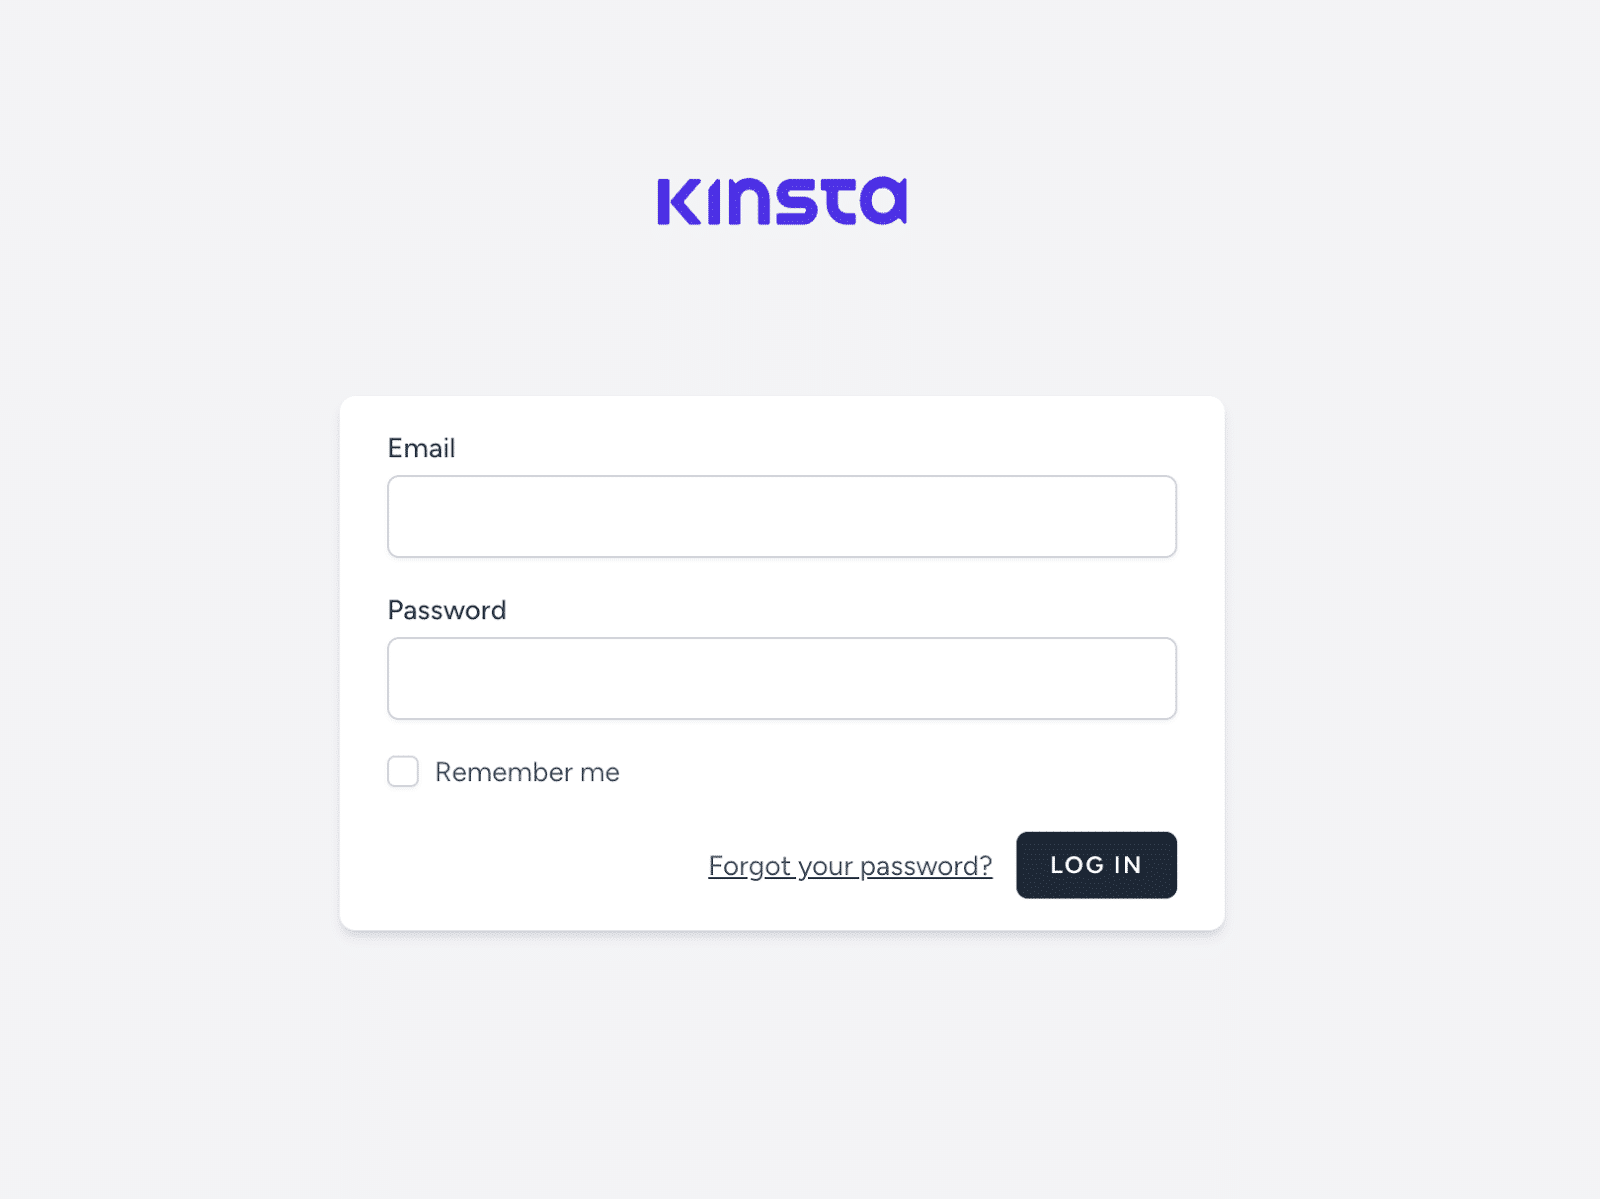
Laravel Breeze is an authentication scaffolding package deal deal for Laravel. The use of it you’ll be capable to have a fully running login and registration tool in minutes. It is helping Blade, Vue, and React and also has an API type.
The primary choices of Laravel Breeze are:
- Login
- Registration
- Password reset
- E mail verification
- Profile internet web page, with improving
A most often asked question can also be when to make a choice Breeze and when to use different Laravel authentication programs.
There are two similar systems inside the Laravel ecosystem which can also be sophisticated if you’re new to this space.
The main one is Laravel Strengthen which is a headless authentication backend, making it preferably fitted to building custom designed authentication systems and not using a pre-built UI.
Make a choice Beef up you probably have very custom designed UI needs or if you’re only in charge of the backend of the authentication.
The other package deal deal is Laravel Jetstream which gives a additional sophisticated place to begin for Laravel applications, along with choices like two-factor authentication and body of workers regulate.
Against this, Laravel Breeze is best suited for developers looking for a simple however customizable authentication scaffold with fortify for reasonably numerous frontend frameworks and minimal overhead.
Putting in place Laravel Breeze to a Contemporary Laravel Project
To stick it simple, suppose we already created a brand spanking new Laravel endeavor, if you need help with it you’ll be capable to observe our data to setup a brand new Laravel software at Kinsta.
After that, we wish to arrange Laravel Breeze with the following command:
composer require laravel/breeze --devIn this instructional, we will be able to use Blade which is the default templating engine for Laravel. To begin out the scaffolding run the ones directions:
php artisan breeze:arrange blade

php artisan migrate
npm arrange
npm run dev
Laravel Breeze moreover has Vue / React / custom designed API diversifications, to use them you merely wish to put a flag inside the command.
For Vue run:
php artisan breeze:arrange vueFor React run
php artisan breeze:arrange reactFor custom designed API run
php artisan breeze:arrange apiAfter putting in place Laravel Breeze, you’ll keep in mind that numerous files had been generated in your endeavor checklist. The ones files include routes, controllers, and views that maintain authentication, password reset, and email verification. You’ll uncover the ones files and customize them to fit your device prerequisites.
How To Customize the UI
Laravel Breeze uses TailwindCSS beneath the hood, to customize the UI we will use any Tailwind software magnificence.
You’ll customize each and every part of the UI by the use of improving the view files inside the assets/views/auth; folder, some part of the UI is organized into Blade components, you’ll be capable to to find the ones inside the assets/views/components folder.
Changing the Laravel Brand to Our Crew Brand
Laravel Breeze uses Blade components to organize codes used multiple circumstances. So, as an example, proper right here’s the way you’ll be capable to change the logo inside the assets/views/components/application-blade.php file.
Open the file and alter the existing content material subject matter with your svg report.
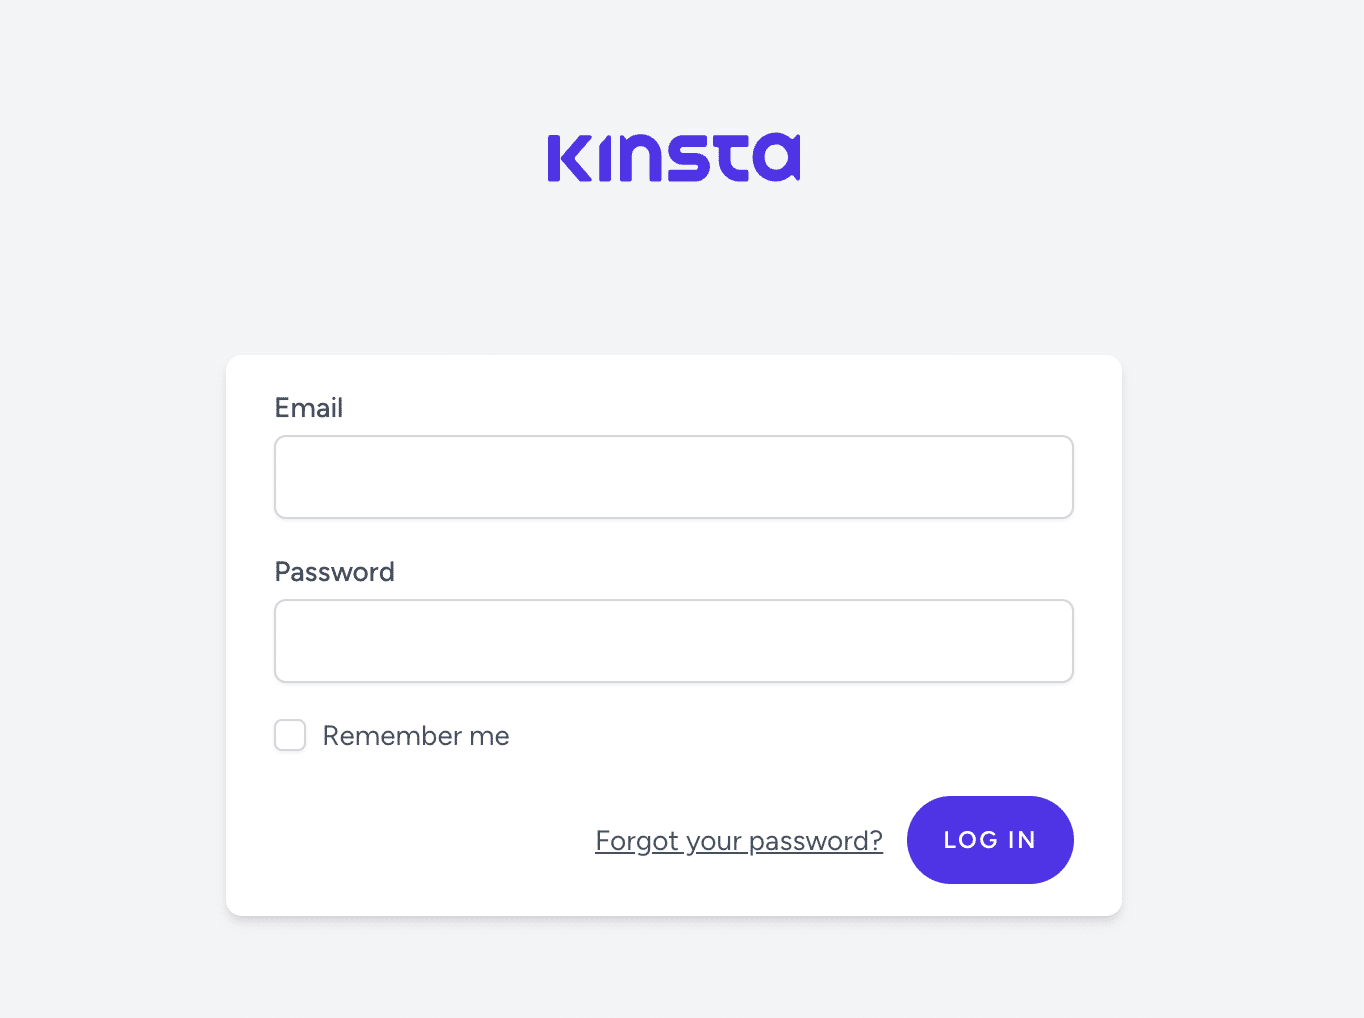
Open the assets/views/components/primary-button.blade.php file. You’ll make any modification proper right here, like customizing the button of your login internet web page in your brand’s color.
How To Customize the Registration Glide
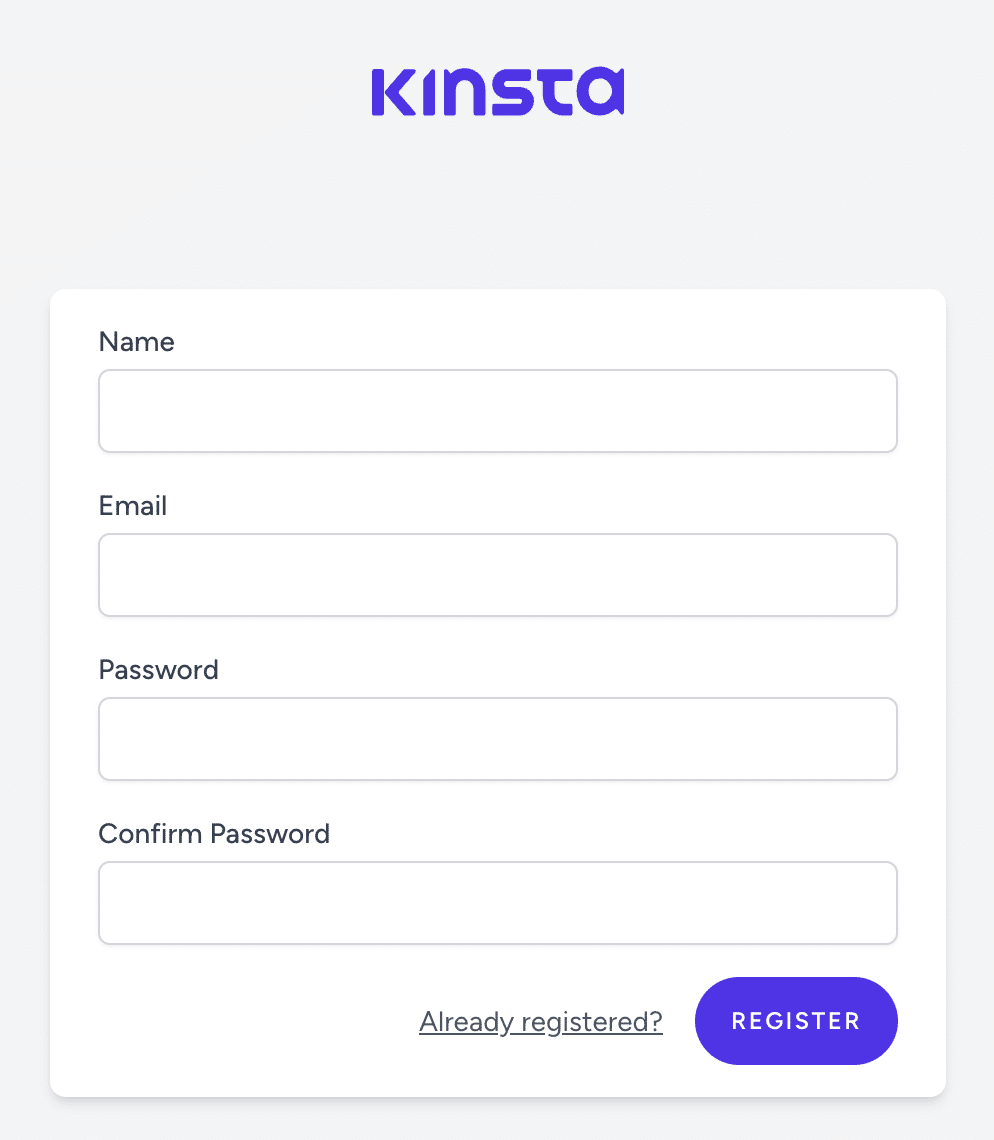
The Laravel Breeze registration internet web page comes with 4 predefined fields:
- Identify
- E mail
- Password
- Password confirmation
To extend the fields we’d like our registration form to serve as, we wish to open the assets/views/auth/check in.blade.php file.
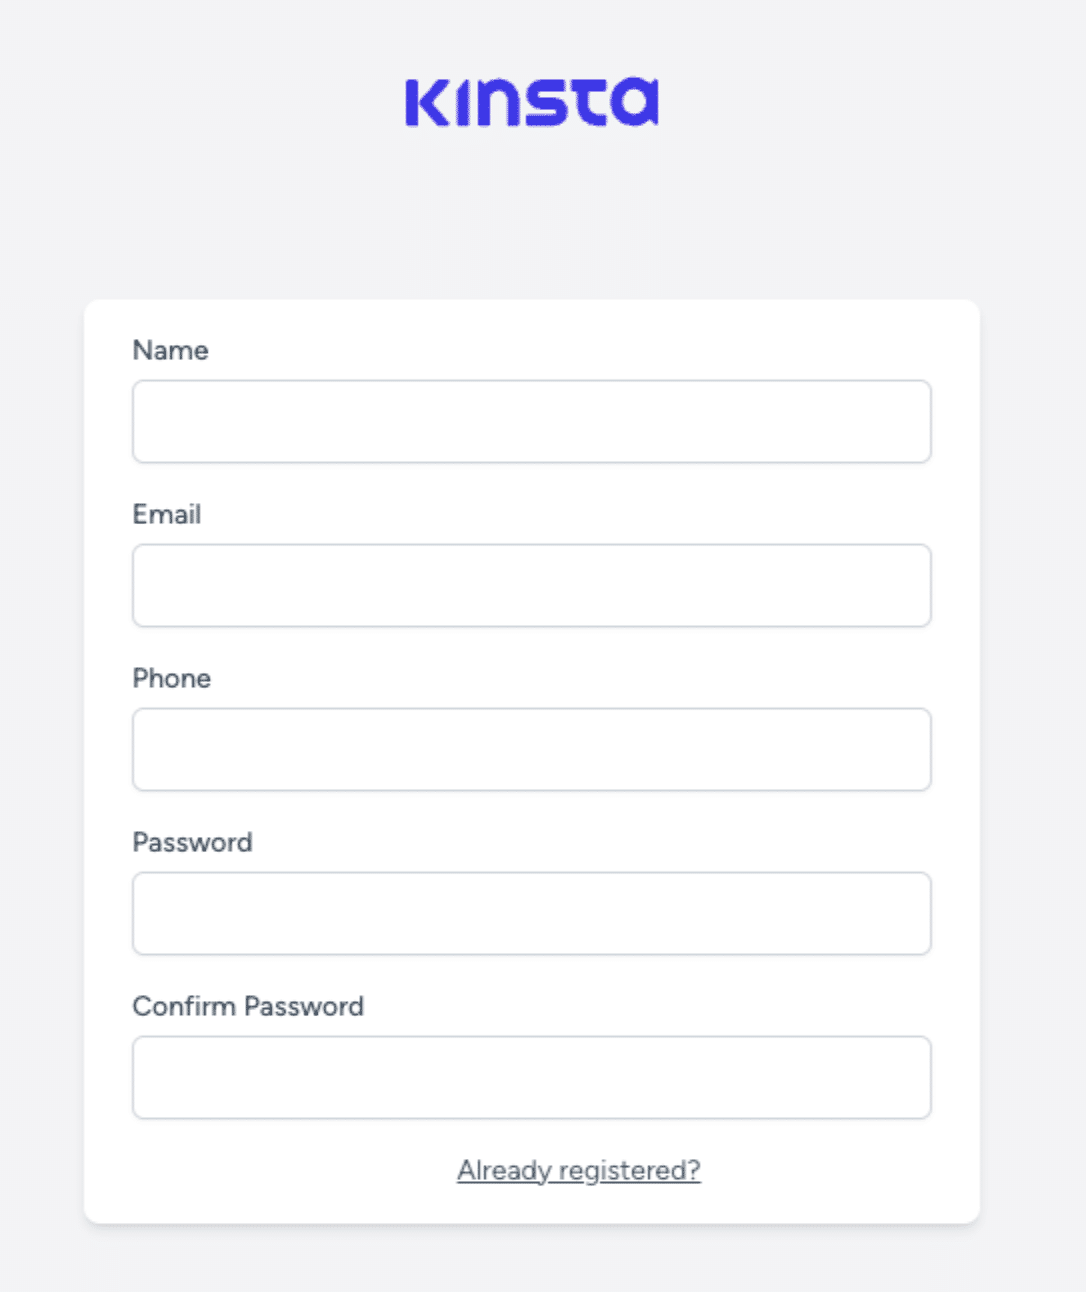
To continue with our example, we will be able to make a phone field after the email field. To make this happen, add the following code after the email field:
get('phone')" magnificence="mt-2" />
The phone field is now visible inside the registration form.
Modifying the Backend to Store the New Phone Field
We now wish to maintain the new data inside the backend. The ones require 3 steps: first, create and run a brand spanking new migration, then add excellent judgment to the controller to store the information, and in the end, add phone to the fillable houses inside the Client taste.
Create a brand spanking new migration that may add a phone field to our consumers table.
php artisan make:migration add_phone_field_to_users_tableOpen the created file and add a string field known as ‘phone’:
Schema::table('consumers', function (Blueprint $table) {
   $table->string('phone')->nullable();
});
After that run the migration:
php artisan migrateTo store the phone field we wish to modify the RegisteredUserController.php, inside the store means make the ones adjustments:
$request->validate([
   'name' => ['required', 'string', 'max:255'],
   'email' => ['required', 'string', 'email', 'max:255', 'unique:'.User::class],
   ‘phone’ => [‘required’, ‘string’, ‘max:255’],
   'password' => ['required', 'confirmed', RulesPassword::defaults()],
]);

$shopper = Client::create([
   'name' => $request->name,
   'email' => $request->email,
   ‘phone’ => $request->phone,
   'password' => Hash::make($request->password),
]);
Don’t overlook so to upload the phone field to the fillable houses inside the Client taste.
protected $fillable = [
   'name',
   'email',
   'phone',
   'password',
];
That’s it, now we’ve got the modified registration form!
How To Allow E mail Verification
E mail verification is the process of checking and authenticating emails that consumers had been supplied inside the registration form.
To allow this selection we wish to enforce MustVerifyEmail interface in our Client taste.
use IlluminateContractsAuthMustVerifyEmail;
…

magnificence Client extends Authenticatable implements MustVerifyEmail
{
…
}
After that, an email will likely be sent out when a shopper registers with a link to ensure their email.
However, we nevertheless wish to add a middleware to our routes where we want to restrict get admission to to unverified consumers.
We will create a brand spanking new route known as ‘only-verified’ and we will be able to add ‘auth’ and ‘verified’ middleware. The auth middleware prevents get admission to to guests and the verified middleware exams whether or not or now not the shopper has verified their email.
That is an example:
Path::get('/only-verified', function () {
   return view('only-verified');
})->middleware(['auth', 'verified']);
Summary
Laravel Breeze is a handy gizmo for in brief setting up an authentication tool for your Laravel endeavor.
With its simple however customizable scaffolding, you’ll be capable to focal point on building your app without worrying regarding the authentication process.
If you are looking for a place to host your new Laravel device, check out our Laravel web hosting answer with its powerful choices that make app deployment and regulate rapid and easy.
The publish Authentication in Laravel The usage of Breeze gave the impression first on Kinsta®.
Contents
- 1 What Is Laravel Breeze
- 2 Putting in place Laravel Breeze to a Contemporary Laravel Project
- 3 How To Customize the UI
- 4 How To Customize the Registration Glide
- 5 Modifying the Backend to Store the New Phone Field
- 6 How To Allow E mail Verification
- 7 Summary
- 8 Winston AI Review (2023): The Best AI Content Detector
- 9 Filter out WooCommerce Merchandise (Step-by-Step Educational)
- 10 Get a Free Email Marketing Layout Pack for Divi

0 Comments