
As a marketer, I’ve created a large number of digital graphics in every single place my career. However, it wasn’t until in recent times that I started having a look into rising GIFs. For some the explanation why, I’d always assumed growing customized animated graphics can be a time-consuming process that required a ability set I simply didn’t have.
Turns out, I was wrong. In fact, this is a pretty simple process.
So, in this publish, I’ll teach you one of the crucial a very powerful elementary talents for rising animated graphics — simple easy methods to add text to a GIF. Let’s get started.

4 Techniques to Add Text to GIFs
I will be able to show you 4 techniques with the intention to upload text to a GIF using beginner-friendly tools with little to no finding out curve. With the ones tools, you’ll regulate your GIFs in only a few steps, making the process very simple and blazing rapid.
Follow: For comparison, I‘ll use the ones 4 tools with the intention to upload the an identical text to the an identical GIF. I’m moreover using the unfastened diversifications of the ones apps for the learning.
With Gifntext
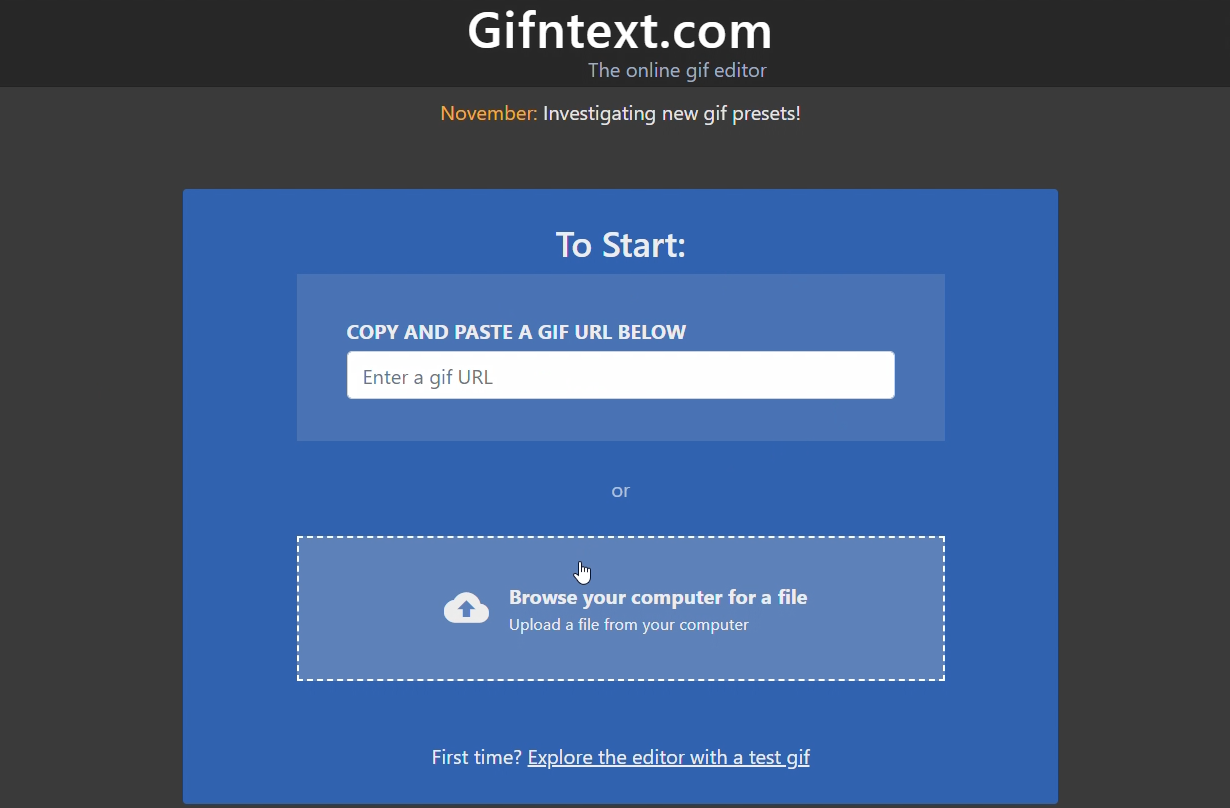
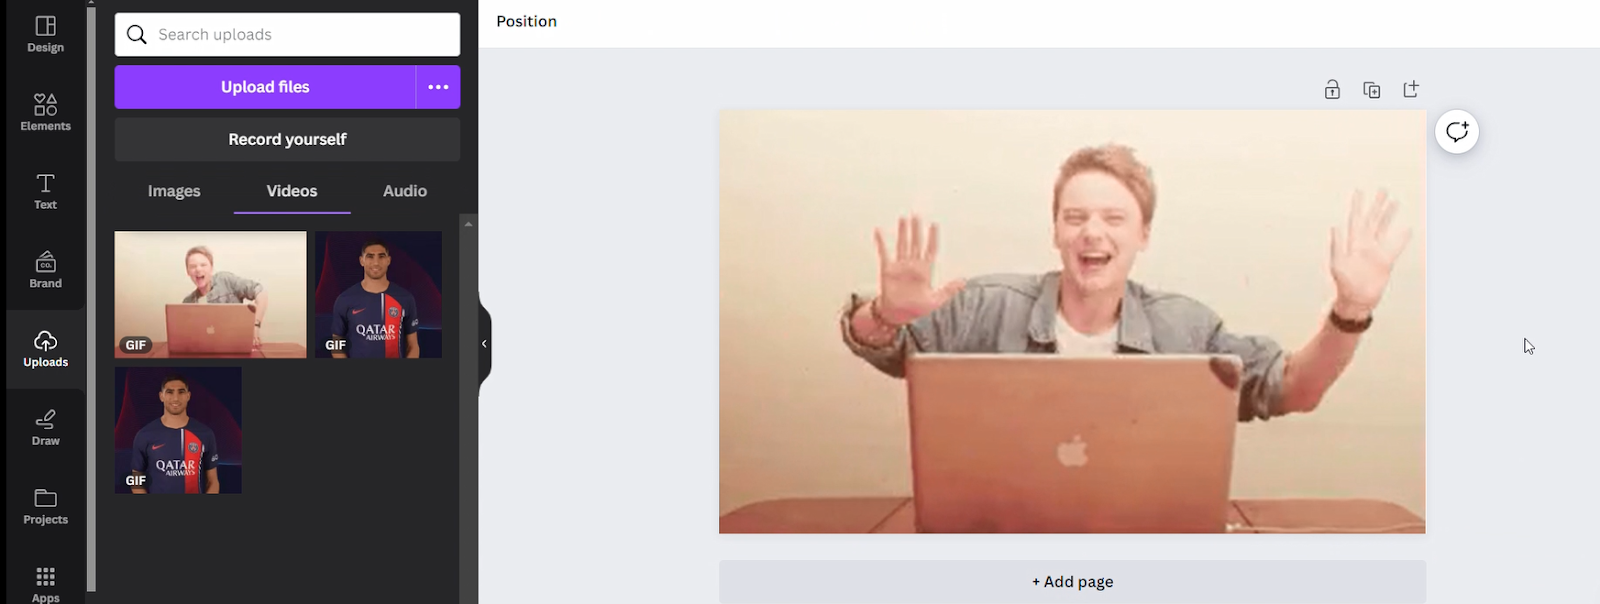
Step 1: Open the Gifntext internet web page. Upload your GIF instantly from your computer or copy and paste the GIF URL into the bar on the homepage.
Step 2: You’ll be redirected to the editor where placeholder text it is going to be automatically imposed for your GIF and, an interactive educational will walk you via your alternatives for boosting this article.
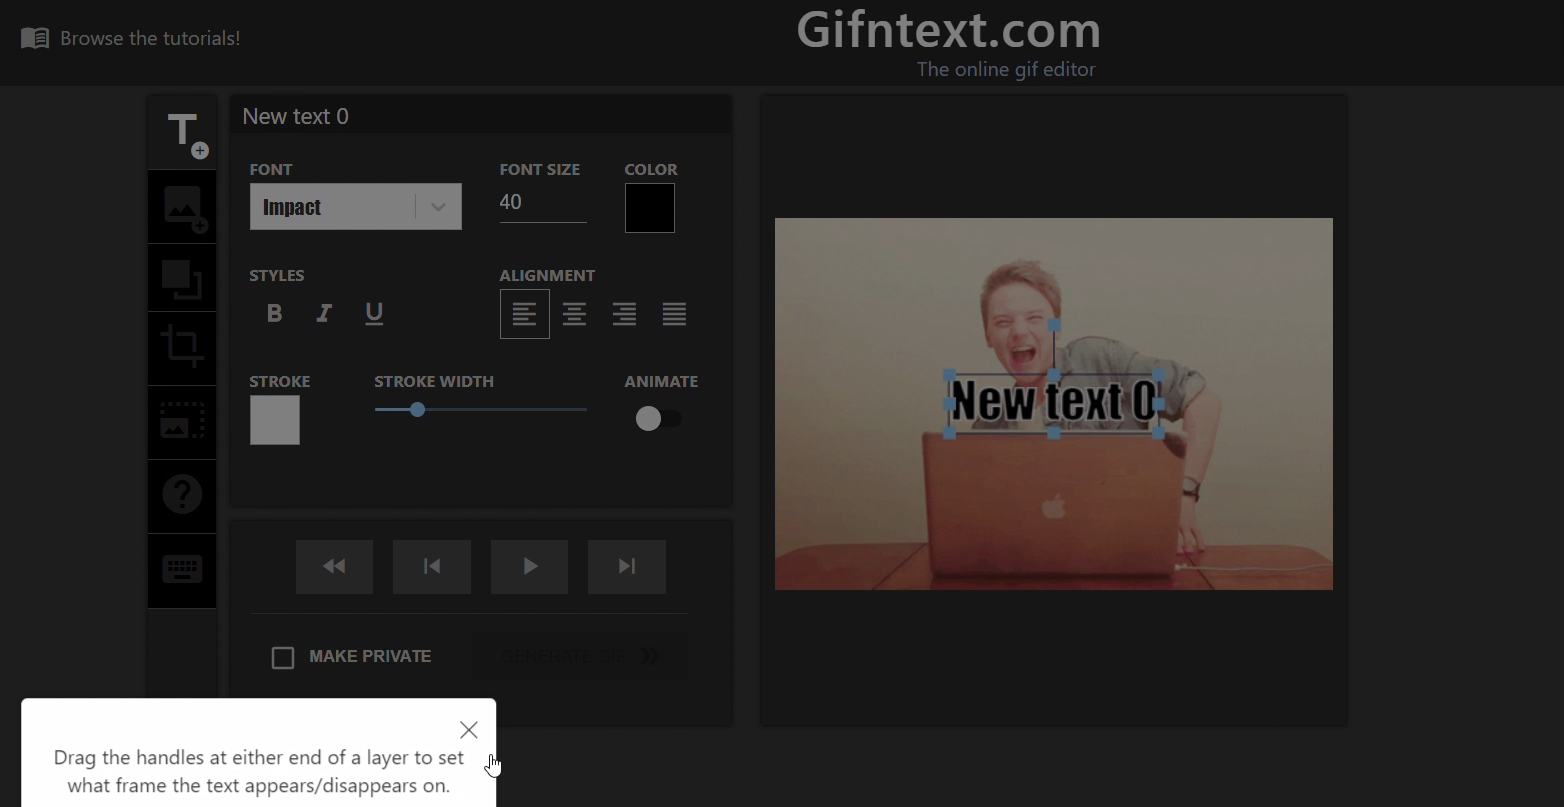
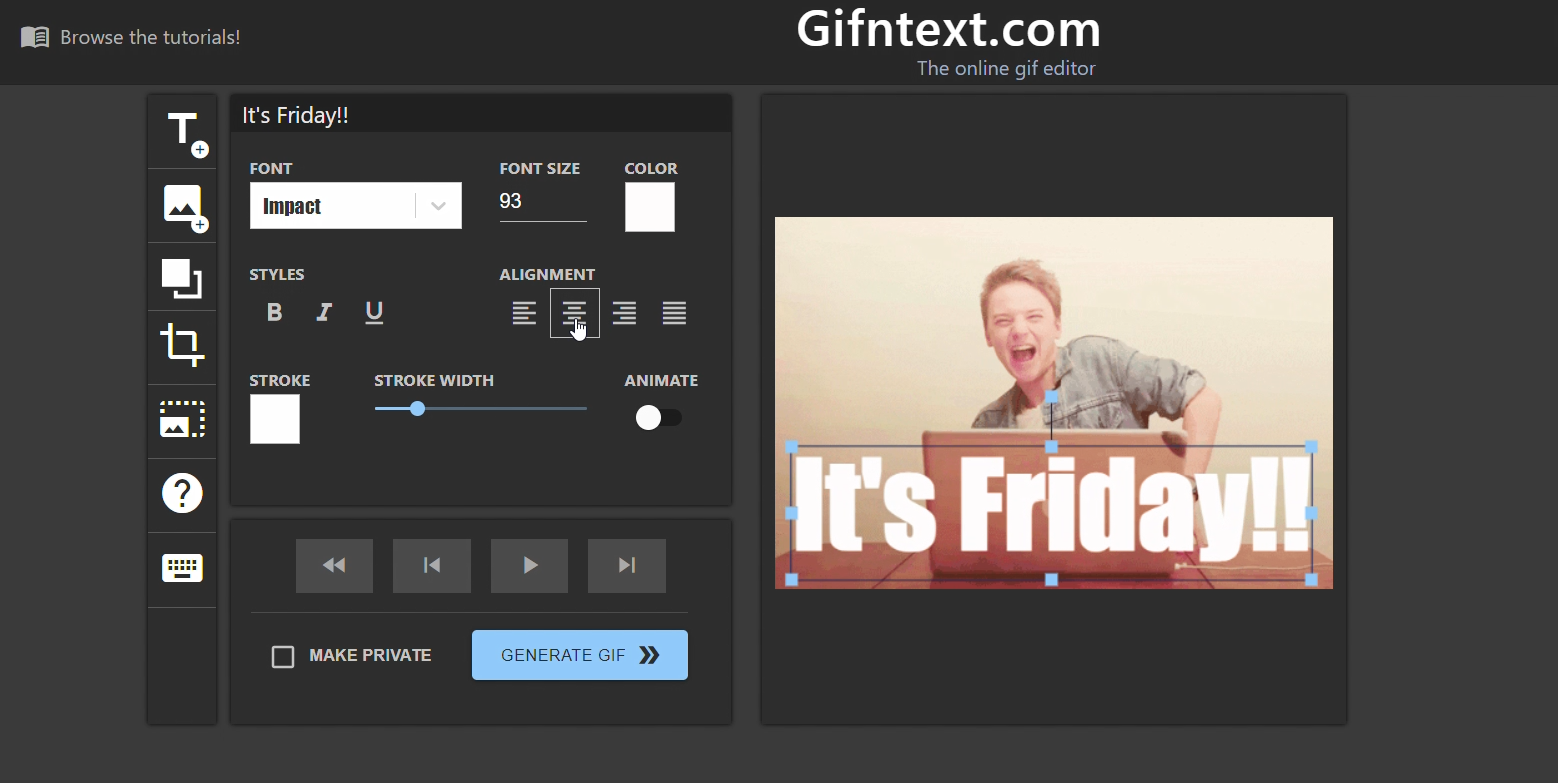
Step 3: Edit your text. For my GIF I changed the text to “It’s Friday”, left the default font as “Impact”, and adjusted the font color from black to white. In the end, I upper the font size to 93, moved the text to the bottom of the GIF, and set the text alignment to “center.”
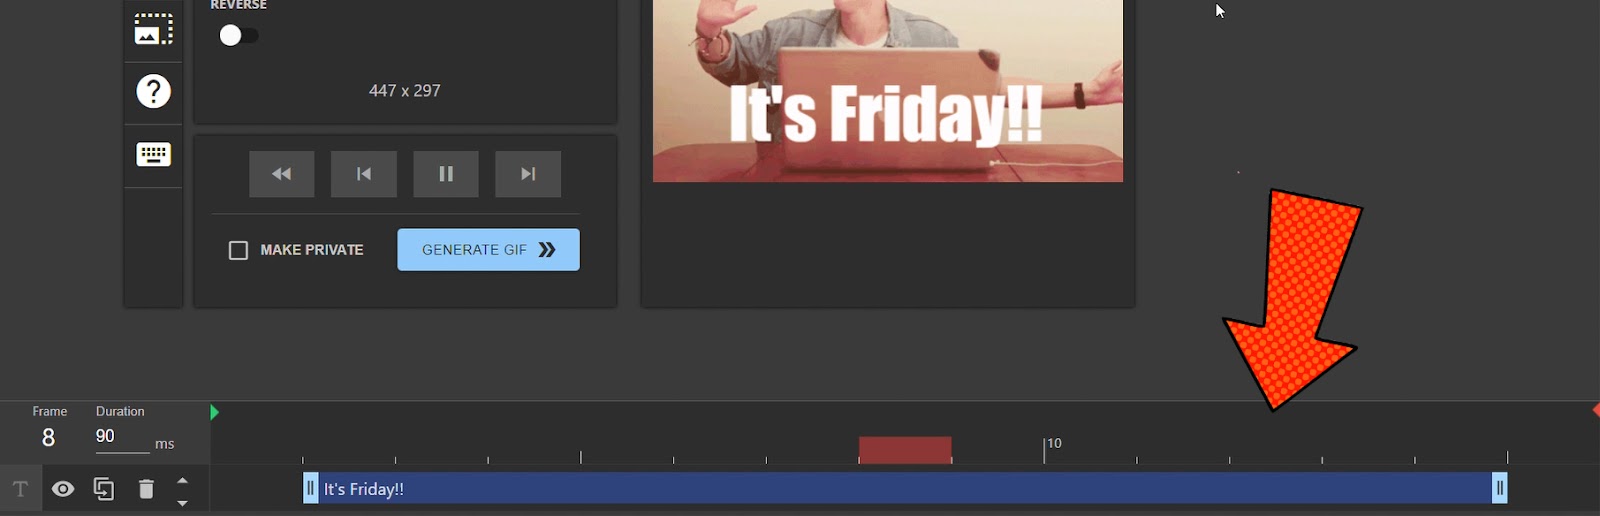
Step 4: For finishing touches, I carried out spherical with the layers to switch which frames the text would appear/disappear on. Specifically, I set the text to seem in frame 2 and disappear in frame 15. (For context, this GIF has 15 frames).
Step 5: And that’s it! Click on at the “Generate GIF” button and likewise you’re very good to go.
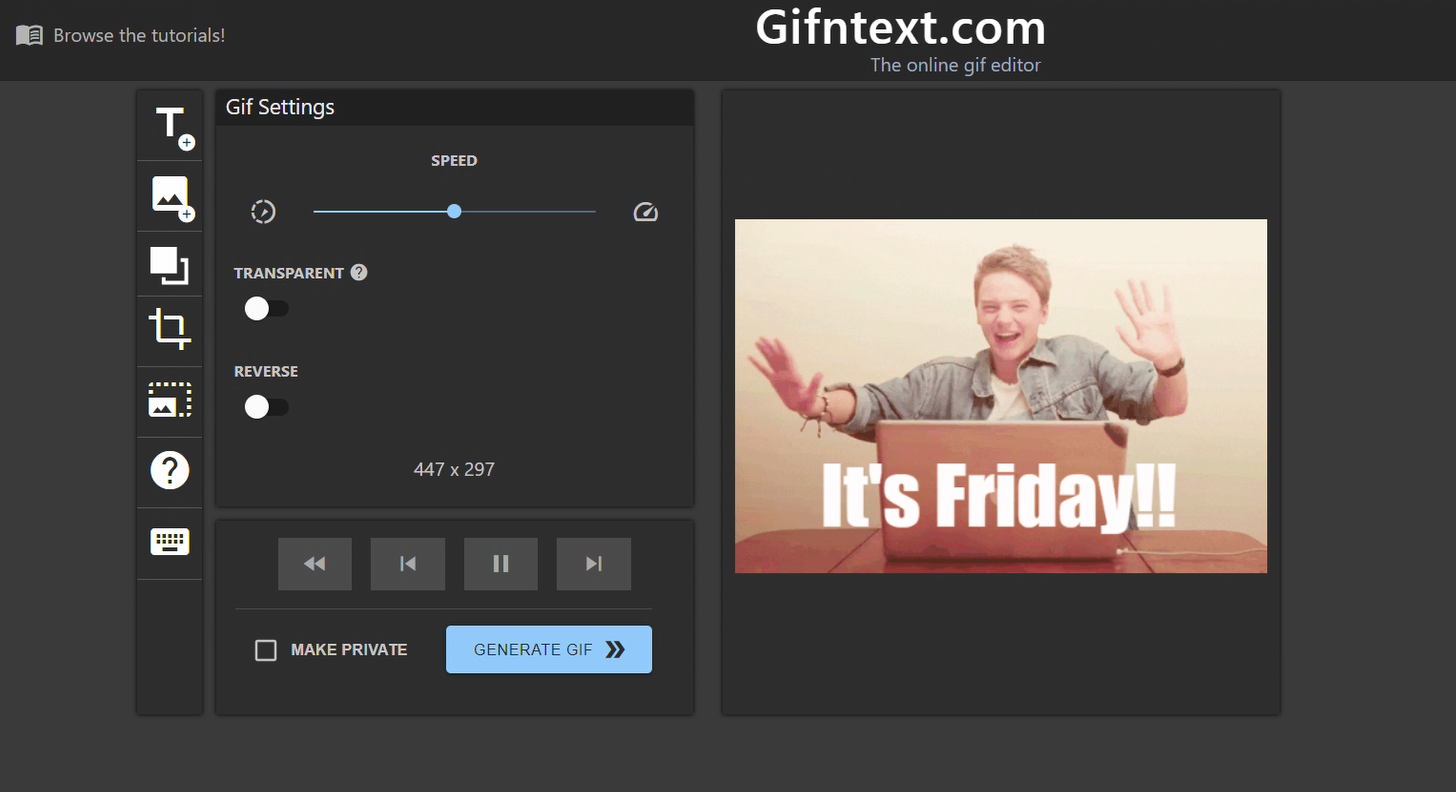
Final finish outcome:

With Canva
Step 1: Open the Canva internet web page. Should you don’t already have an account, sign up for unfastened thru clicking the “Sign up” button at the top correct of the internet web page.
Step 2: Get began a brand spanking new problem thru clicking the “Create a design” button. You’ll then set a custom designed design size or make a choice one of the advised sizes throughout the drop-down menu.
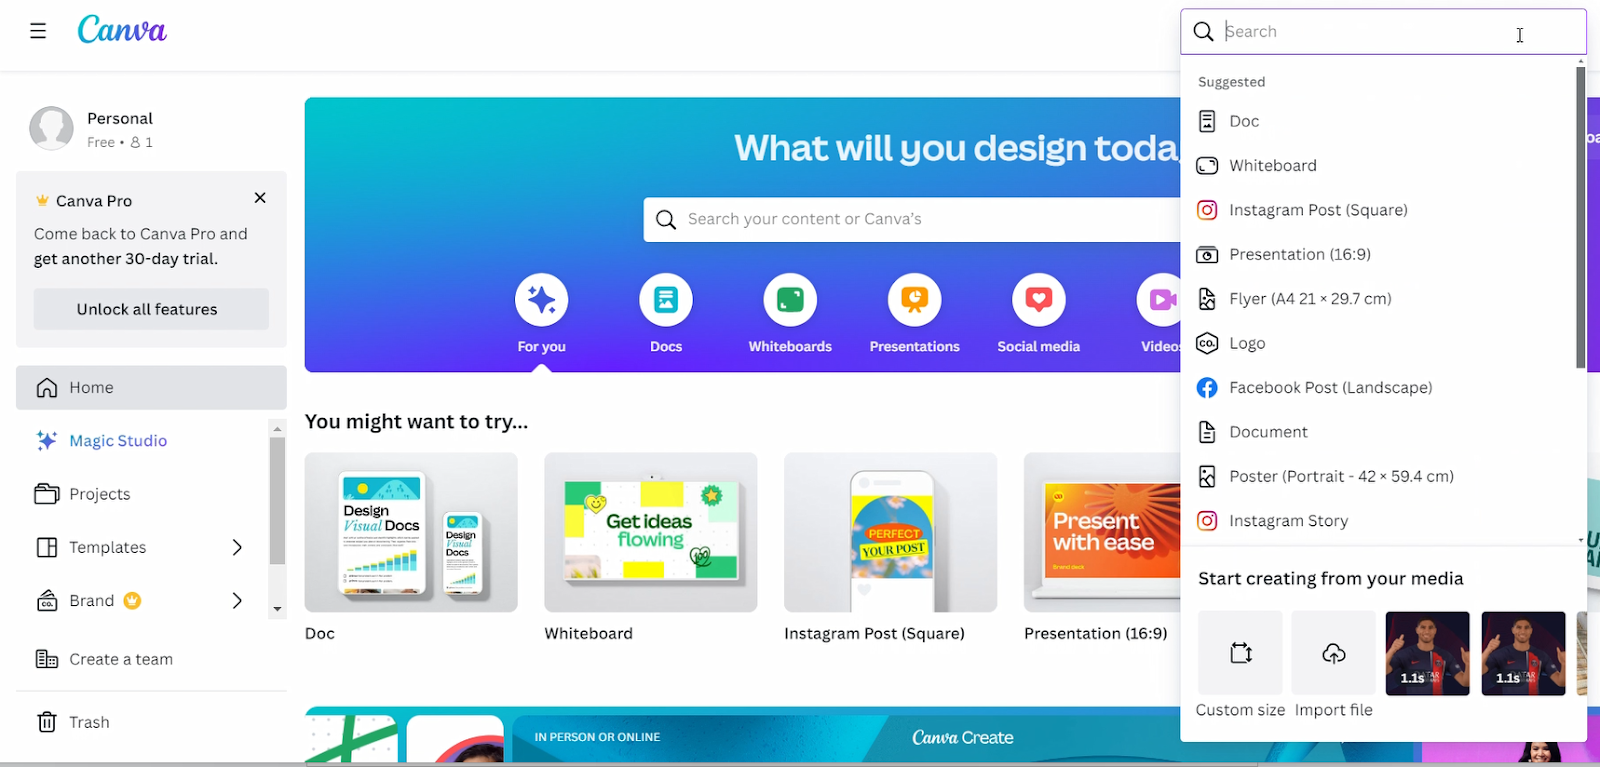
Step 3: Inside the toolbar on the left-hand side of the editor, navigate to “Uploads” and then make a selection “Upload knowledge.” This will will assist you to import your GIF from your computer. However, you’ll moreover upload a record from Google Force, Facebook, Instagram, Dropbox and Google Photos.
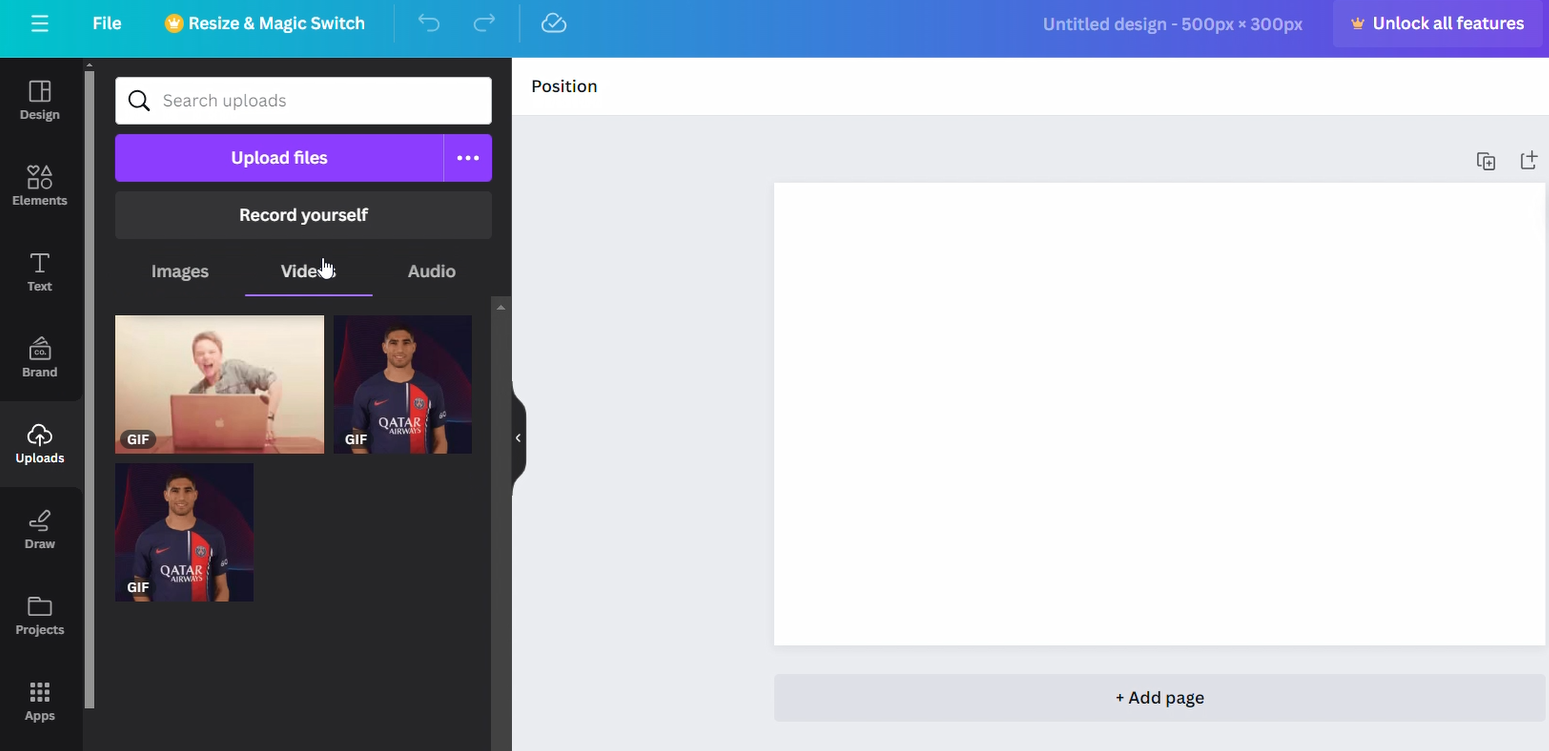
Step 4: Once your GIF has been imported, it is going to have to look underneath the “films” column. Click on on on it to move it into your problem.
Step 5: Inside the toolbar, click on at the “Text” button and make a selection “Add a text box.” This will automatically impose a placeholder text for your GIF.
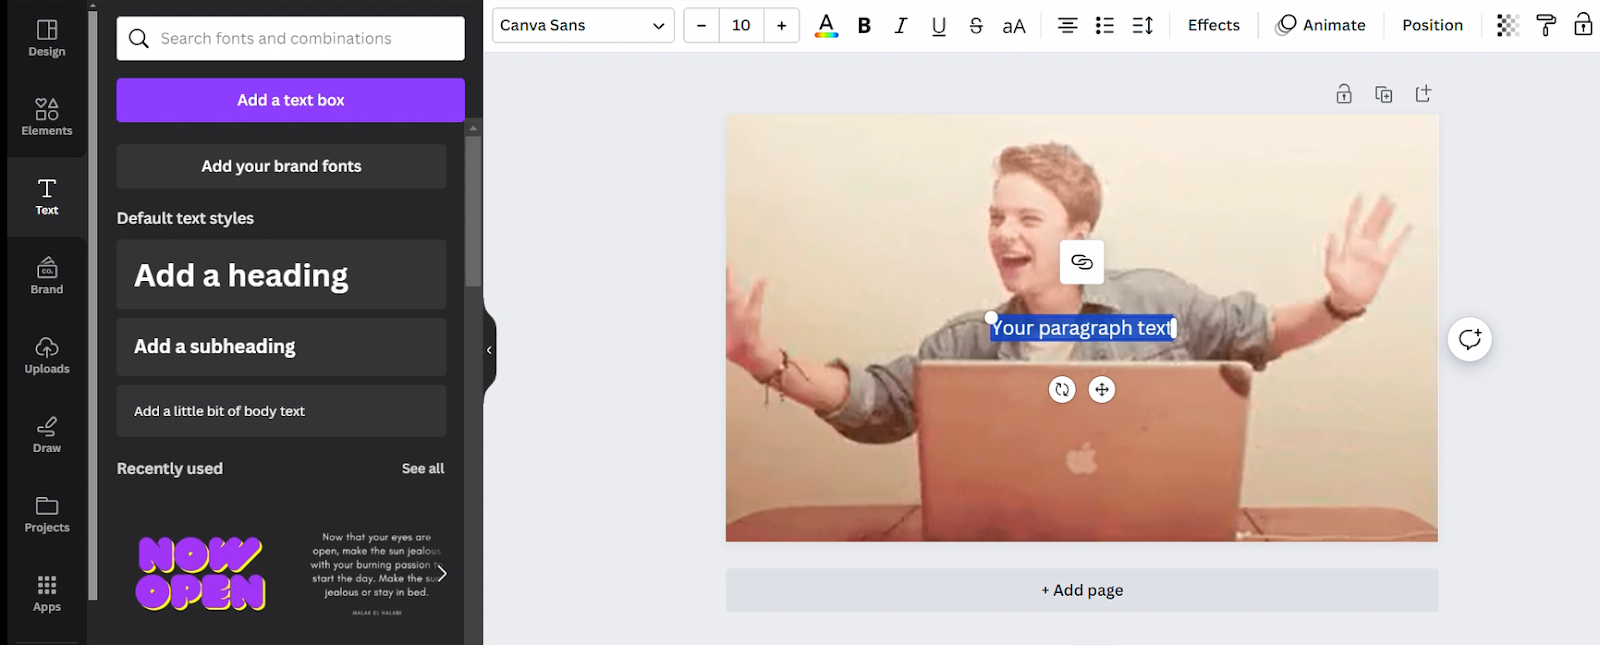
Step 6: Edit your text. For my GIF I changed the font to “Impact”, upper the font size to ‘53’, changed the placeholder text to “It’s Friday!!”, moved the text to the bottom of the GIF, and in any case, changed the font color to white.
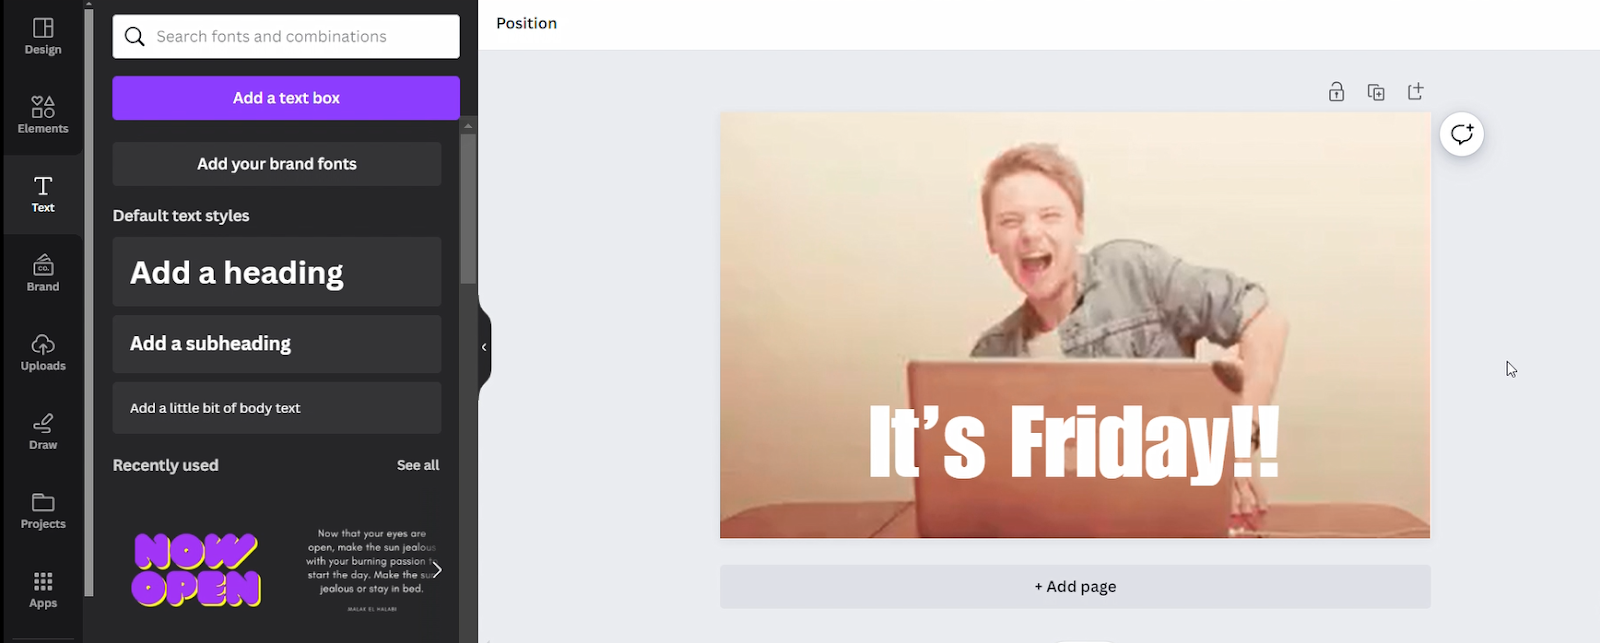
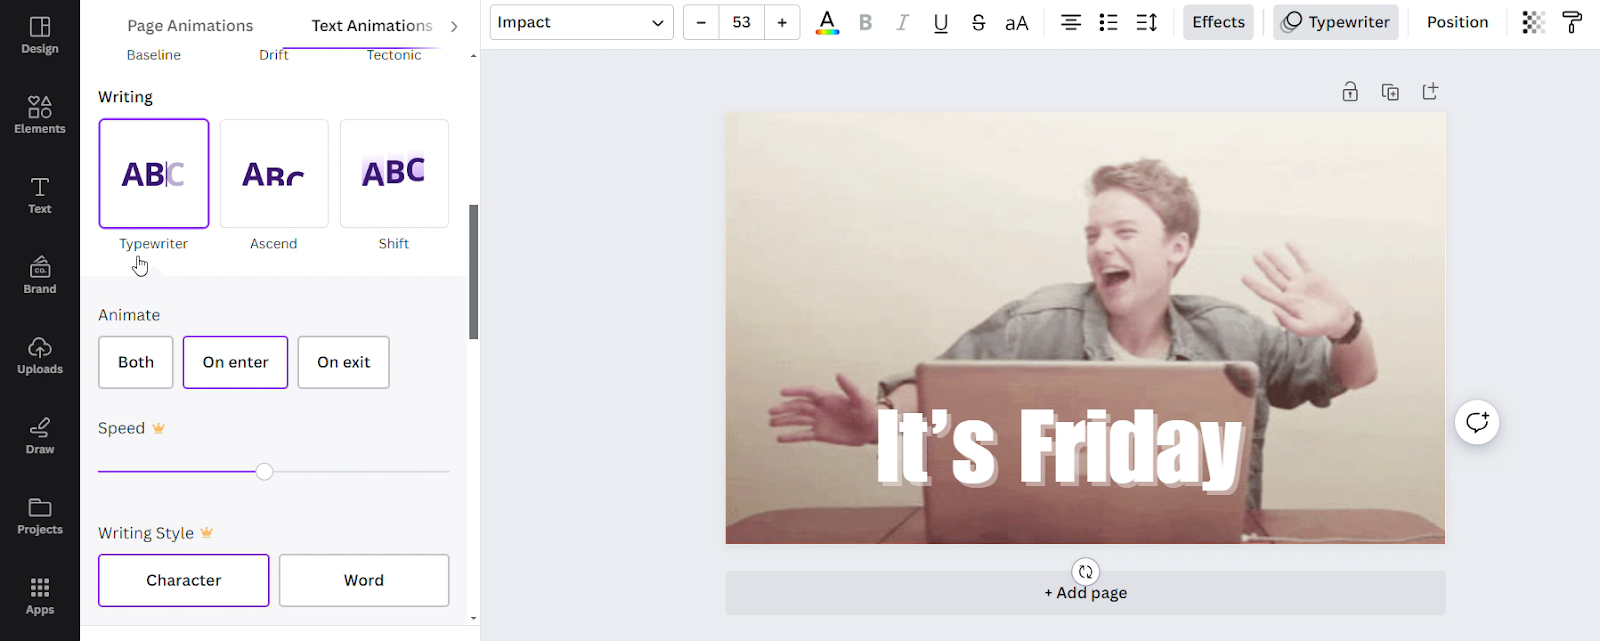
Step 7: I added some effects and animations to the text for finishing touches. All over again, the ones aren’t vital on the other hand Canva has a variety of alternatives to play with so I went ahead and added a shadow and a “typewriter” text animation.
Step 8: And that’s it! Rename your problem if vital then click on at the “share” button. This will purpose a drop-down menu where you’ll have the opportunity to procure your problem. P.S. Don’t omit to switch the “record type” to GIF!
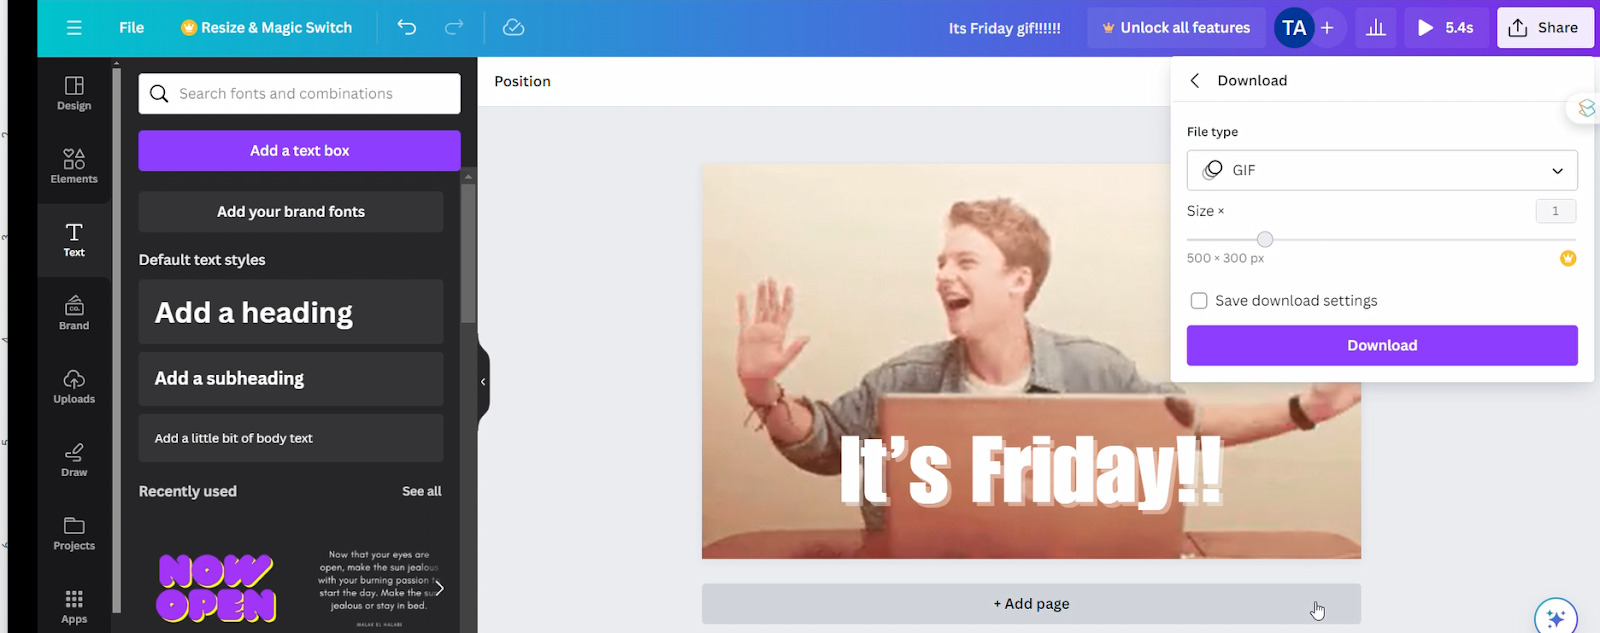
Final finish outcome:

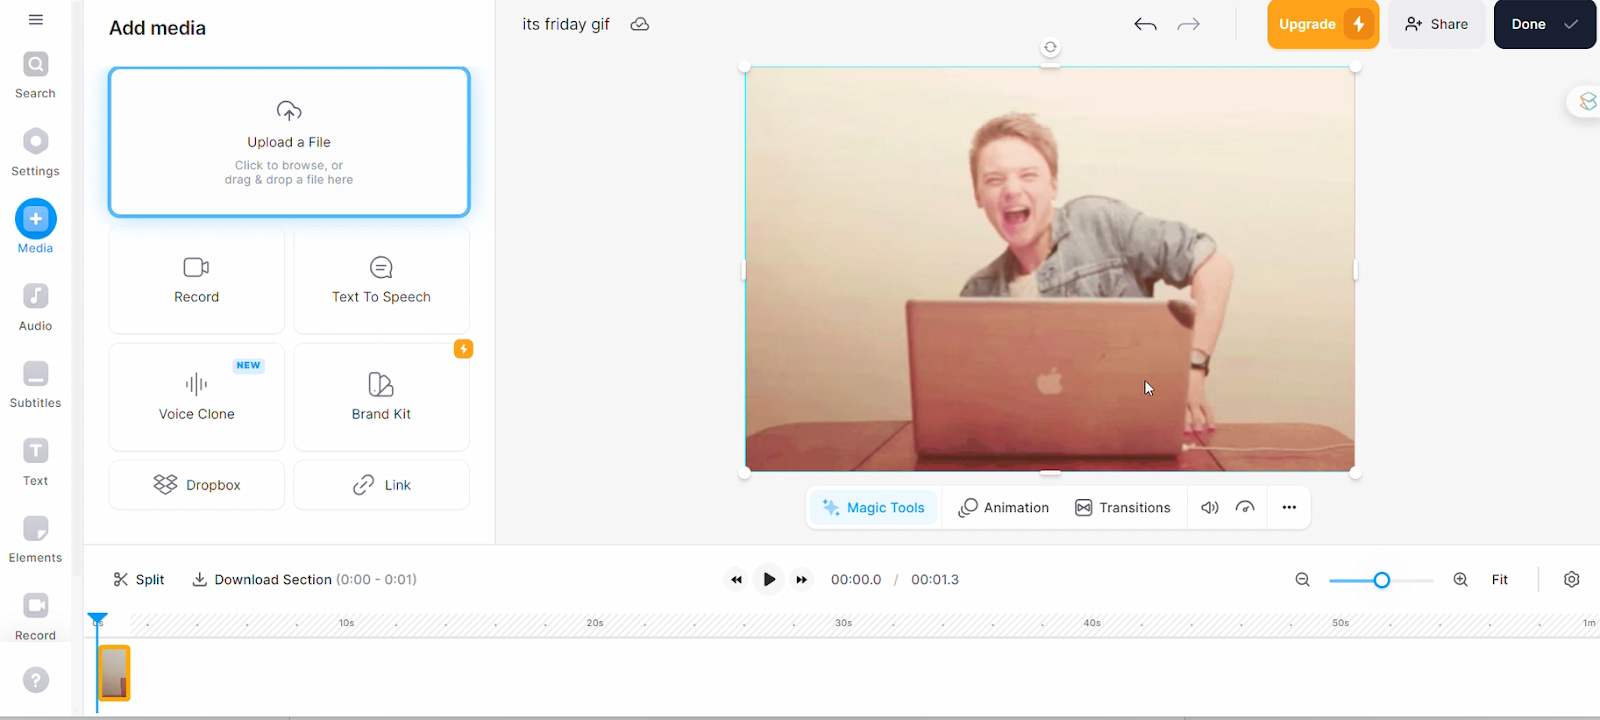
With Veed
Step 1: Open the Veed.io internet web page. Should you don’t already have an account, sign up for unfastened thru clicking the “Sign up” button at the top correct of the internet web page.
Follow: Even if you’ll create in Veed without an account, you’ll need one to save lots of a number of your projects. It’s moreover necessary to note that Veed watermarks projects created with a unfastened account. To remove the watermark, you’ll need to reinforce your subscription.
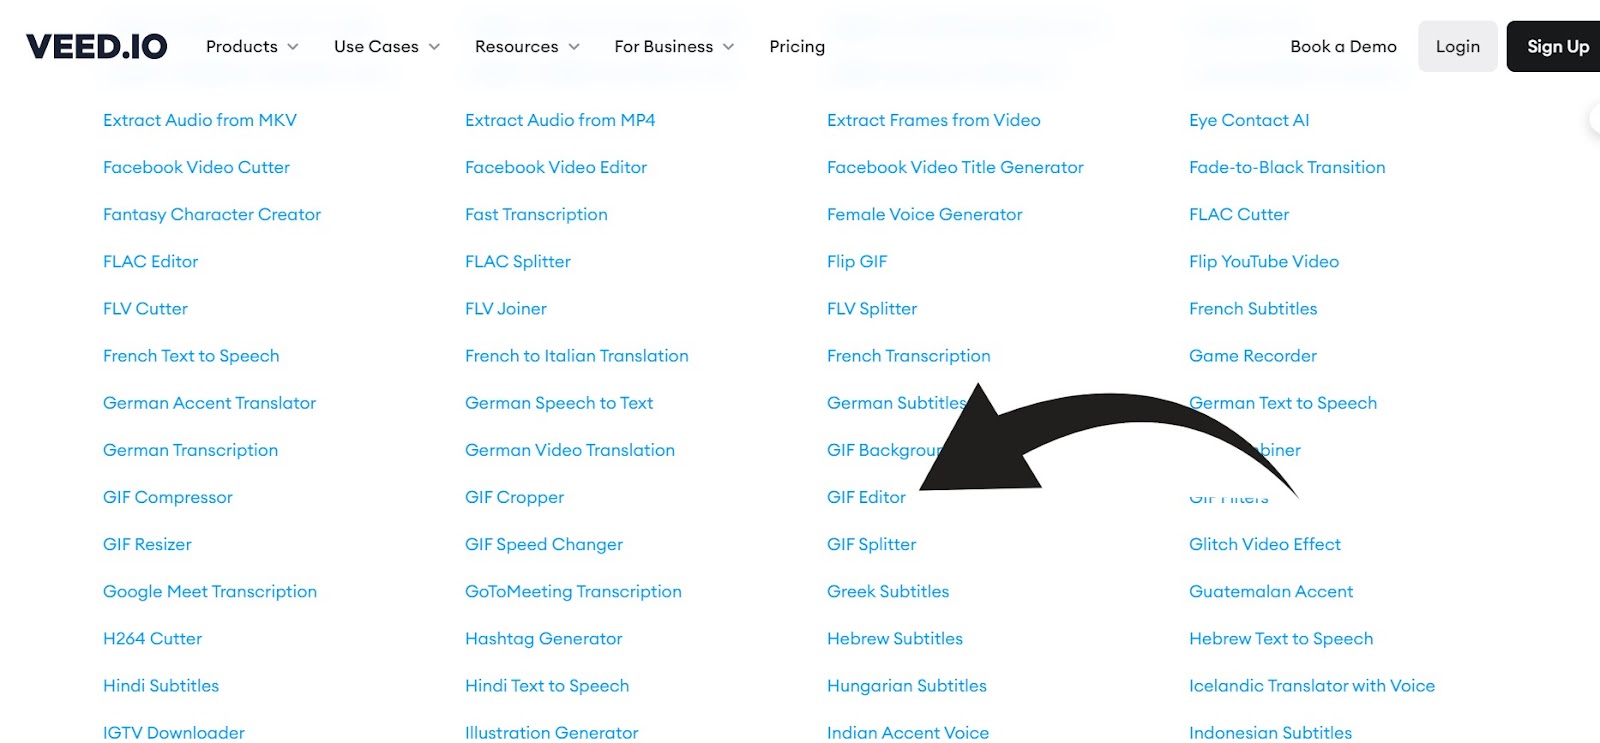
Step 2: Each time you’ve created your account, open the Veed.io/tools internet web page. Navigate to the “All tools” section at the bottom of the internet web page and make a selection the “GIF Editor” software.
Step 3: Click on at the “Edit GIFs online” button. This will automatically redirect you to the editor where you’ll be introduced on so as to add a record.
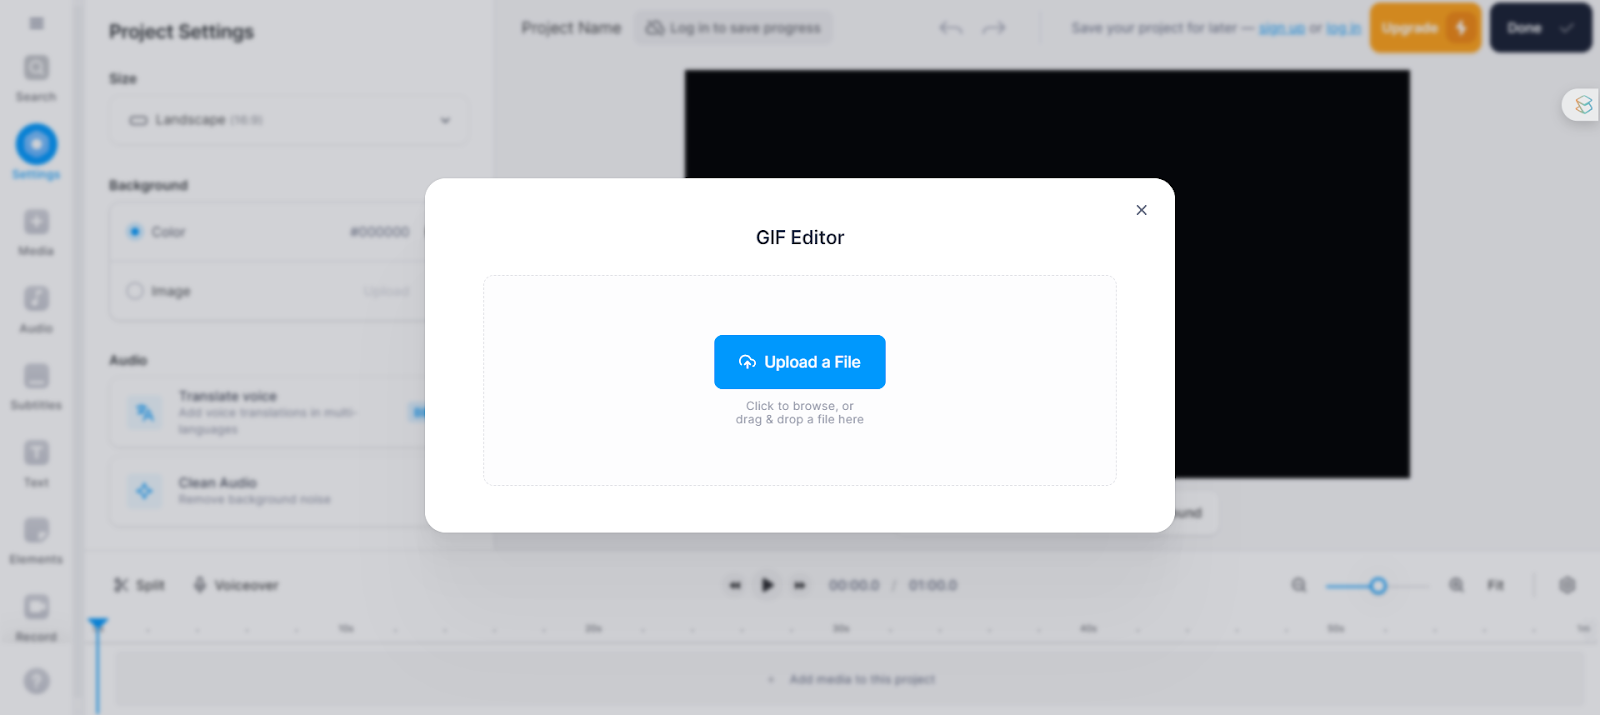
Step 4: Each time you’ve uploaded your record, it’ll be automatically imported into your provide problem. Follow: This will take a few seconds.
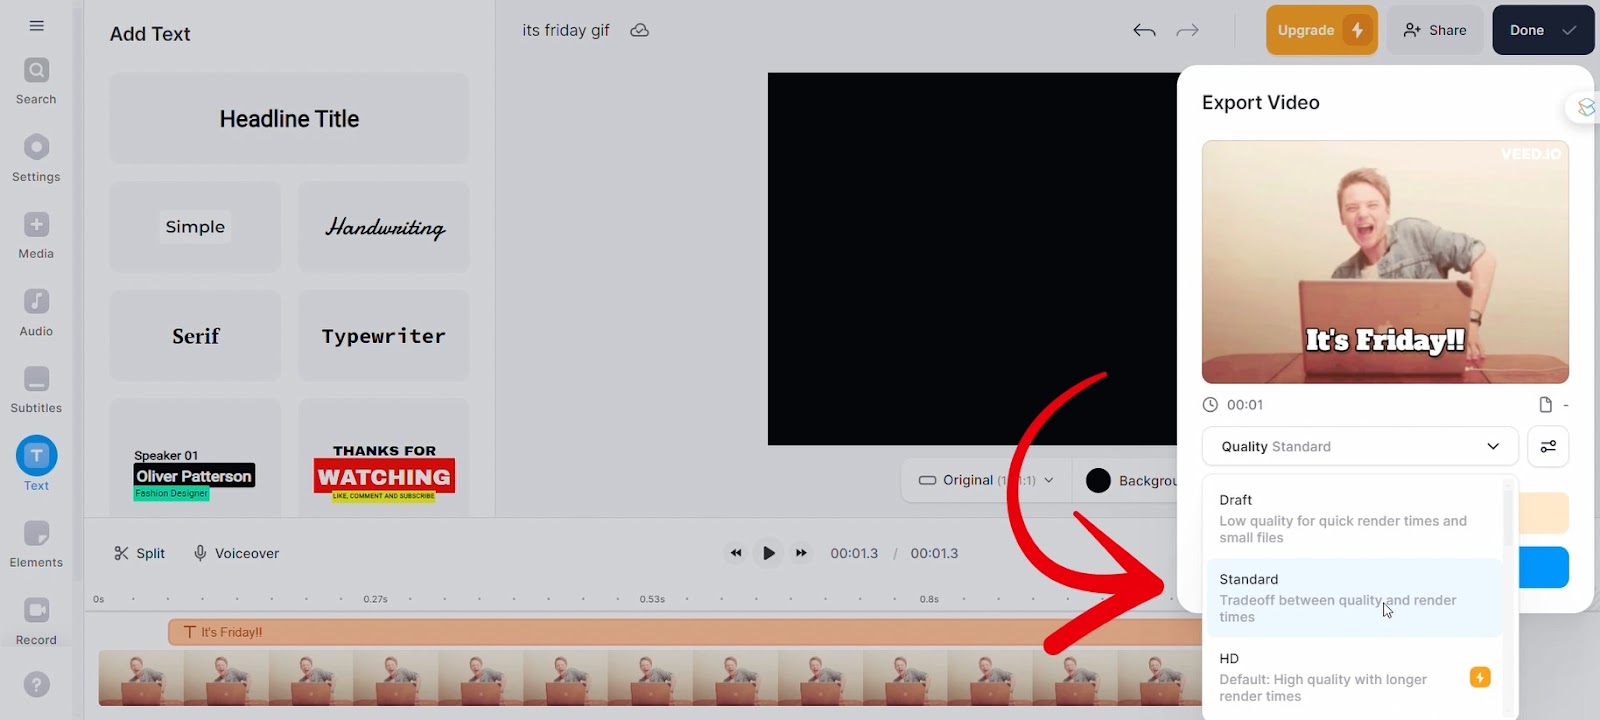
Step 5: Inside the toolbar, click on at the “Text” button and make a selection “Headline Identify.” This will automatically impose a placeholder text for your GIF.
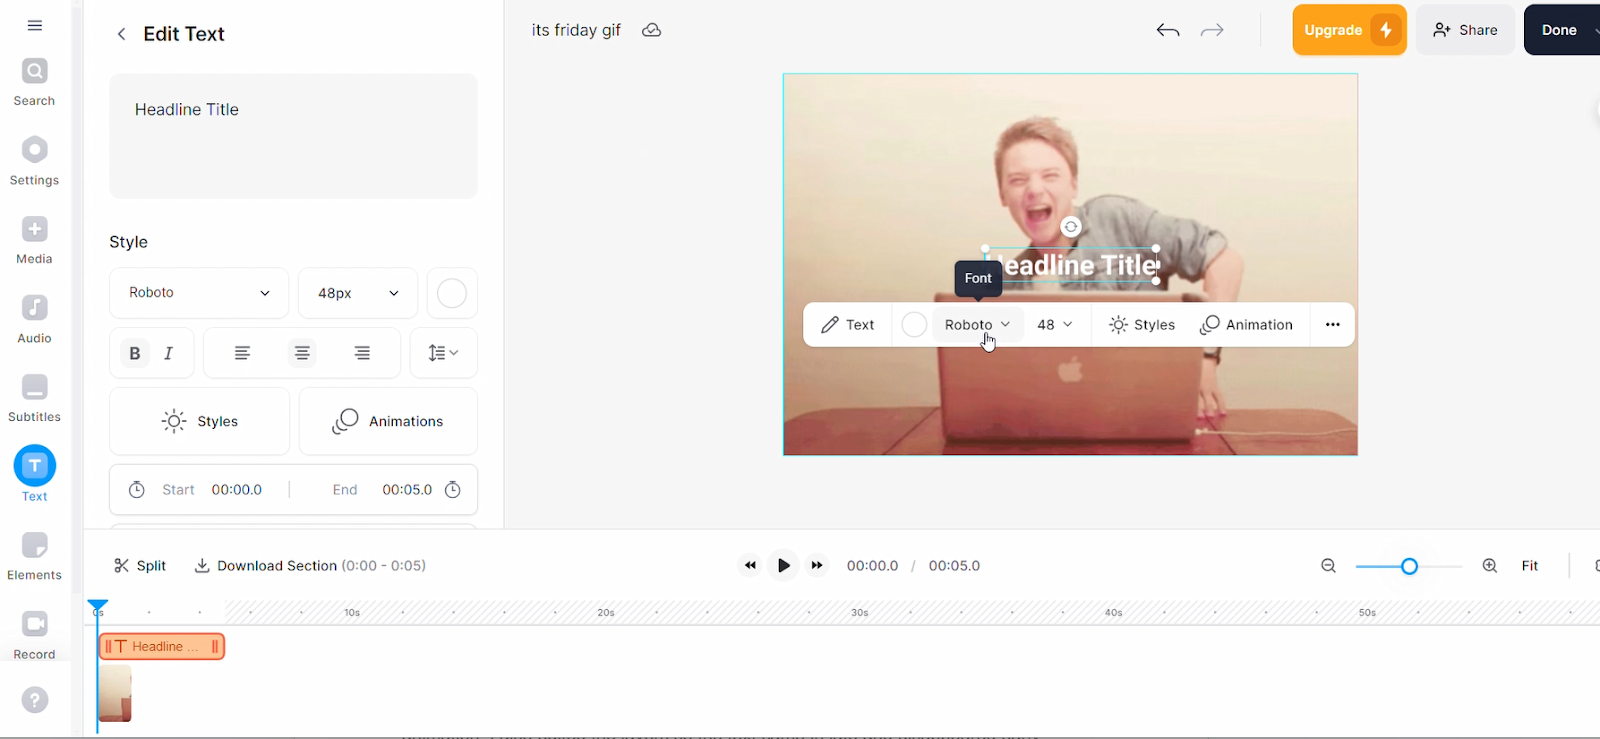
Step 6: Edit your text. For my GIF I changed the font to “Alfa Slab One” (Impact wasn’t on the font tick list), upper the font size to 72, and adjusted the text to “It’s Friday!!”
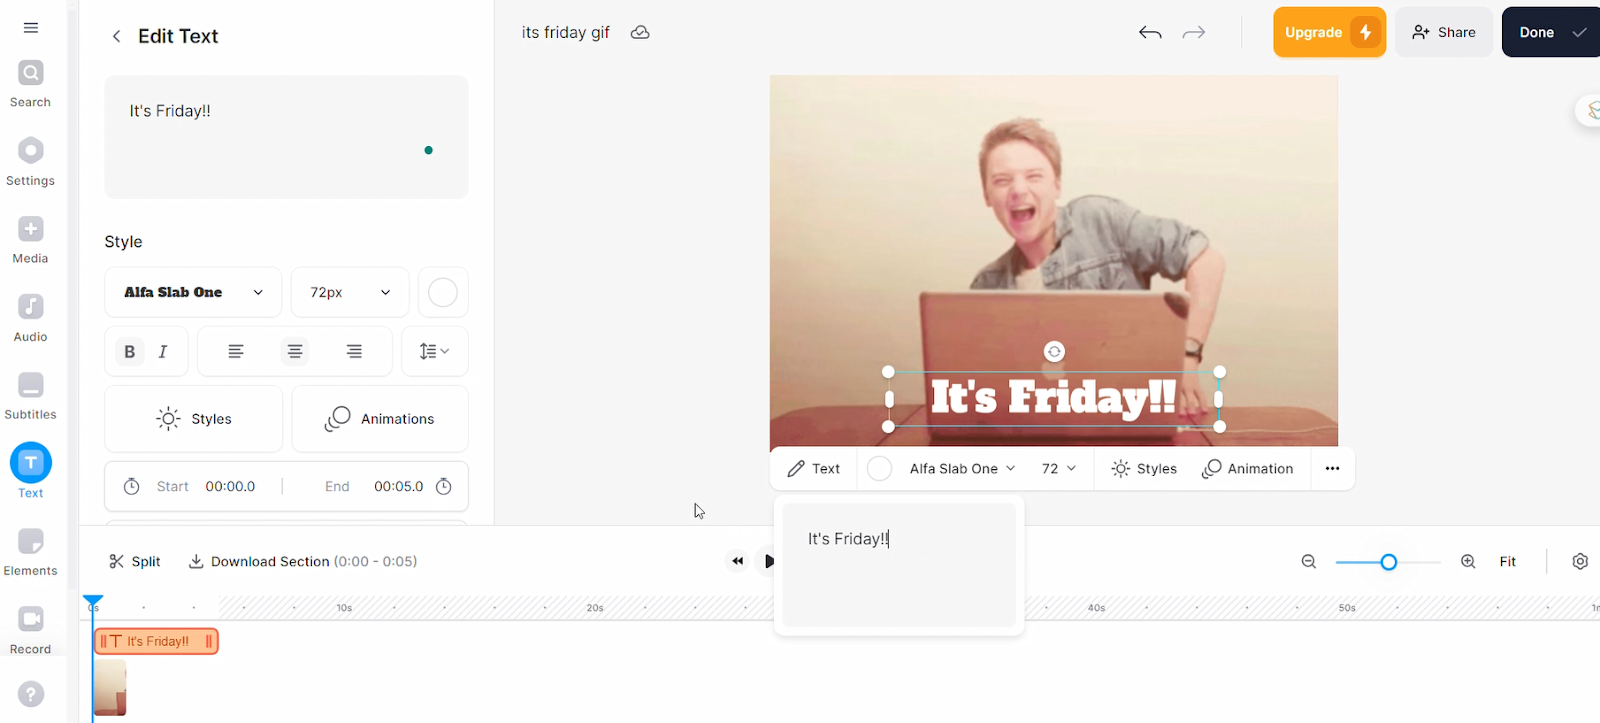
Step 7: In the end, I changed the text style, moved the text spherical a bit, and added a “zoom” animation. I moreover edited the layers so the text were given right here in late and disappeared early – similar to the GIF I created with GIFntext.
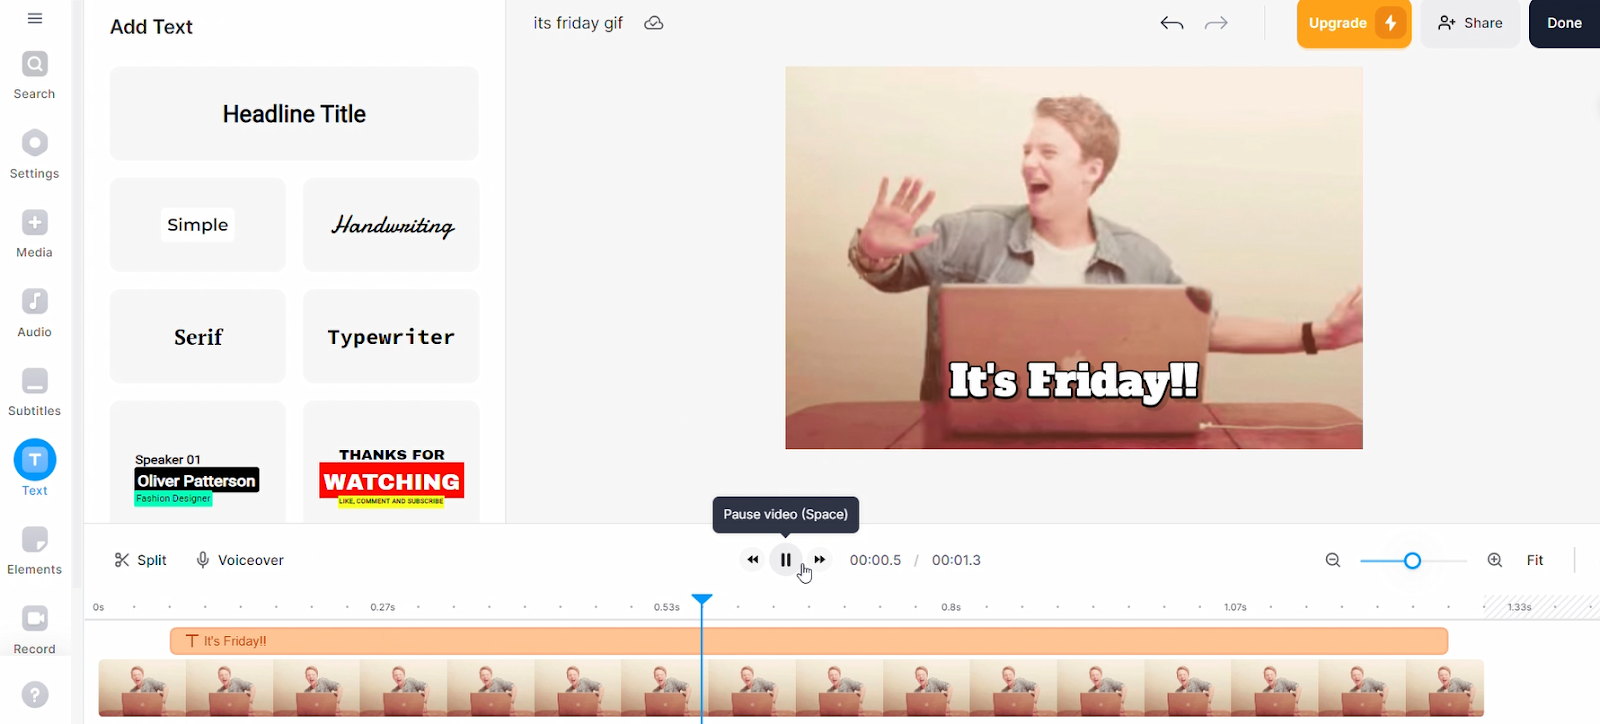
Step 8: And that’s it! Click on at the “Finished” button, make a choice the usual you wish to have to save lots of a number of your problem (I decided on standard), and export the edited GIF.
Final finish outcome:

With Ezgif
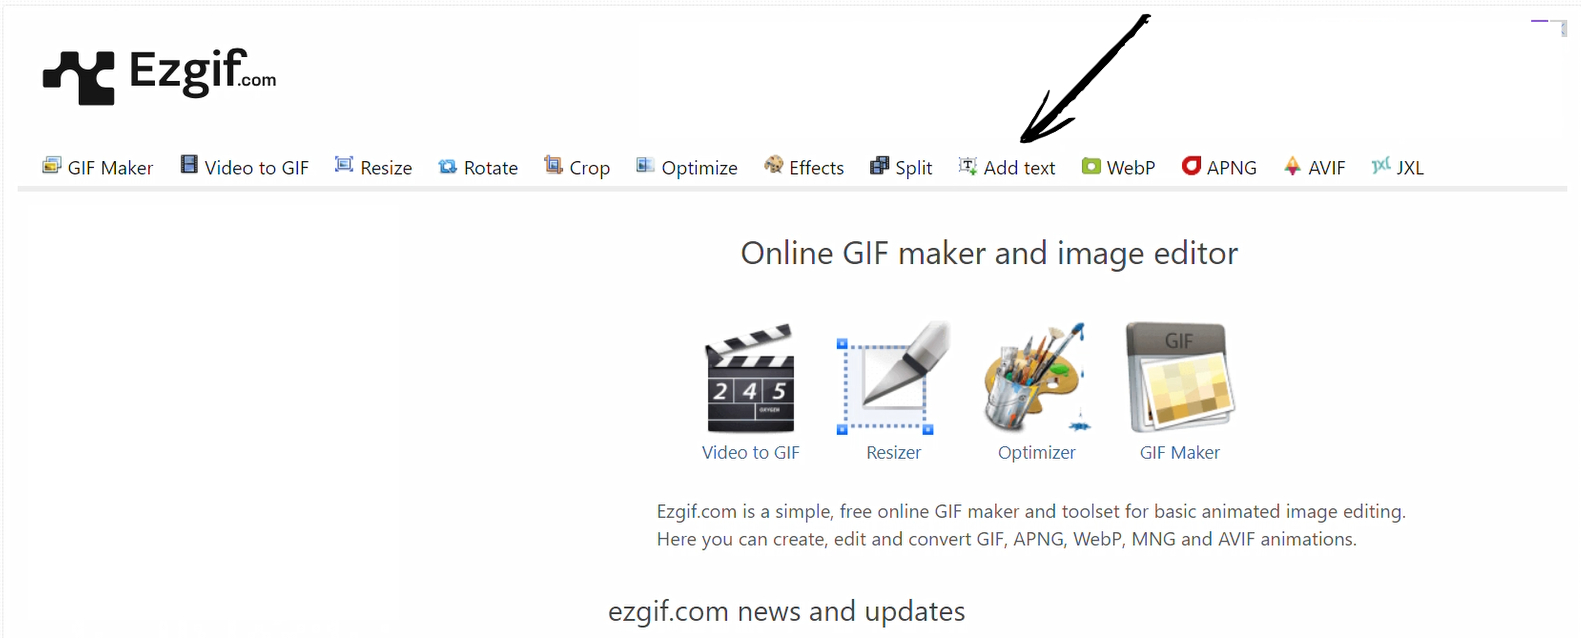
Step 1: Open the Ezgif.com internet web page and click on on “add text” on the menu bar.
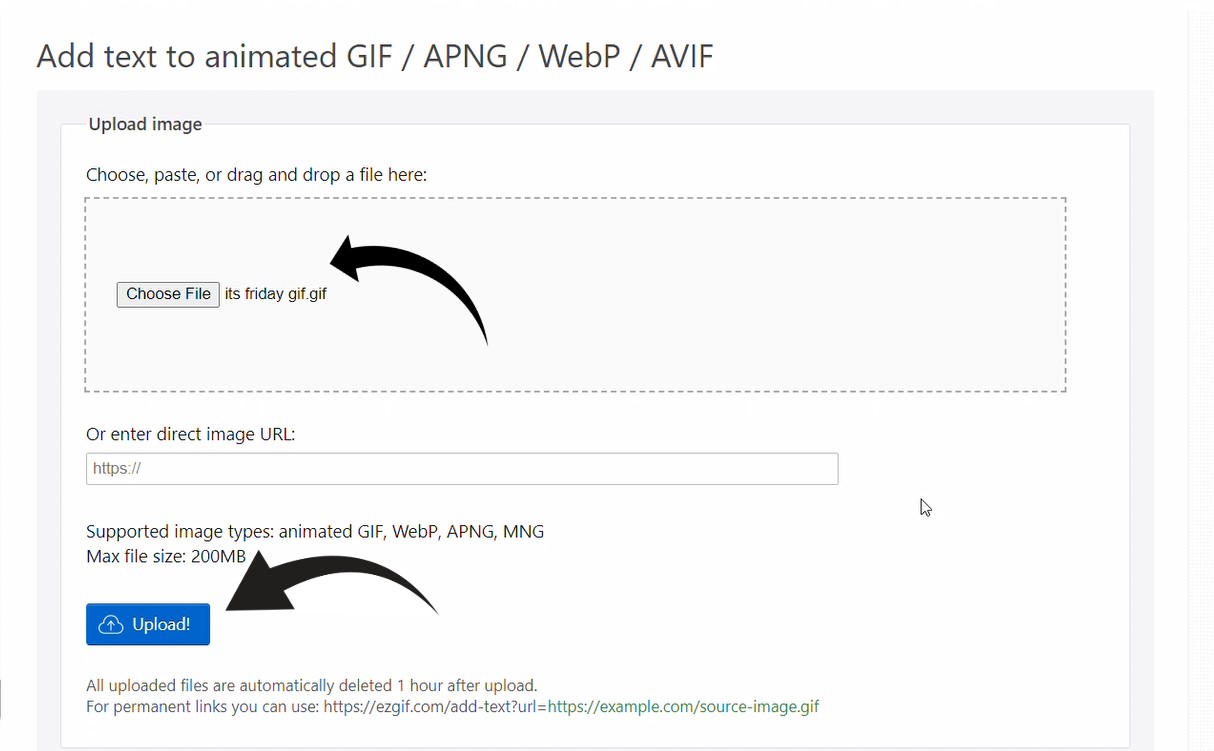
Step 2: You’ll be redirected to a internet web page where you’ll be introduced on so as to add an image or enter an immediate image URL. Import your record then click on on “upload” to begin out a brand spanking new problem.
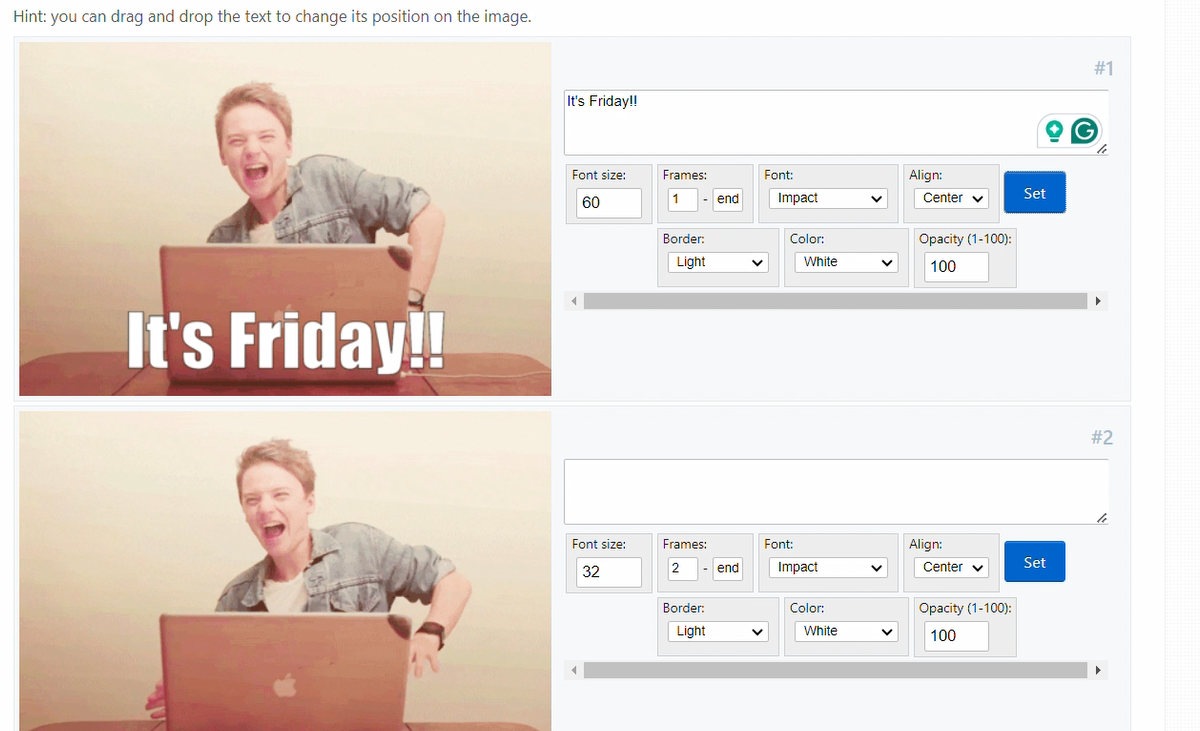
Follow: Inside the editor, you’ll understand something different about this software – you’ll edit text on each frame of the GIF separately! I didn’t benefit from this for my GIF as I wanted each and every GIF in this educational to be comparable then again, it’s an interesting feature I’ll be playing spherical with in the future.
Step 3: Edit your text. I added the text – “It’s Friday!!” – and better the font size to 60. I didn’t need to control the text color, font, or alignment for the reason that default settings have been what I wanted. In the end, I clicked “set” to put into effect my adjustments.
Step 4: Scroll to the remainder frame and click on at the “Create Animation” button to generate your edited GIF.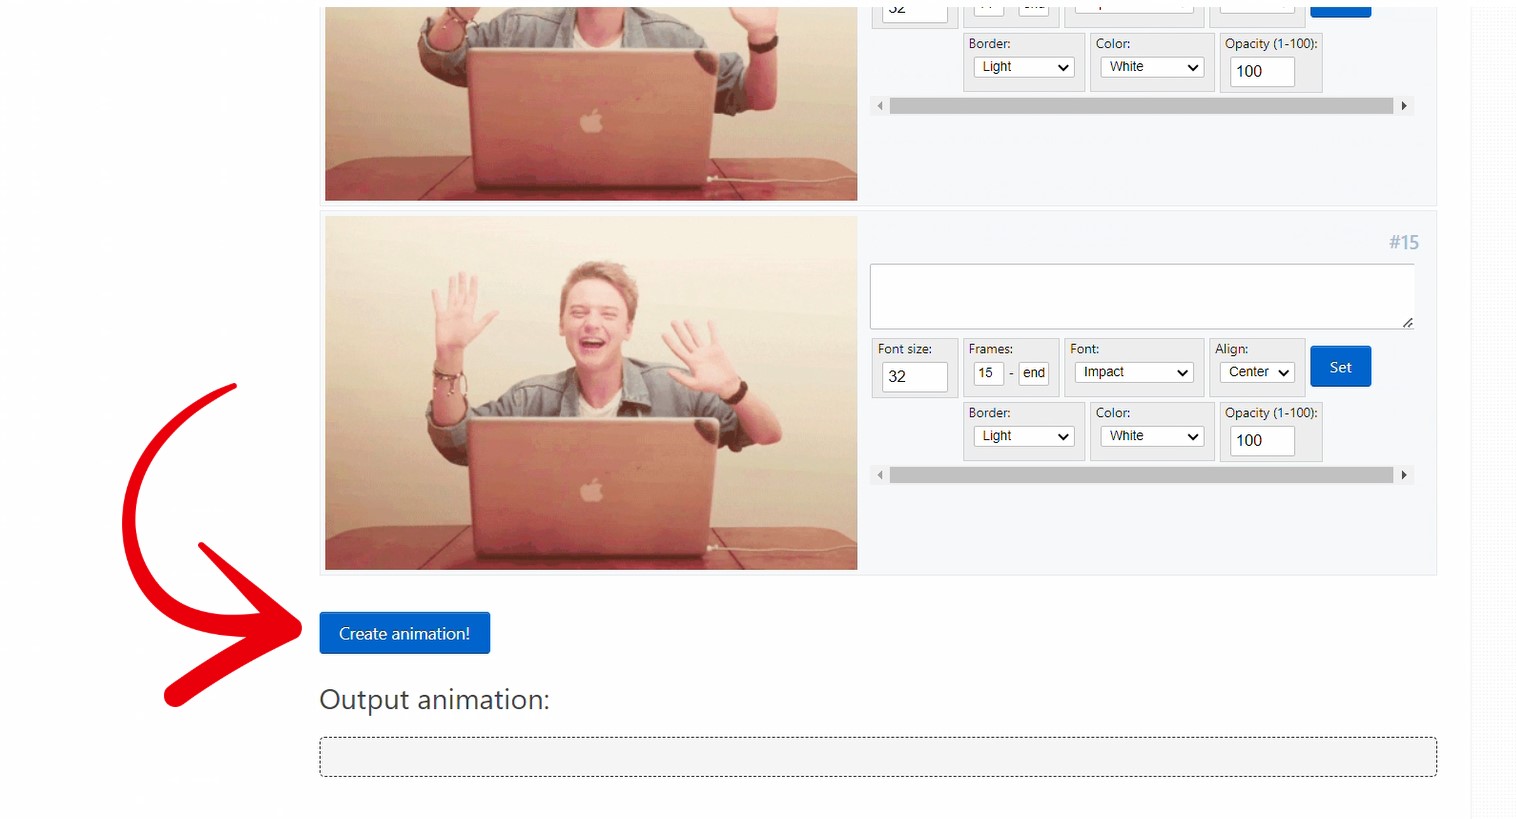
Step 5: And that’s it! To acquire your GIF click on at the “Save” button throughout the menu pane underneath the “Output Animation.”
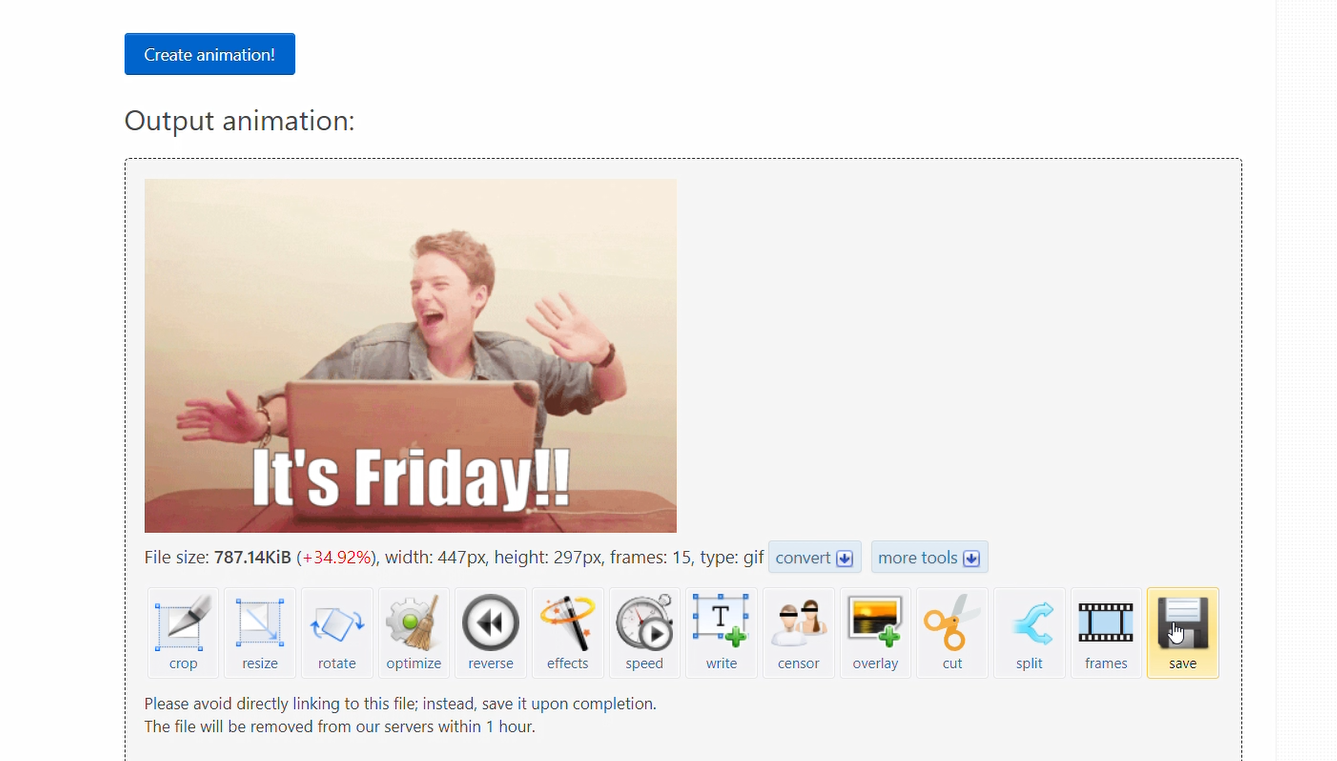
Final finish outcome:

Choosing A Software for Together with Text to GIFs
Every software in this publish has its unique strengths and is terribly user-friendly. However, if you’re new to designing animated graphics, Gifntext is a great place to begin out.
This software has a minimalistic, intuitive, and no-frills interface. You moreover don’t need to sign up for to use the software or reach get entry to to all of the feature suite – which is just right in case you’re searching for a low-commitment solution.
While all the tools on this tick list are great, Gifntext supplies a easy and to be had solution, making it an excellent variety for newbies.
Editor’s realize: This publish was once initially revealed in September 2014 and has been up-to-the-minute for comprehensiveness.
![]()

0 Comments