

Divi’s integrated sticky settings mean you can stay a component “sticky” or fastened at the display screen whilst you scroll down the web page. When mixed with different non-sticky components, you’ll be able to succeed in an attention-grabbing and tasty format to convey your web page design to the following degree. On this educational, we will be able to display you easy methods to upload a sticky map module on your Divi web page. We’ll stay the map module sticky and upload related data to scroll along the map.
With out additional ado, let’s get began!
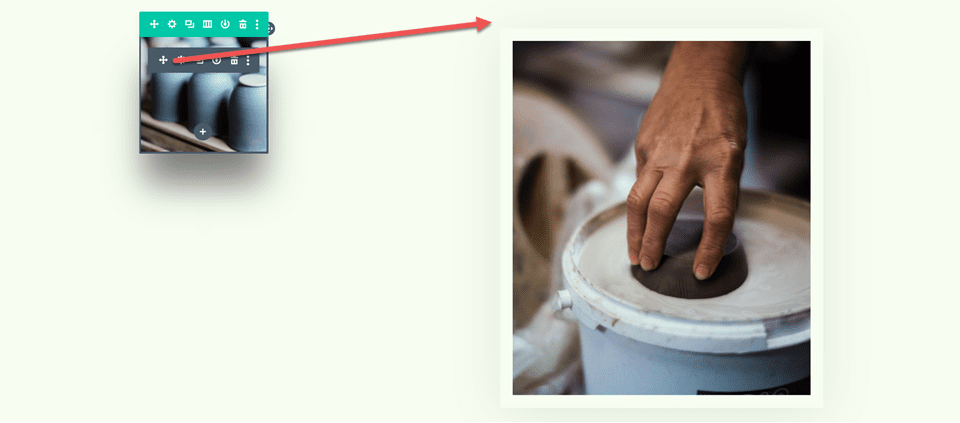
Sneak Peek
Here’s a preview of what we will be able to design

What You Wish to Get Began
Earlier than we commence, install and activate the Divi Theme and you’ll want to have the newest model of Divi to your web page.
Now, you are prepared to start out!
The best way to Upload a Sticky Map Module to Your Divi Web page
Create a New Web page with a Premade Structure
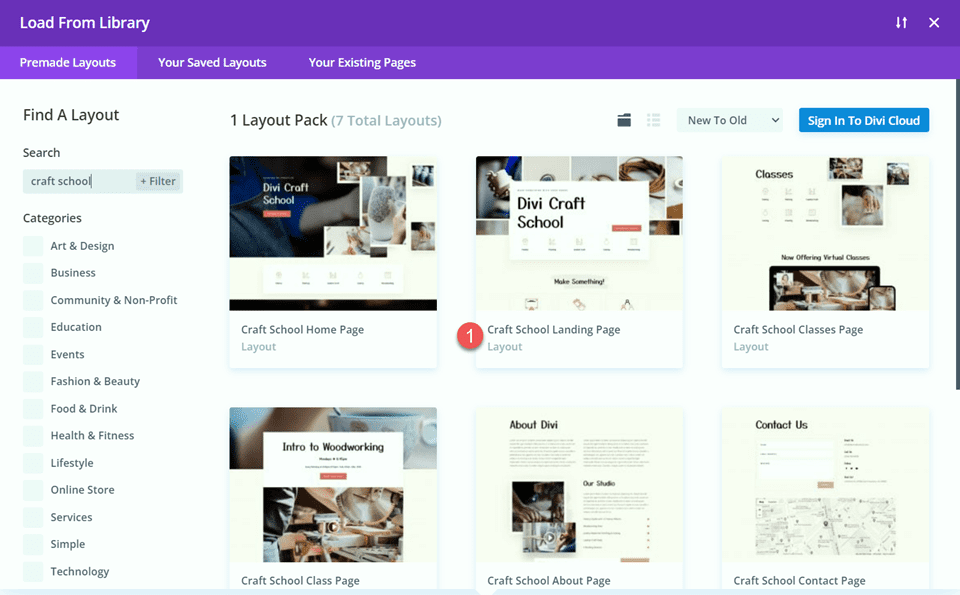
Let’s get started by way of the use of a premade format from the Divi library. For this design, we will be able to use the Craft College Touchdown Web page from the Craft School Layout Pack.
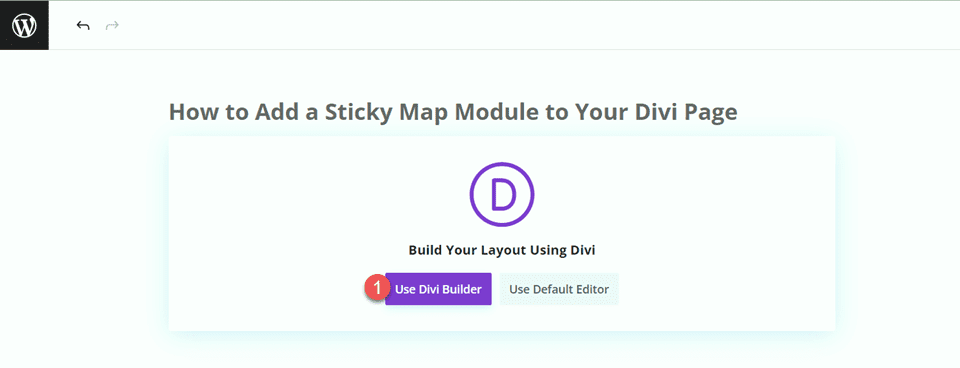
Upload a brand new web page on your web page and provides it a name, then choose the technique to Use Divi Builder.
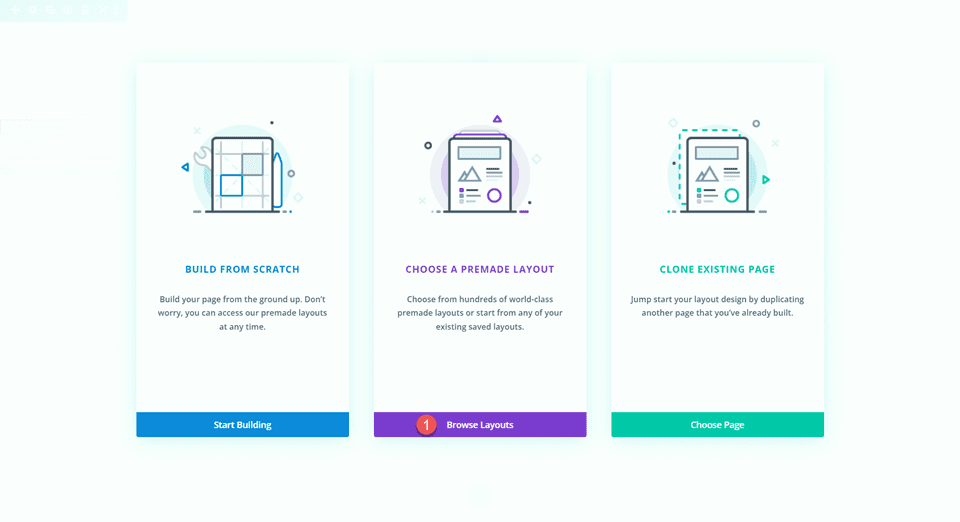
We can use a premade format from the Divi library for this situation, so choose Browse Layouts.
Seek for and choose the Craft College Touchdown Web page.
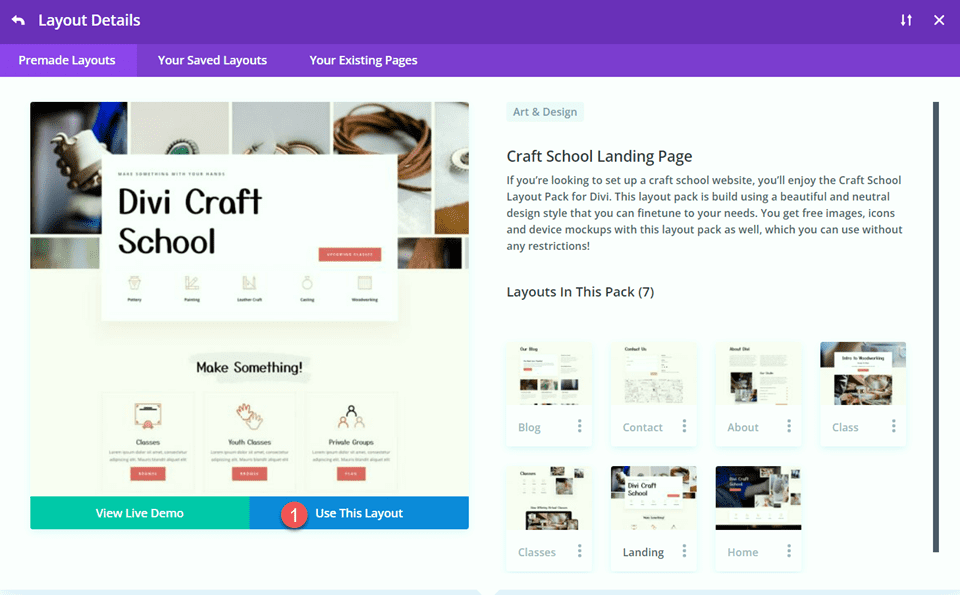
Choose Use This Structure so as to add the format on your web page.
Now we’re in a position to construct our design.
Enhancing the Structure for the Sticky Map Module
Signal Up CTA
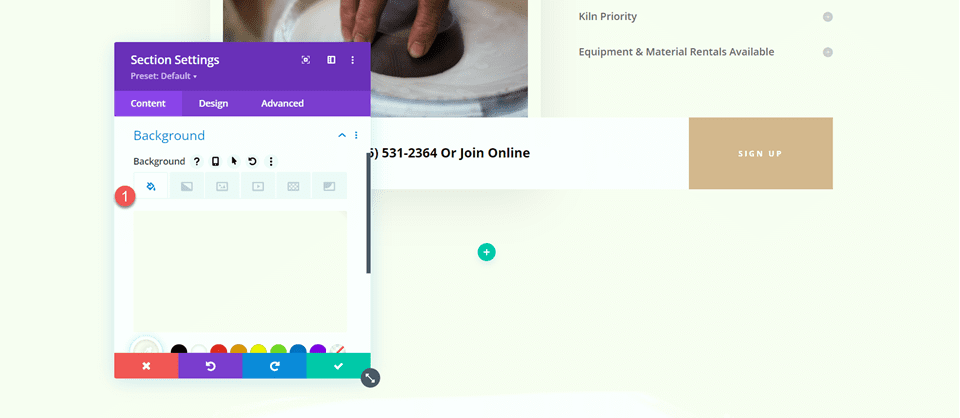
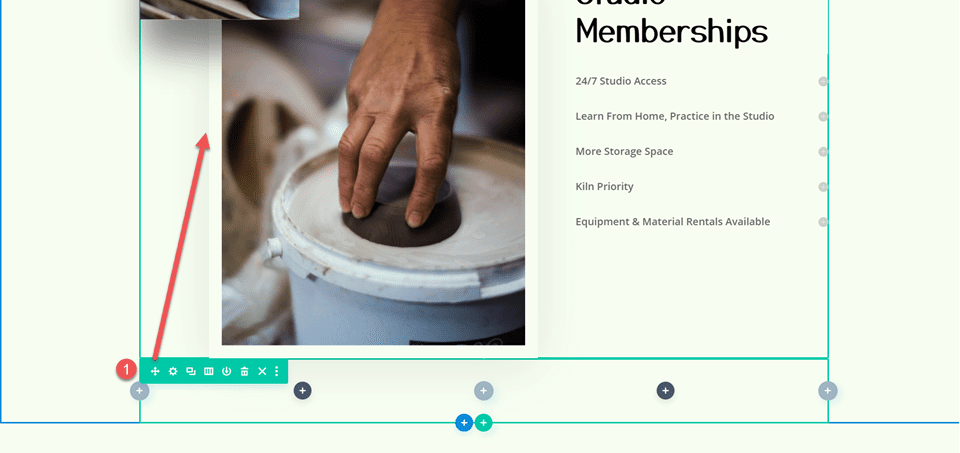
Scroll to the “Studio Memberships” segment of the web page. Then, upload a brand new segment underneath.
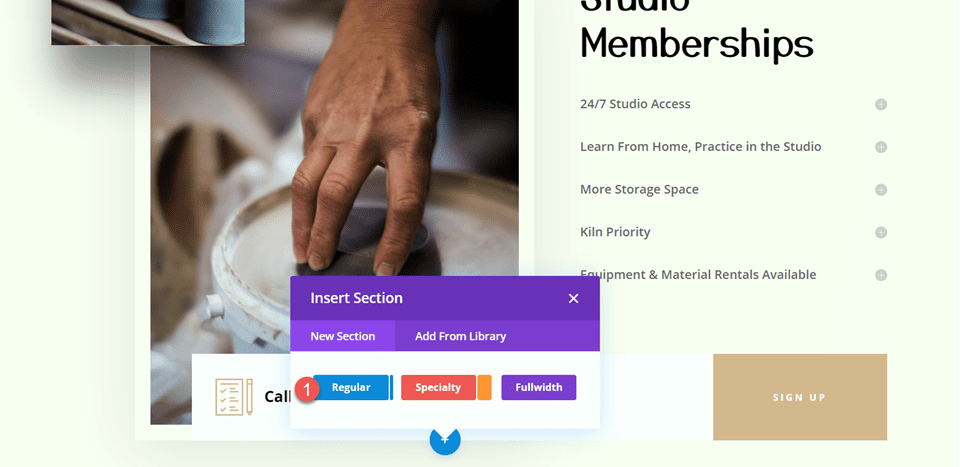
Open the segment settings and upload a background colour.
- Background: #fcf8f3
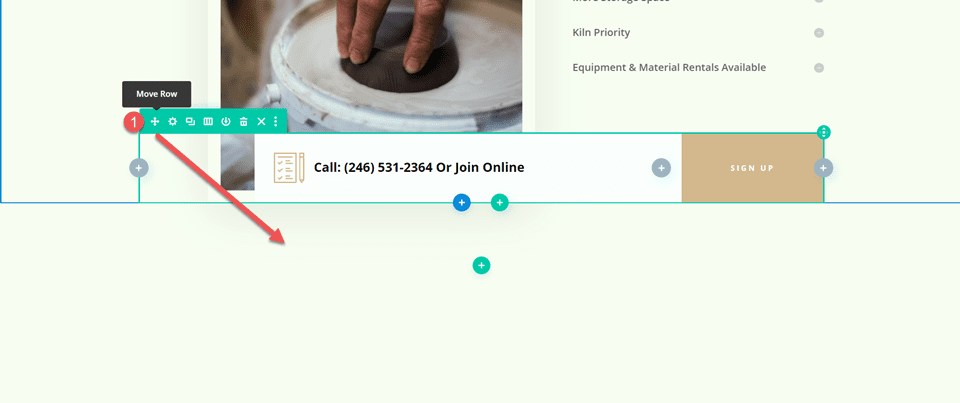
Subsequent, transfer the “Name or Sign up for On-line” row to this new segment.
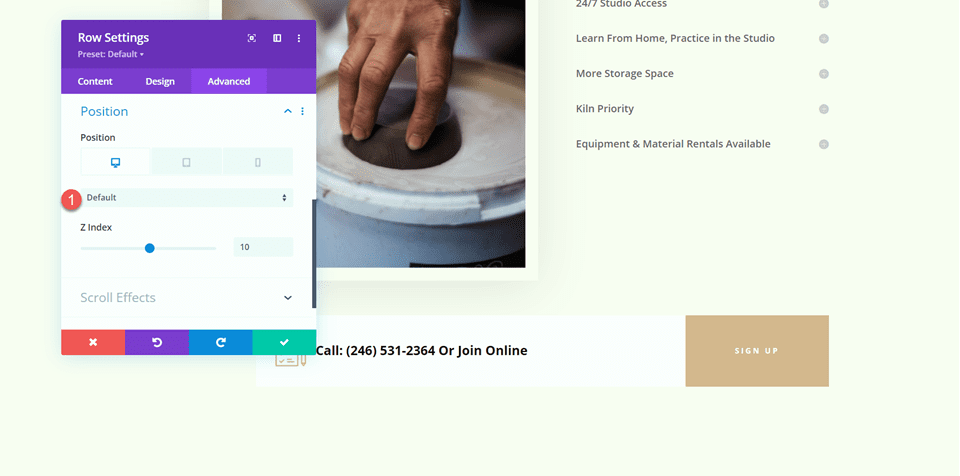
Open the row settings and navigate to the Complex tab. Beneath the Place settings, alternate the location from Absolute to Default.
- Place: Default
“Come Discuss with the Studio” Segment
Upload a brand new row with two columns underneath the Studio Memberships segment.
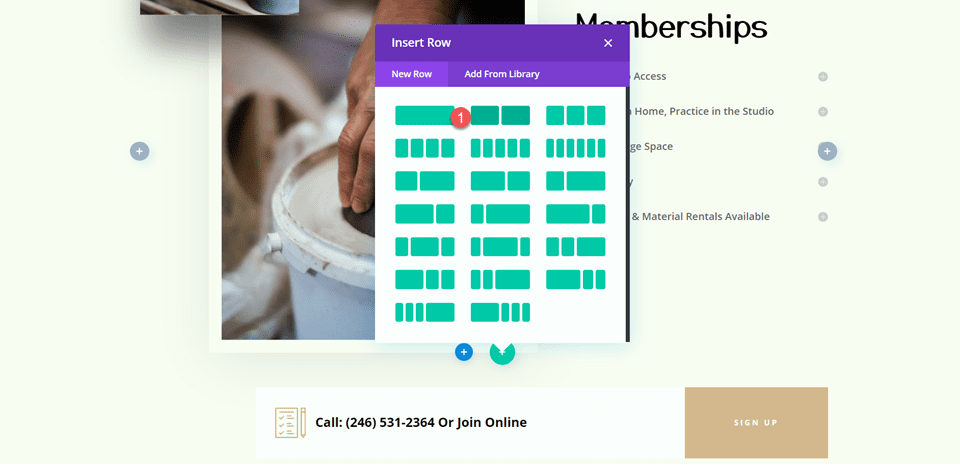
Then, transfer that row above the Studio Memberships segment.
Heading Settings
Upload a textual content module to the suitable column.
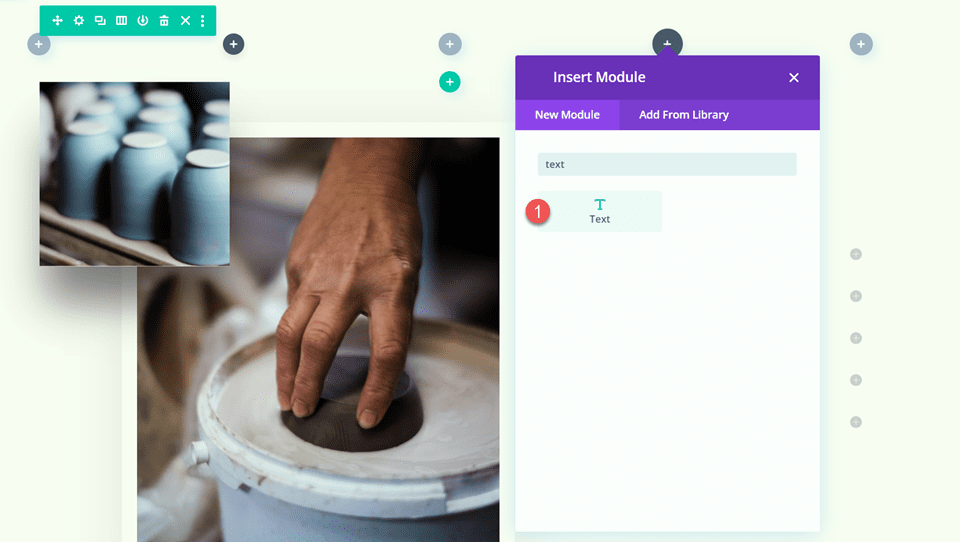
Upload the textual content.
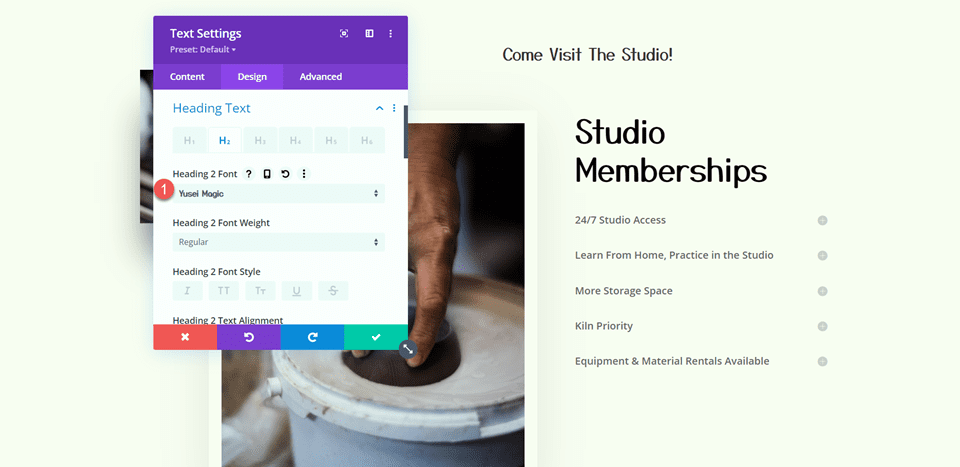
- H2: Come Discuss with The Studio!
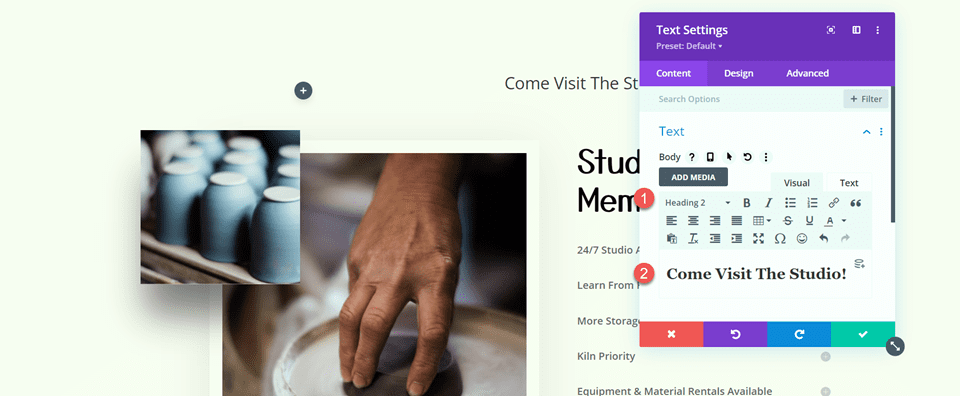
Subsequent, navigate to the Design tab and open the heading textual content settings. Customise the font as follows:
- Heading 2 Font: Yusei Magic
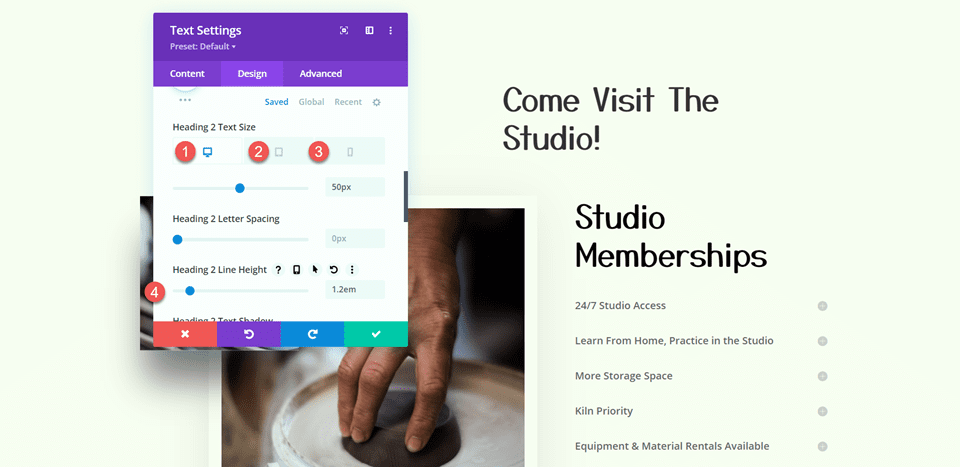
Then, customise the font measurement and line top. Use the integrated responsive choices so as to add other textual content sizes for pill and cellular gadgets.
- Heading 2 Textual content Measurement Desktop: 50px
- Heading 2 Textual content Measurement Pill: 30px
- Heading 2 Textual content Measurement Cellular: 24px
- Heading 2 Line Top: 1.2 em
Textual content Settings
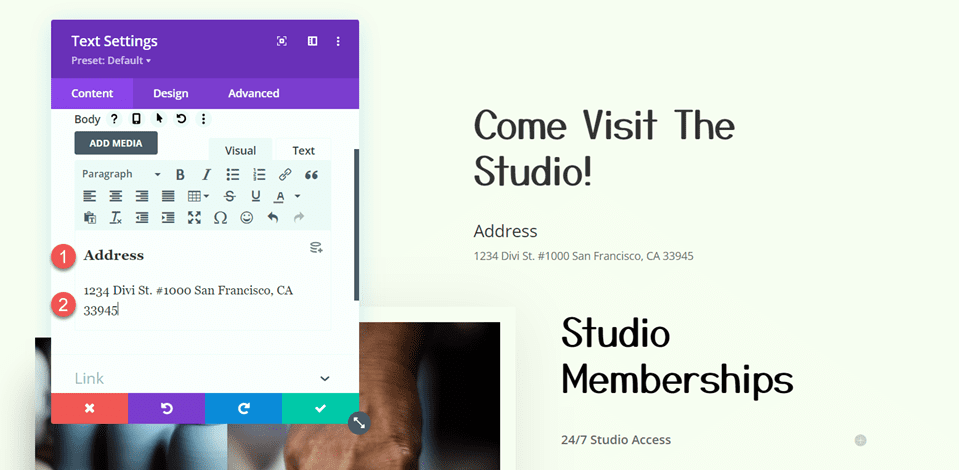
Upload some other textual content module underneath the “Come Discuss with The Studio” textual content.

Insert the next textual content.
- H3: Cope with
- Paragraph: 1234 Divi St. #1000 San Francisco, CA 33945
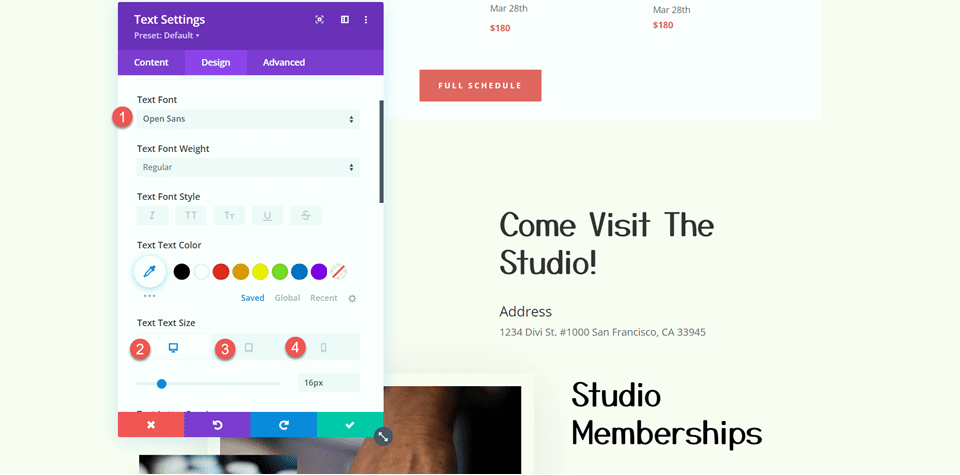
Beneath the Design tab, adjust the textual content types.
- Textual content Font: Open Sans
- Textual content Measurement Desktop: 16px
- Textual content Measurement Pill: 15px
- Textual content Measurement Cellular: 13px
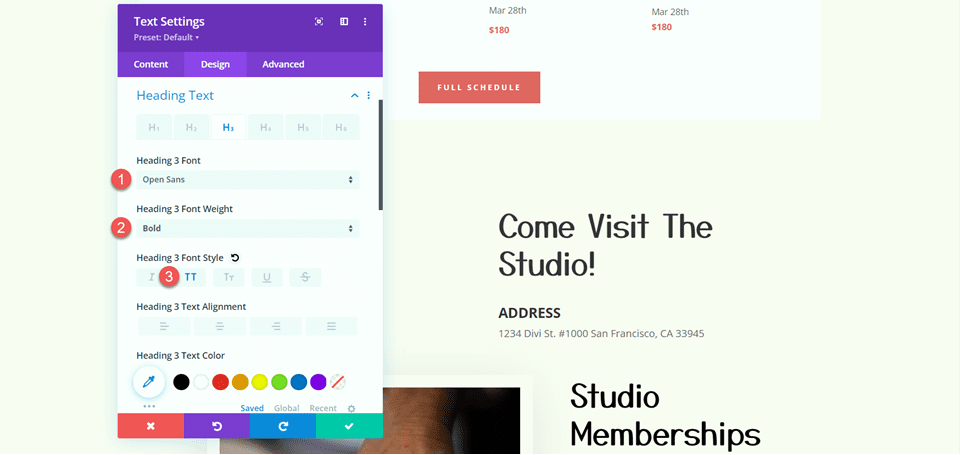
Then, adjust the heading types.
- Heading 3 Font: Open Sans
- Heading 3 Font Weight: Daring
- Heading 3 Font Taste: Capitalized (TT)
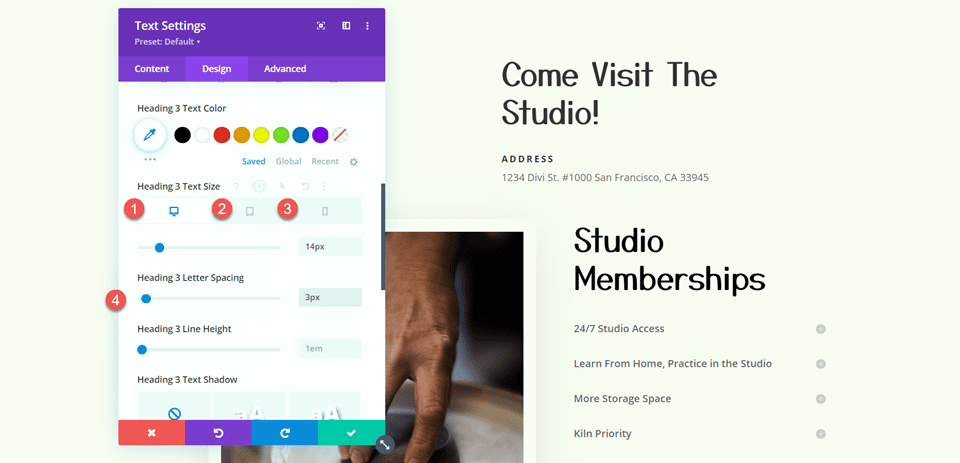
Subsequent, adjust the textual content measurement and letter spacing. As soon as once more, use the responsive settings to set other textual content sizes for various display screen sizes.
- Heading 3 Textual content Measurement Desktop: 14px
- Heading 3 Textual content Measurement Pill: 13px
- Heading 3 Textual content Measurement Cellular: 12px
- Heading 3 Letter Spacing: 3px
Upload some other textual content module underneath the deal with module.
Then, upload the next content material to the frame:
- Frame: Lorem ipsum dolor take a seat amet, consectetur adipiscing elit. Mauris blandit aliquet elit, eget tincidunt nibh pulvinar a. Curabitur arcu erat, accumsan identity imperdiet et, porttitor at sem. Vestibulum ac diam take a seat amet quam vehicula elementum sed take a seat amet dui. Praesent sapien massa, convallis a pellentesque nec, egestas non nisi. Curabitur non nulla take a seat amet nisl tempus convallis quis ac lectus. Donec rutrum congue leo eget malesuada. Donec rutrum congue leo eget malesuada. Donec sollicitudin molestie malesuada. Curabitur aliquet quam identity dui posuere blandit.

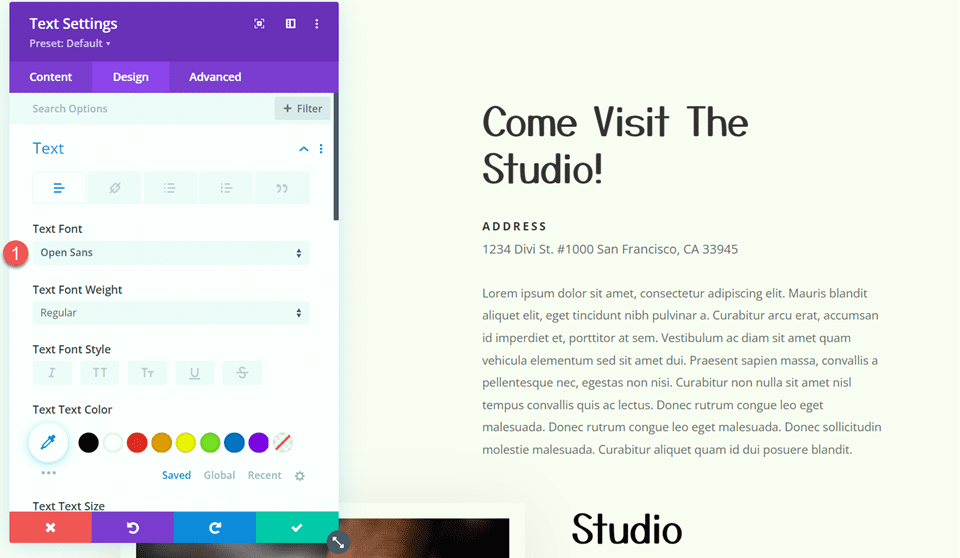
Transfer over to the design tab and customise the font.
- Textual content Font: Open Sans
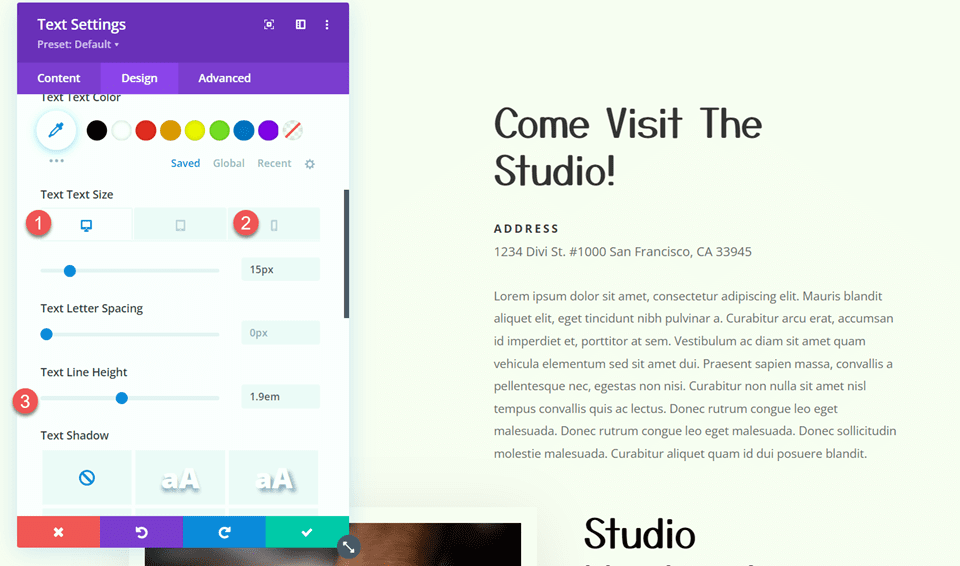
Then, customise the textual content measurement and line top.
- Textual content Measurement Desktop: 15px
- Textual content Measurement Cellular: 13px
- Textual content Line Top: 1.9em
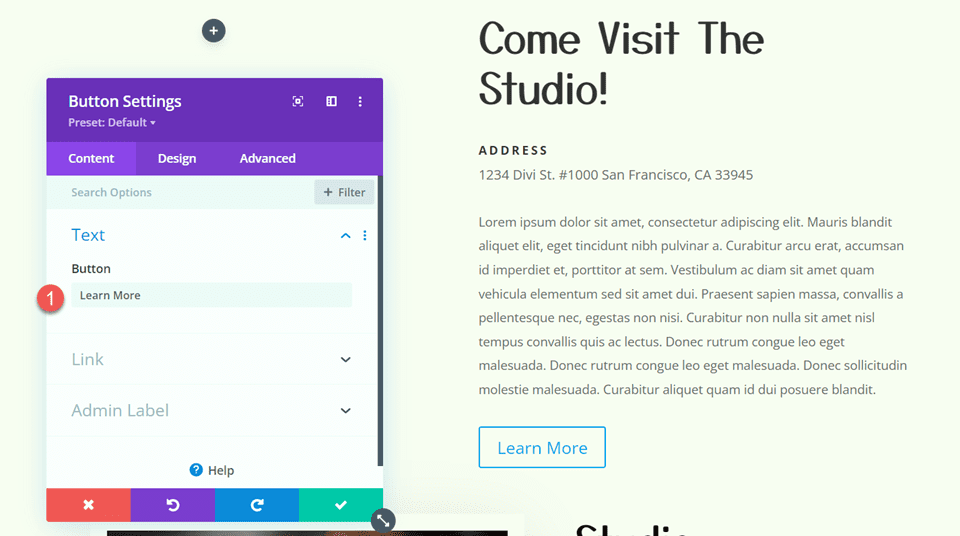
Button Settings
Upload a button module to the segment, underneath the textual content we added.
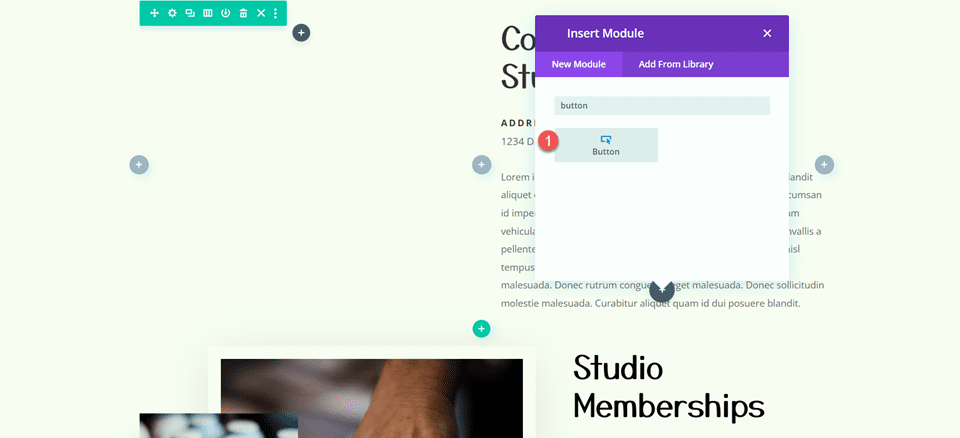
Set the button textual content to “be told extra”.
- Button: Be told Extra
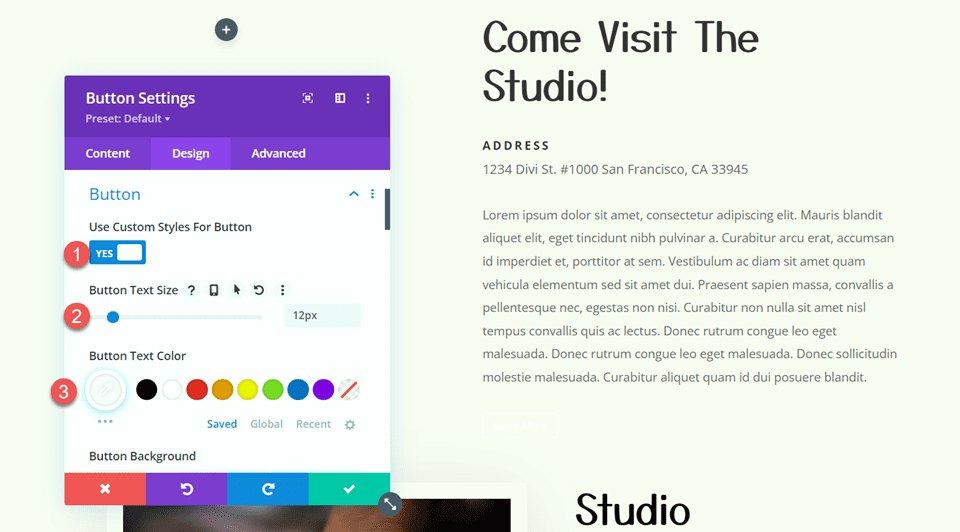
Subsequent, transfer to the design tab and open the button settings. Permit customized types.
- Use Customized Types For Button: Sure
- Button Textual content Measurement: 12px
- Button Textual content Colour: #FFFFFF
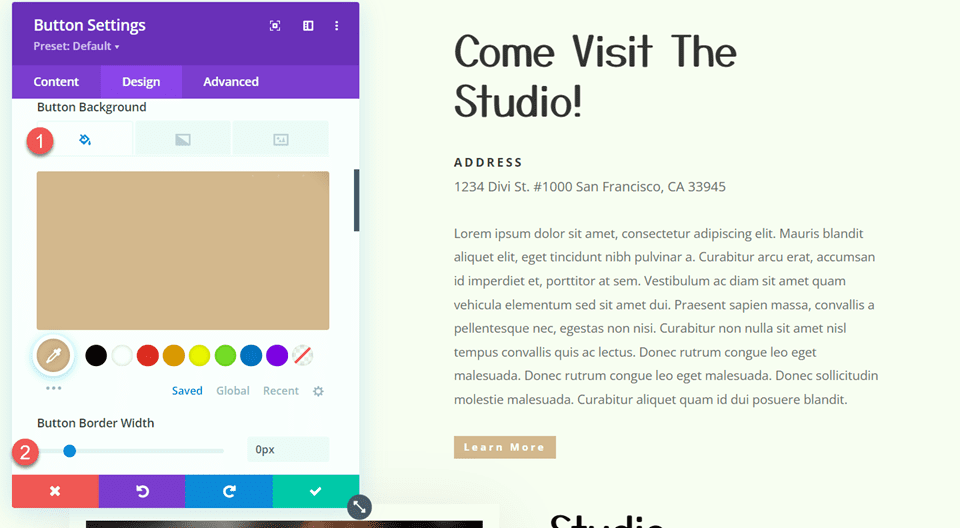
Customise the button background and border width.
- Button Background: #d5b38e
- Button Border Width: 0px
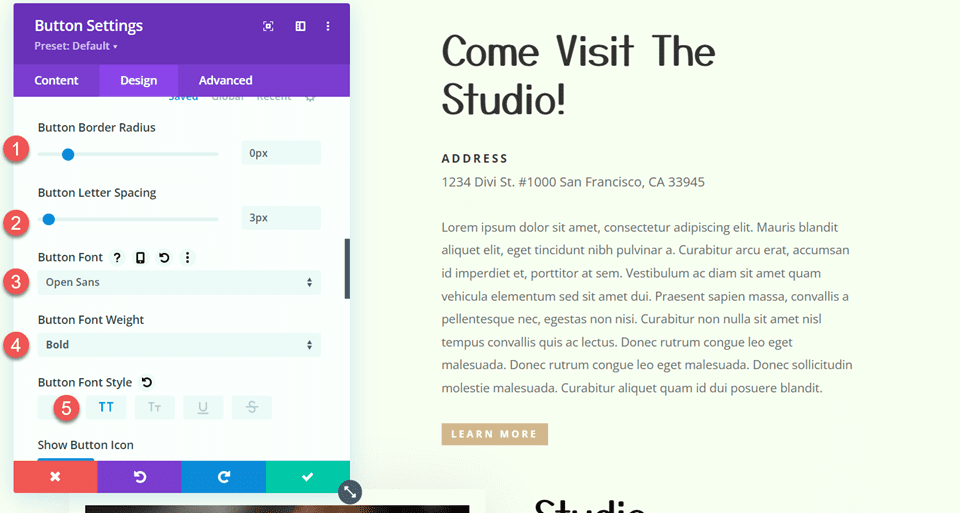
Alter the button border radius, letter spacing, and font.
- Button Border Radius: 0px
- Button Letter Spacing: 3px
- Button Font: Open Sans
- Button Font Weight: Daring
- Button Font Taste: Capitalized (TT)
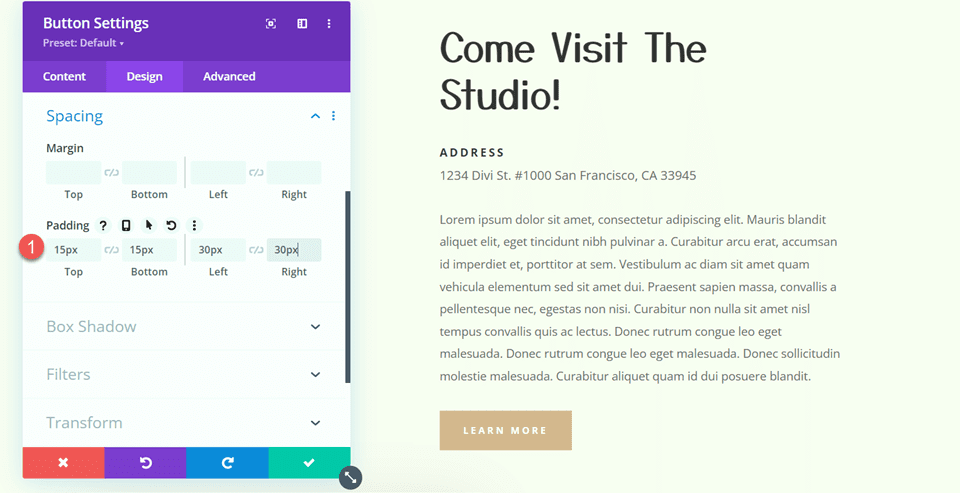
In spite of everything, upload padding to the button.
- Padding-Most sensible: 15px
- Padding-Backside: 15px
- Padding-Left: 30px
- Padding-Proper: 30px
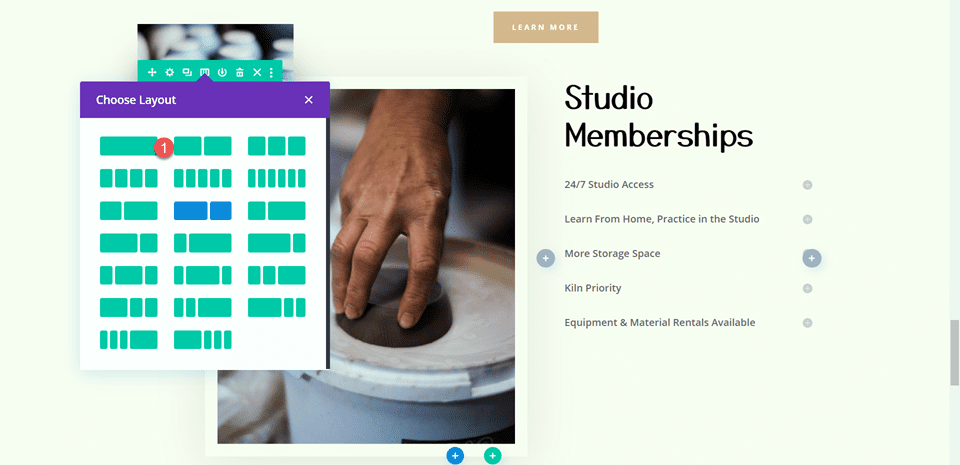
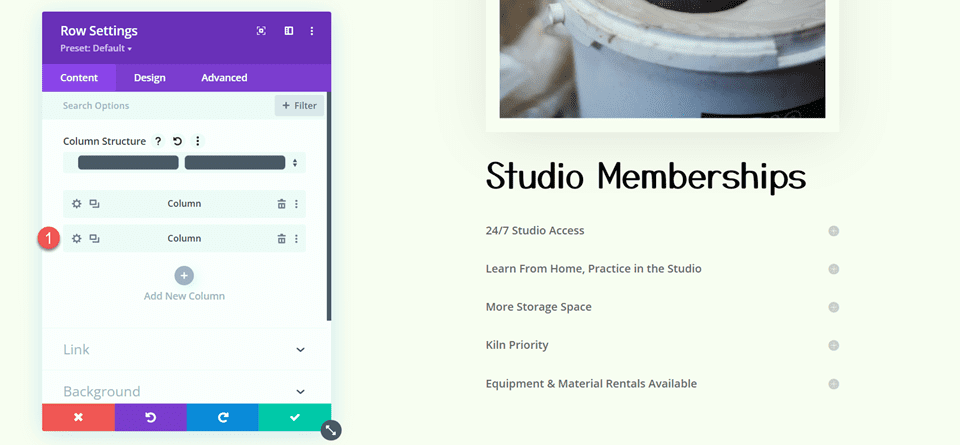
Studio Memberships Segment
Now we’re going to adjust the Studio Memberships segment. First, alternate the row format to 2 equivalent columns.
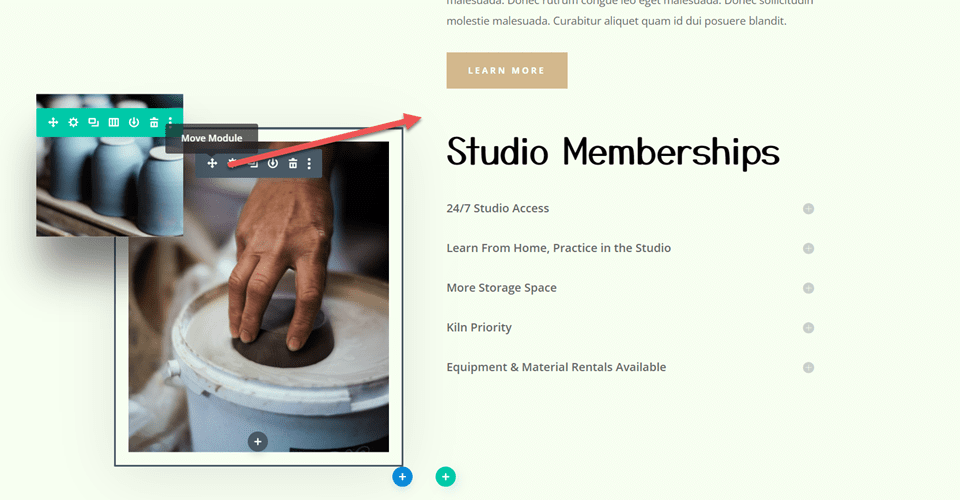
Then, transfer the massive symbol to the suitable column, above the “Studio Memberships” textual content module.
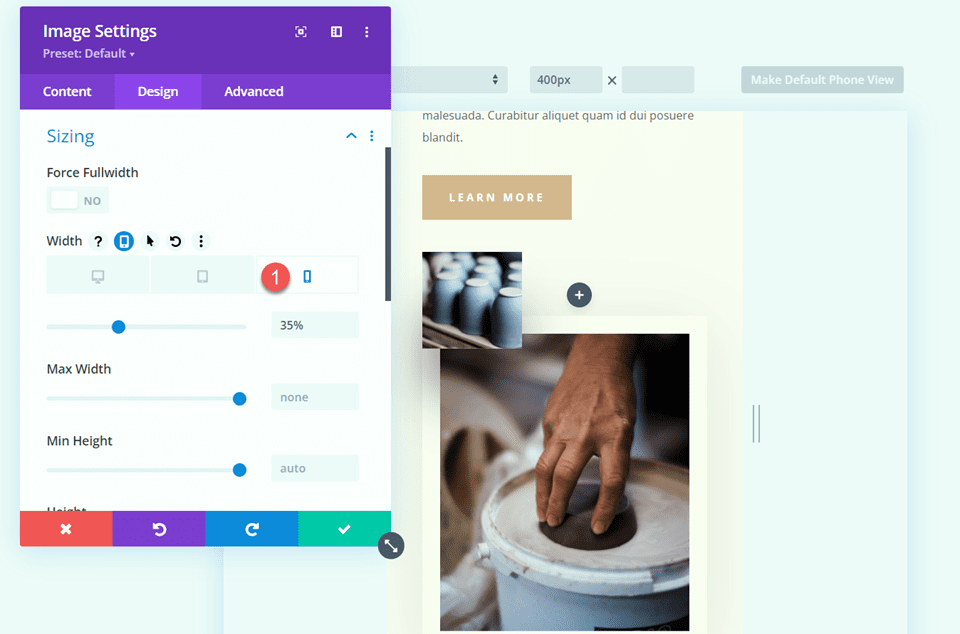
Scrolling Symbol Settings
Transfer the small scrolling symbol of the pottery to the suitable column, above the massive symbol we moved.
Open the module settings for the small symbol. Beneath the Sizing settings, use the responsive settings to set a unique width for cellular gadgets.
- Width-Cellular: 35%
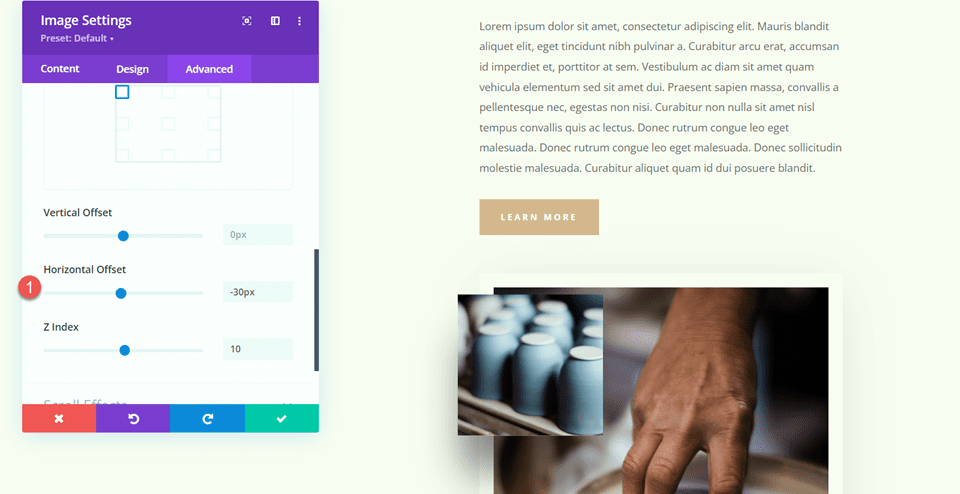
Beneath the Complex tab, open the Place settings and upload some horizontal offset. This permits the small symbol to hold over the facet of the bigger symbol, including size and making a extra distinctive format.
- Horizontal Offset: -30px
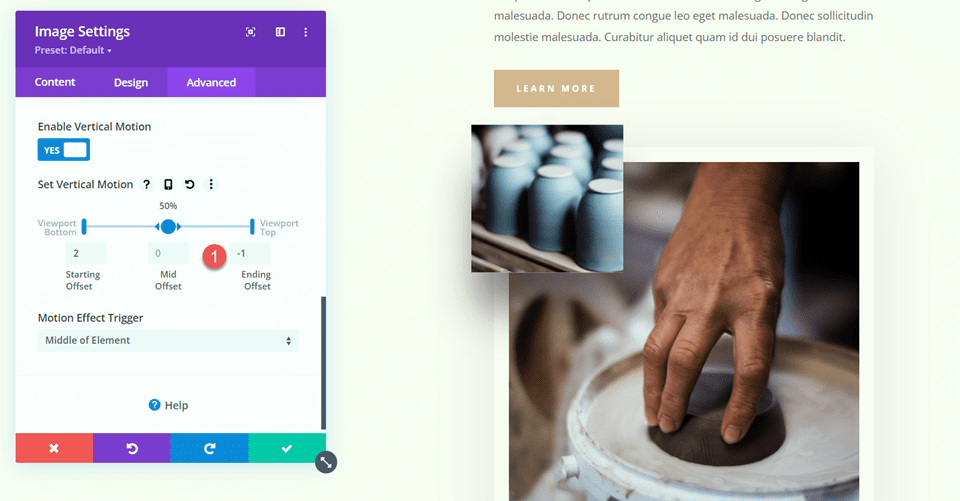
In spite of everything, open the scroll results and regulate the finishing offset for the vertical movement.
- Finishing Offset: -1
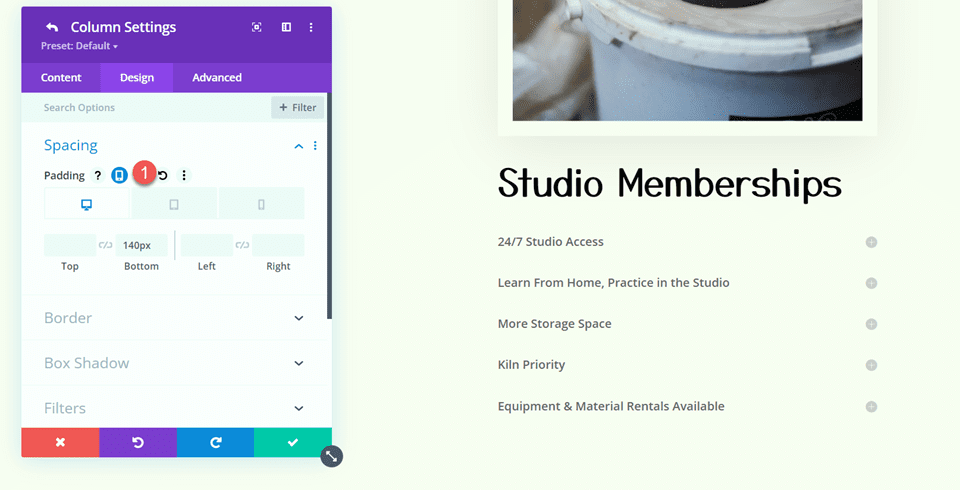
Studio Memberships Textual content
Open the Studio Memberships textual content module settings. Take away the background from the module.
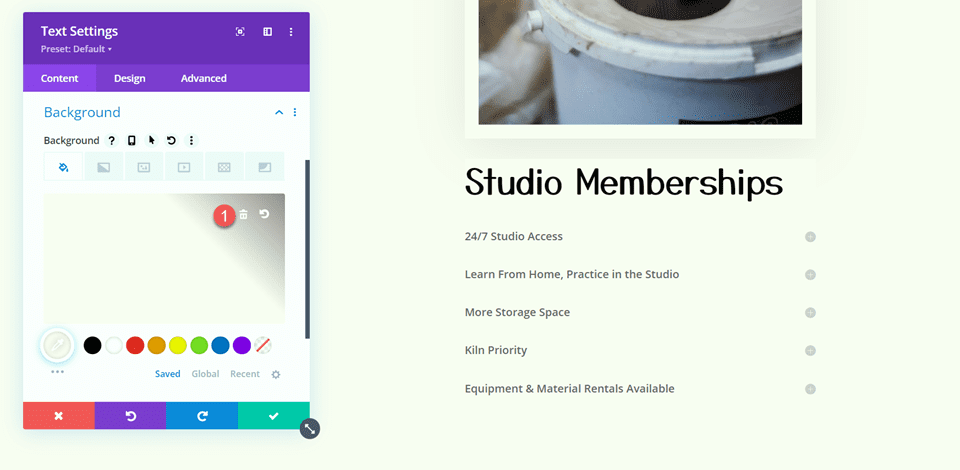
Then, open the row settings and open the column 2 settings.
Beneath the Spacing settings within the Design tab, take away the prevailing backside padding.
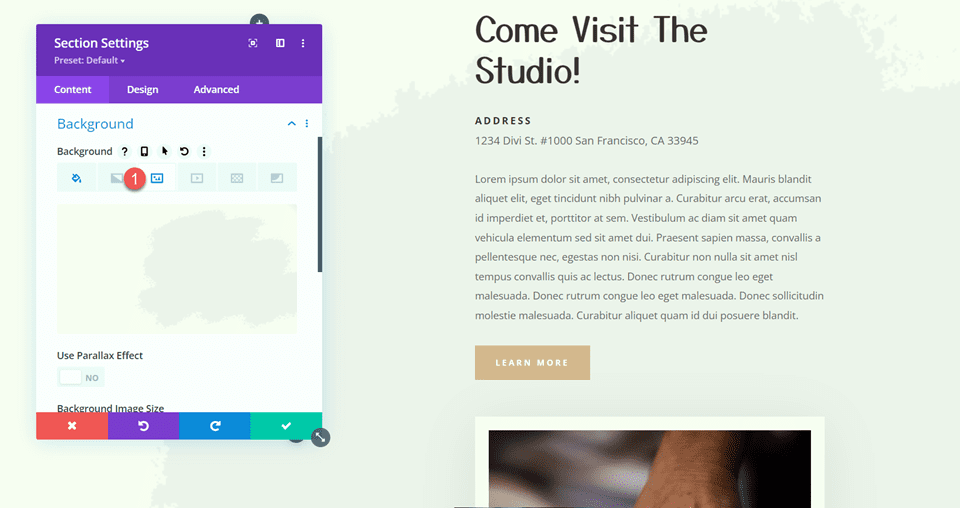
Segment Background
Open the segment settings. Beneath the background settings, upload a background symbol. Choose craft-school-24.png out of your media library.
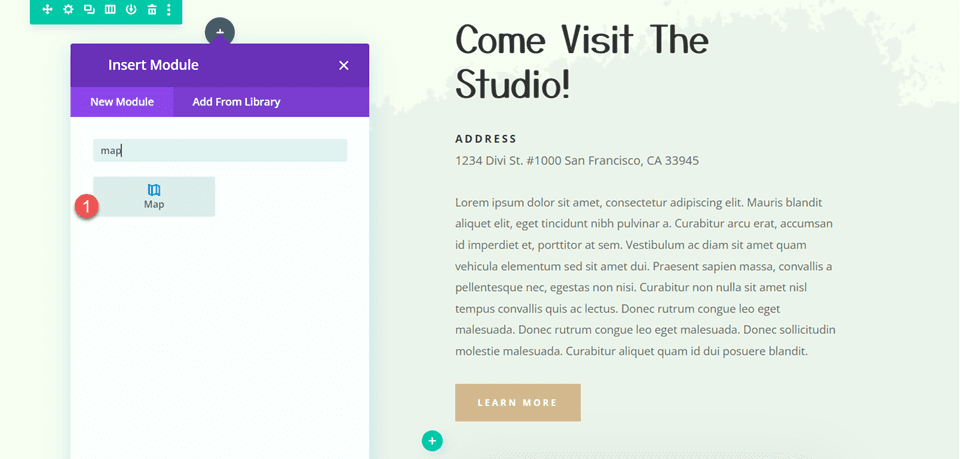
Upload the Sticky Map Module
Now that our format has been changed, we will upload the sticky map module. The map module will probably be within the left column and keep in position as you scroll throughout the content material at the proper. Let’s get began.
First, upload a map module to the left column of the “Come Discuss with The Studio” row.
Open the map settings and upload a map middle deal with. For this educational, we will be able to middle the map on San Fransisco, CA.
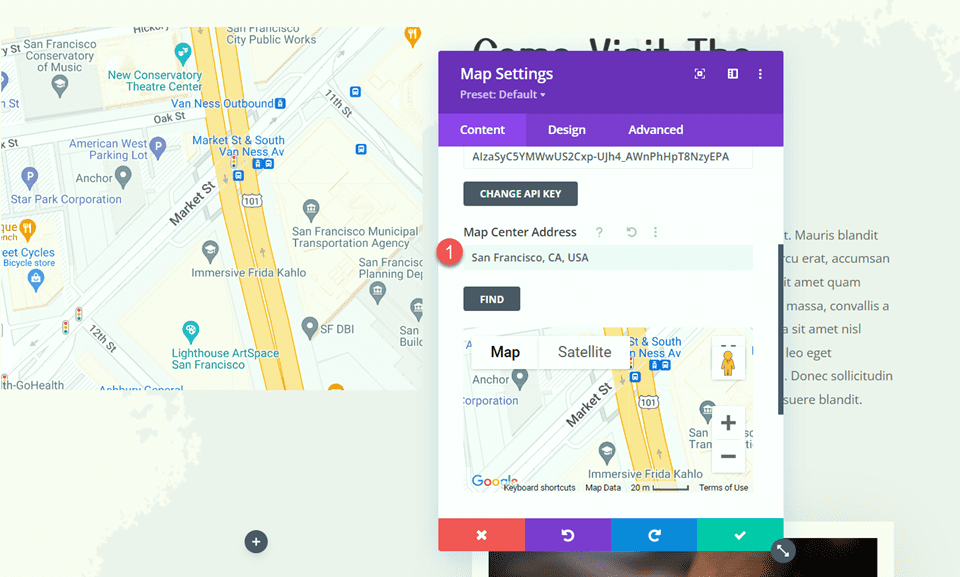
Then, upload a pin to the map. We can additionally set this to San Fransisco, CA.

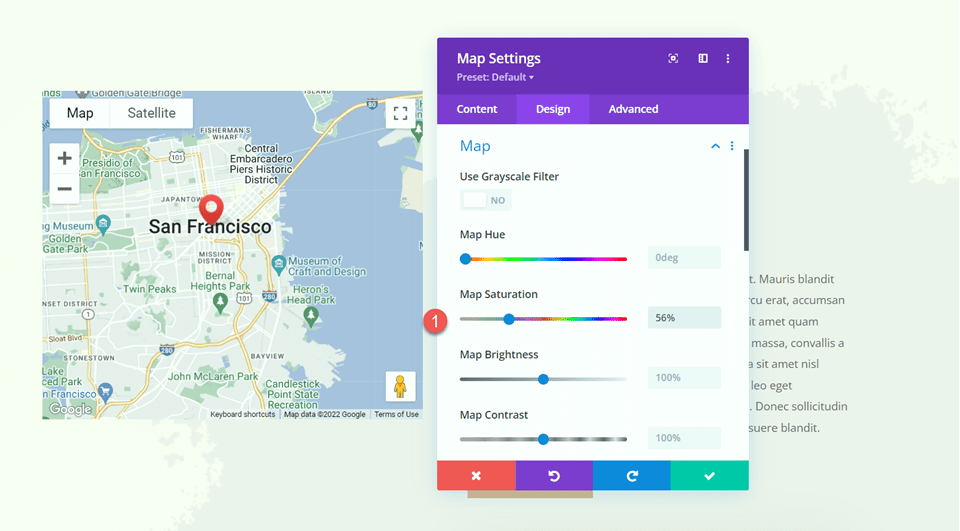
Map Design
Beneath the design tab, open the map settings. You’ll use those settings to fully customise the best way your map seems. For this educational, we would like the map to compare the muted colours of this web page, so we will be able to adjust the map saturation.
- Map Saturation: 56%
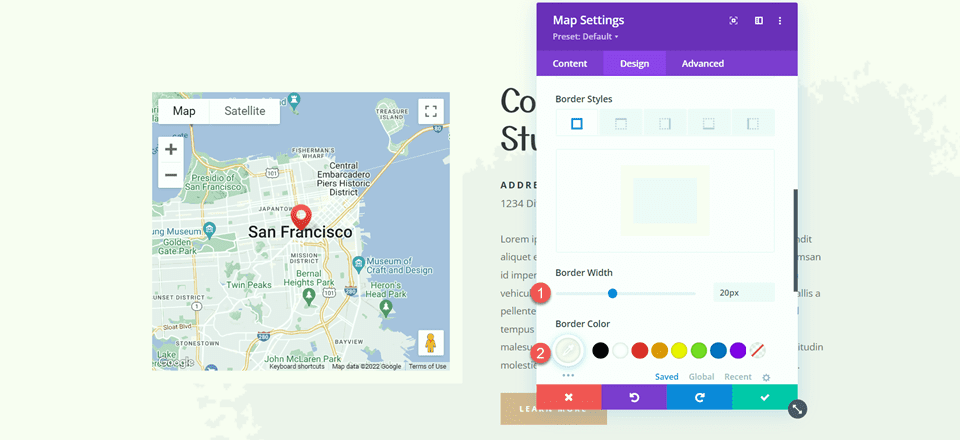
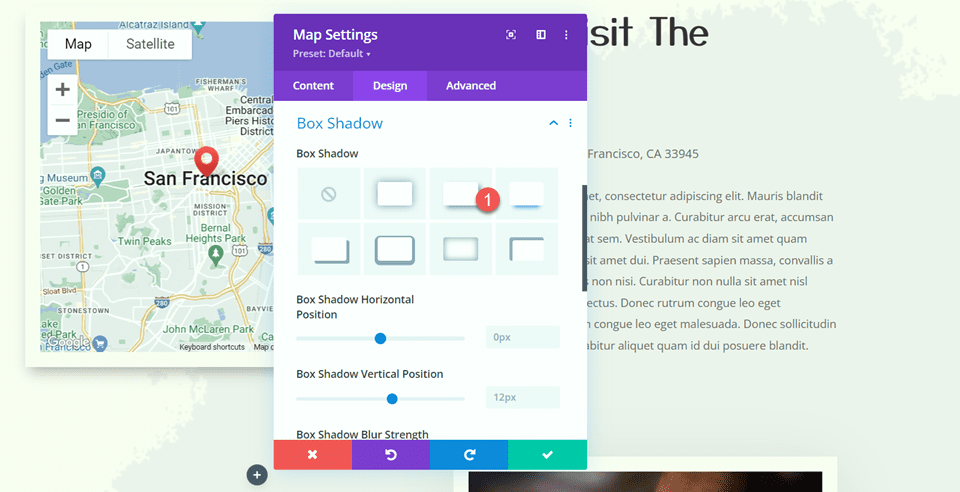
Subsequent, open the border settings and customise the border as follows:
- Border Width: 20px
- Border Colour: #fcf8f3
Open the Field Shadow settings and upload a shadow to the map module.
- Field Shadow: Under
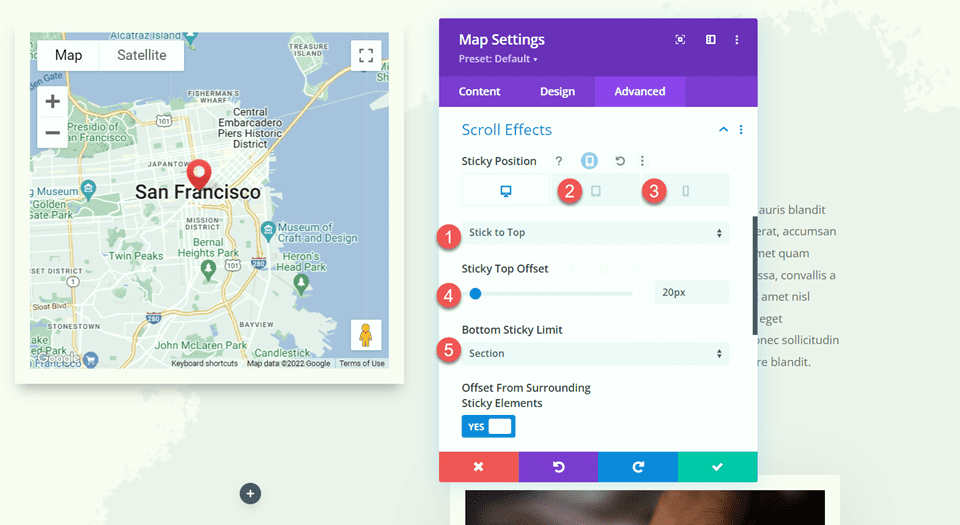
Sticky Settings
Now let’s upload the sticky settings so the map sticks in position whilst you scroll. Transfer over to the Complex tab and open the Scroll Results Settings. Use responsive choices to change the sticky place settings, because the map is probably not sticky on cellular gadgets.
- Sticky Place Desktop: Stick with Most sensible
- Sticky Place Pill and Cellular: Do Now not Stick
- Sticky Most sensible Offset: 20px
- Backside Sticky Restrict: Segment
Now return to the Design tab and open the sizing settings. We would like the map top to extend when it’s within the sticky state. Use the sticky settings to set a unique top.
- Top when Sticky: 600px
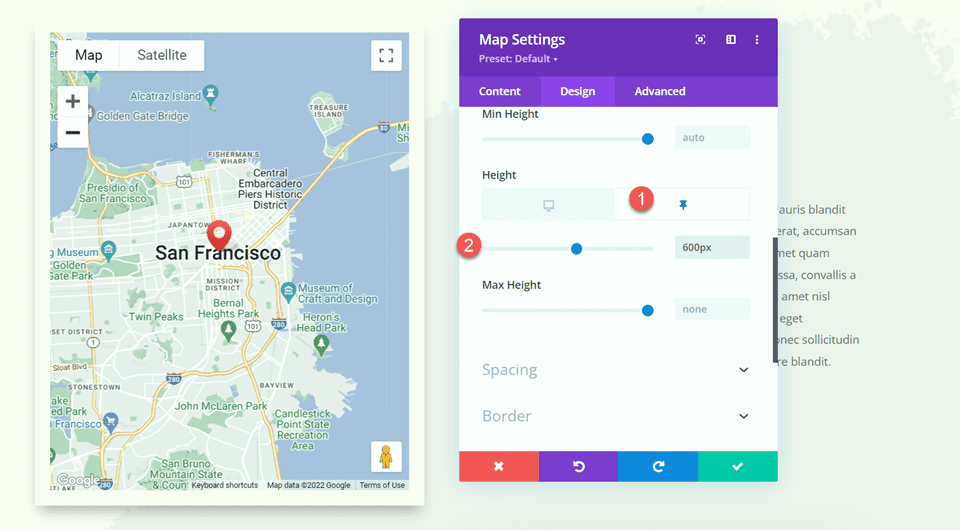
In spite of everything, use the responsive settings to switch the map measurement on pill and cellular.
- Top Pill and Cellular: 350px

Ultimate Outcome
Now let’s check out our sticky map module in motion.
Ultimate Ideas
Divi’s sticky settings mean you can create dynamic web page layouts that draw your eye with the motion. With the entire customization choices to be had, you’ll be able to make any component to your web page sticky and adjust the design precisely on your liking. Via making the map module sticky on this design, we spotlight the site data for the web page and upload a singular design component to the web page. For extra tutorials on Divi’s sticky settings, take a look at this newsletter on adding a sticky contact form to your page. Do you utilize sticky components to your web page? We would like to listen to from you within the feedback!
The put up How to Add a Sticky Map Module to Your Divi Page seemed first on Elegant Themes Blog.
Contents
- 1 Sneak Peek
- 2 What You Wish to Get Began
- 3 The best way to Upload a Sticky Map Module to Your Divi Web page
- 4 Ultimate Outcome
- 5 Ultimate Ideas
- 6 5 Inquiries to Ask Your self Ahead of Launching a Virtual Advocacy Marketing campaign
- 7 WordPress – WordPress In Maryland: Protective Your Site From Exploits…
- 8 How AI Perceptions Have Modified within the Ultimate Decade [Comparing New & Old Consumer Data]

0 Comments