

Sooner than you put up a touchdown web page, you scroll via yet another time to test if the whole thing seems to be proper. However spacing that doesn’t fit, flawed colours, or other fonts can slip proper previous you.
Divi 5’s Inspector device solves this by way of exhibiting your entire design adjustments in a single position, making it simple to identify what wishes solving. This information walks you via the use of the Inspector to study your touchdown web page part by way of part and ensure it’s polished sooner than release.
How Divi 5’s Inspector Makes Design QA Easy
The Inspector in Divi 5 is a visible panel that lets you view the whole thing going down inside of your design with out opening a couple of settings home windows. When you choose any part, row, or module, it immediately displays all of the carried out design and content material settings in one sidebar.
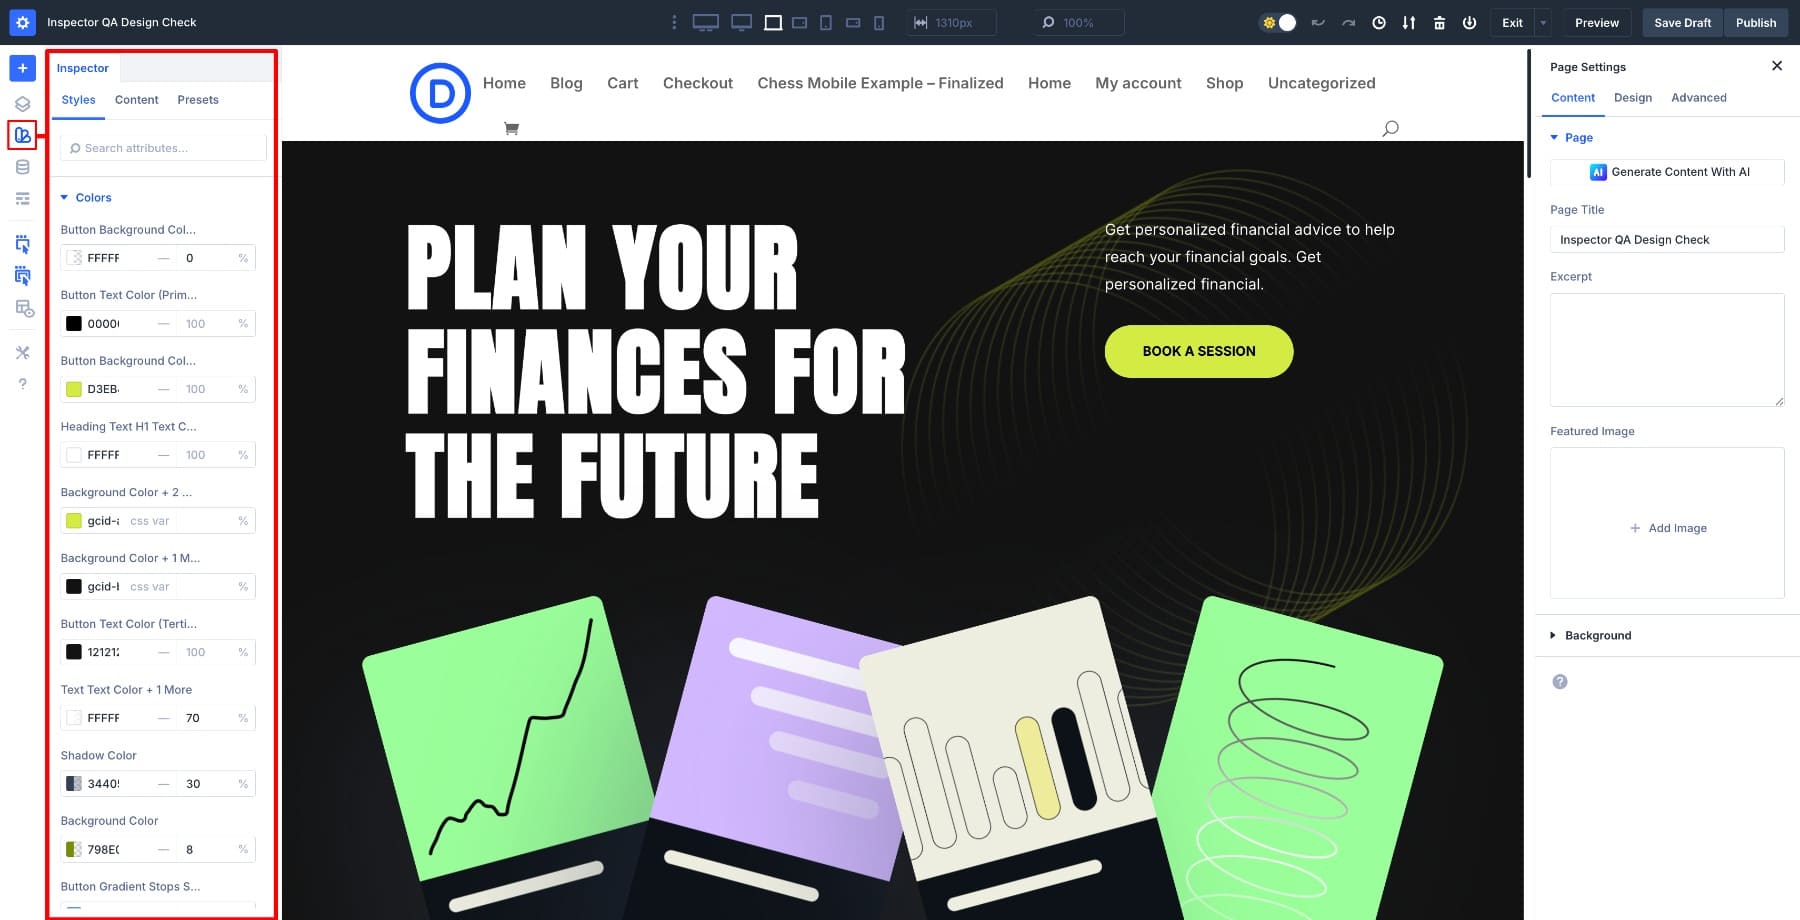
You get a direct view of precisely how that a part of the web page was once constructed. Colours, fonts, spacing, and presets seem unexpectedly, which turns the standard guesswork of design assessment into one thing extra like following a transparent map.
The Inspector best shows fields which were changed from Divi’s defaults, so that you’re no longer wading via dozens of unchanged settings. On a brand-new button or module, the panel will glance empty till you convert a price or follow a variable or preset.
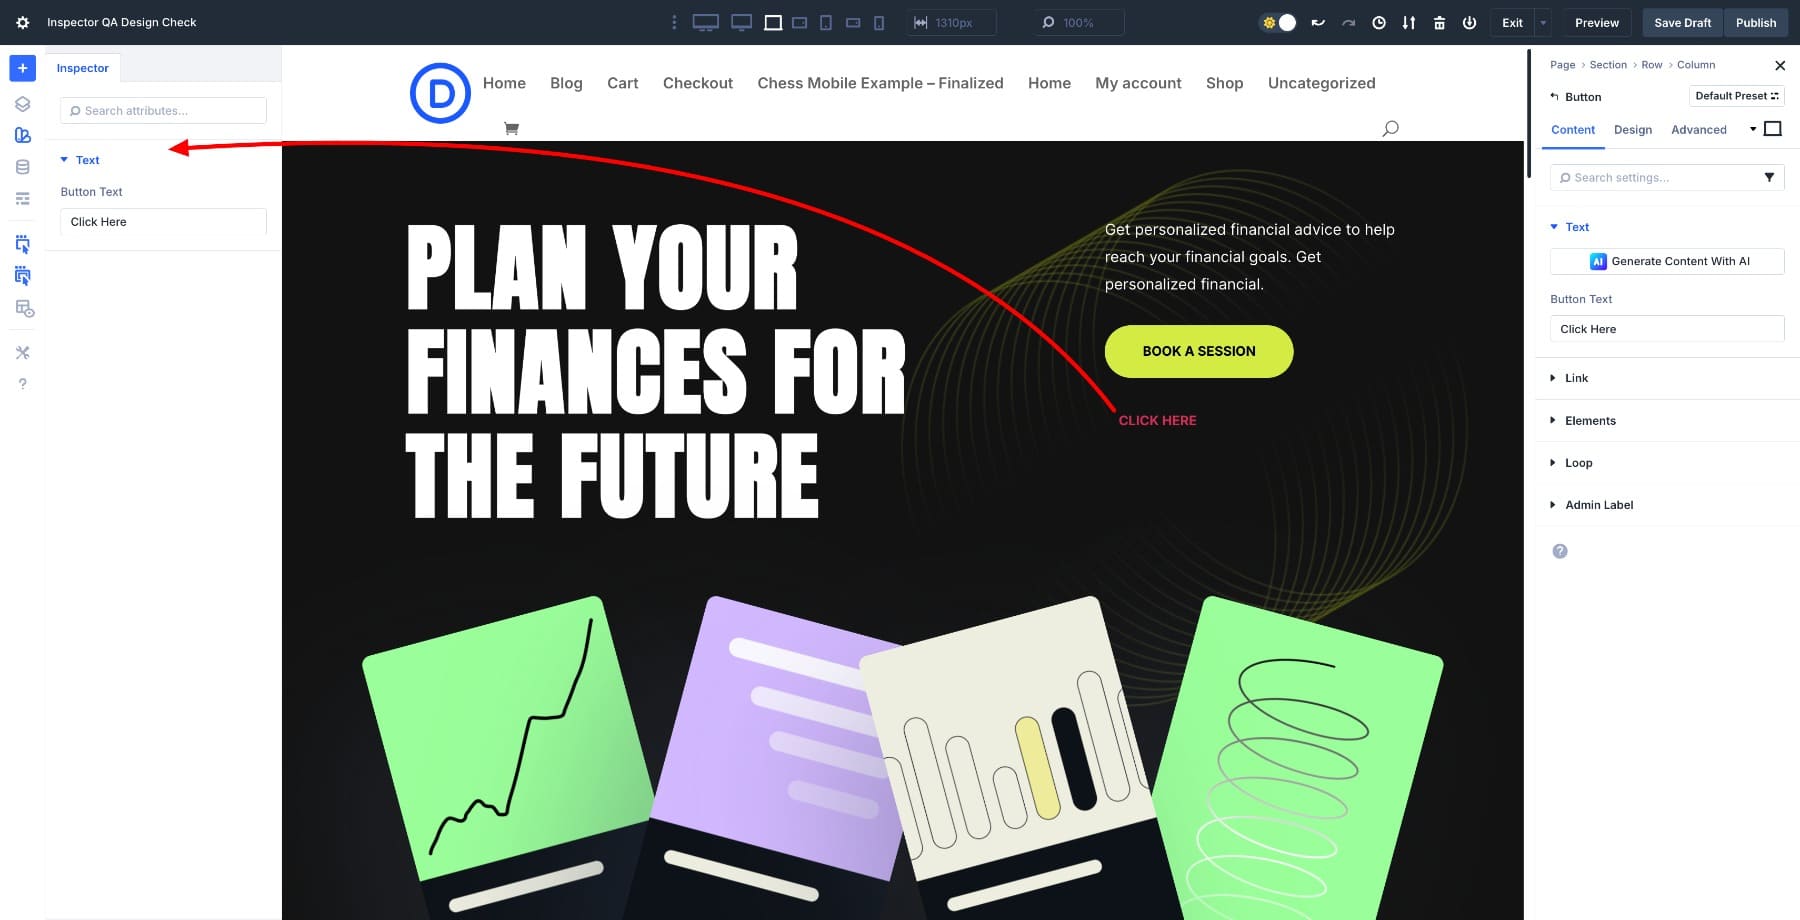
However if you adjust design fields or follow Extend Attributes from a styled button, the Inspector populates with the ones custom designed fields. You’re no longer looking via unending choices anymore, seeking to piece in combination what you adjusted hours in the past.
You’ll additionally tweak values at once throughout the panel and watch the structure replace in actual time. Click on a distinct part or module, and the sidebar refreshes robotically to turn best the related settings for that component.
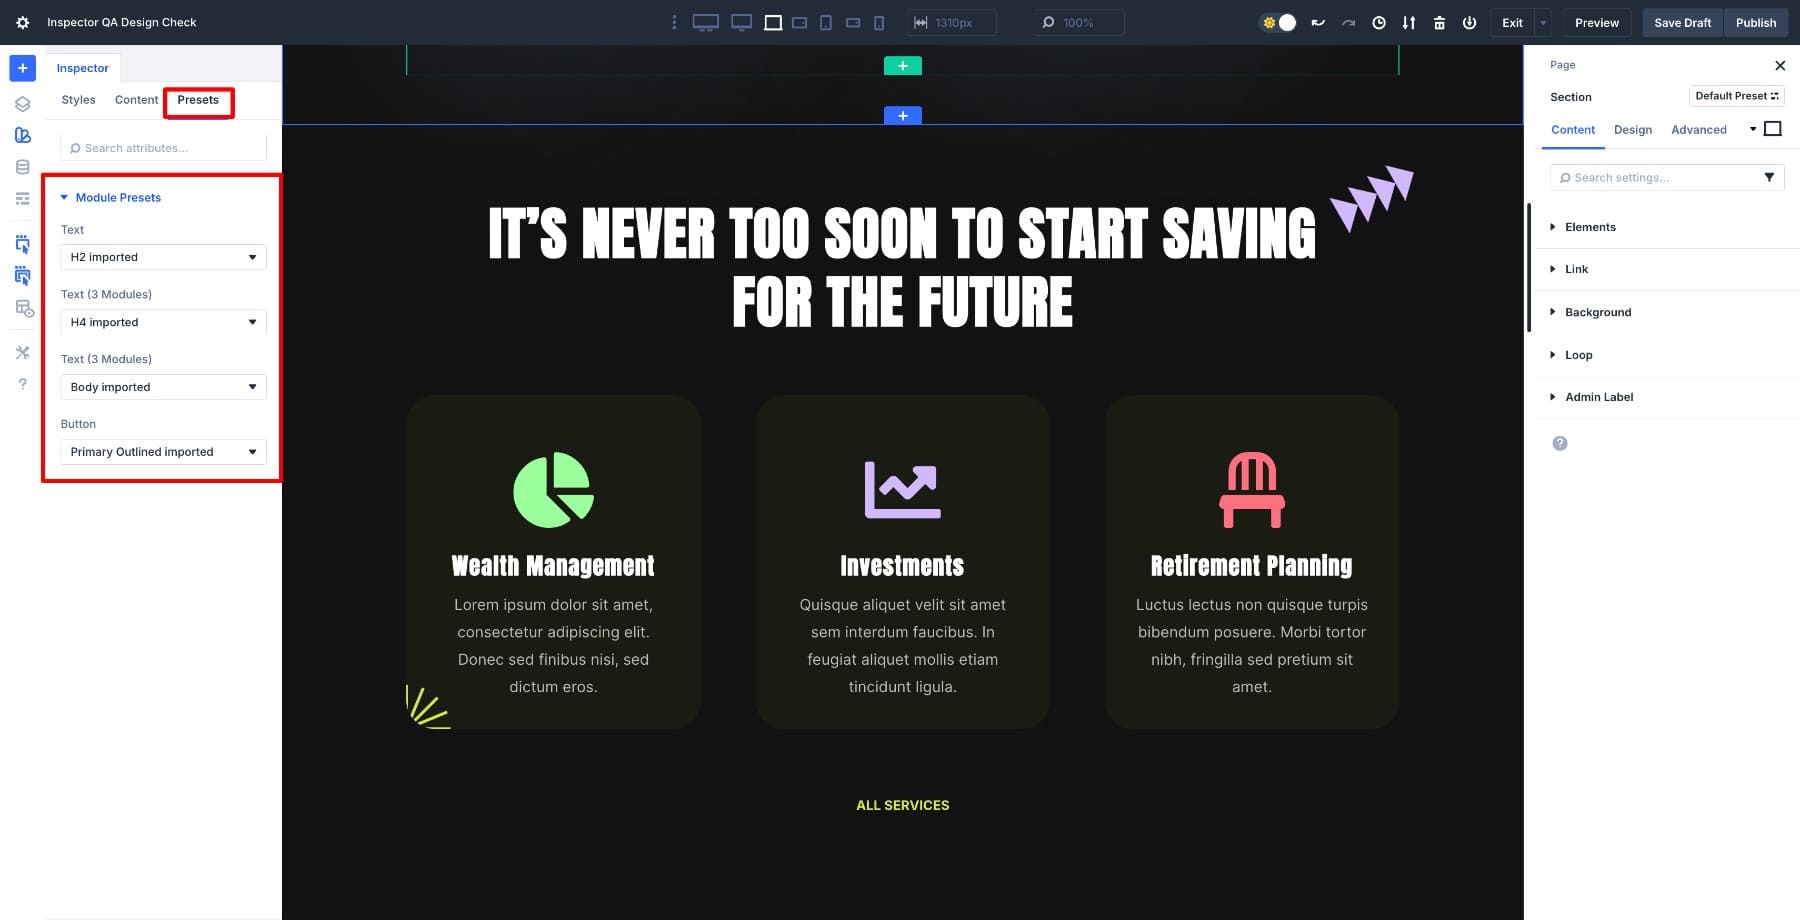
Within the Inspector (additionally known as the Taste Inspector within the documentation), the whole thing is arranged into 3 primary tabs: Types, Content material, and Presets. The Types tab covers typography, spacing, and hues.
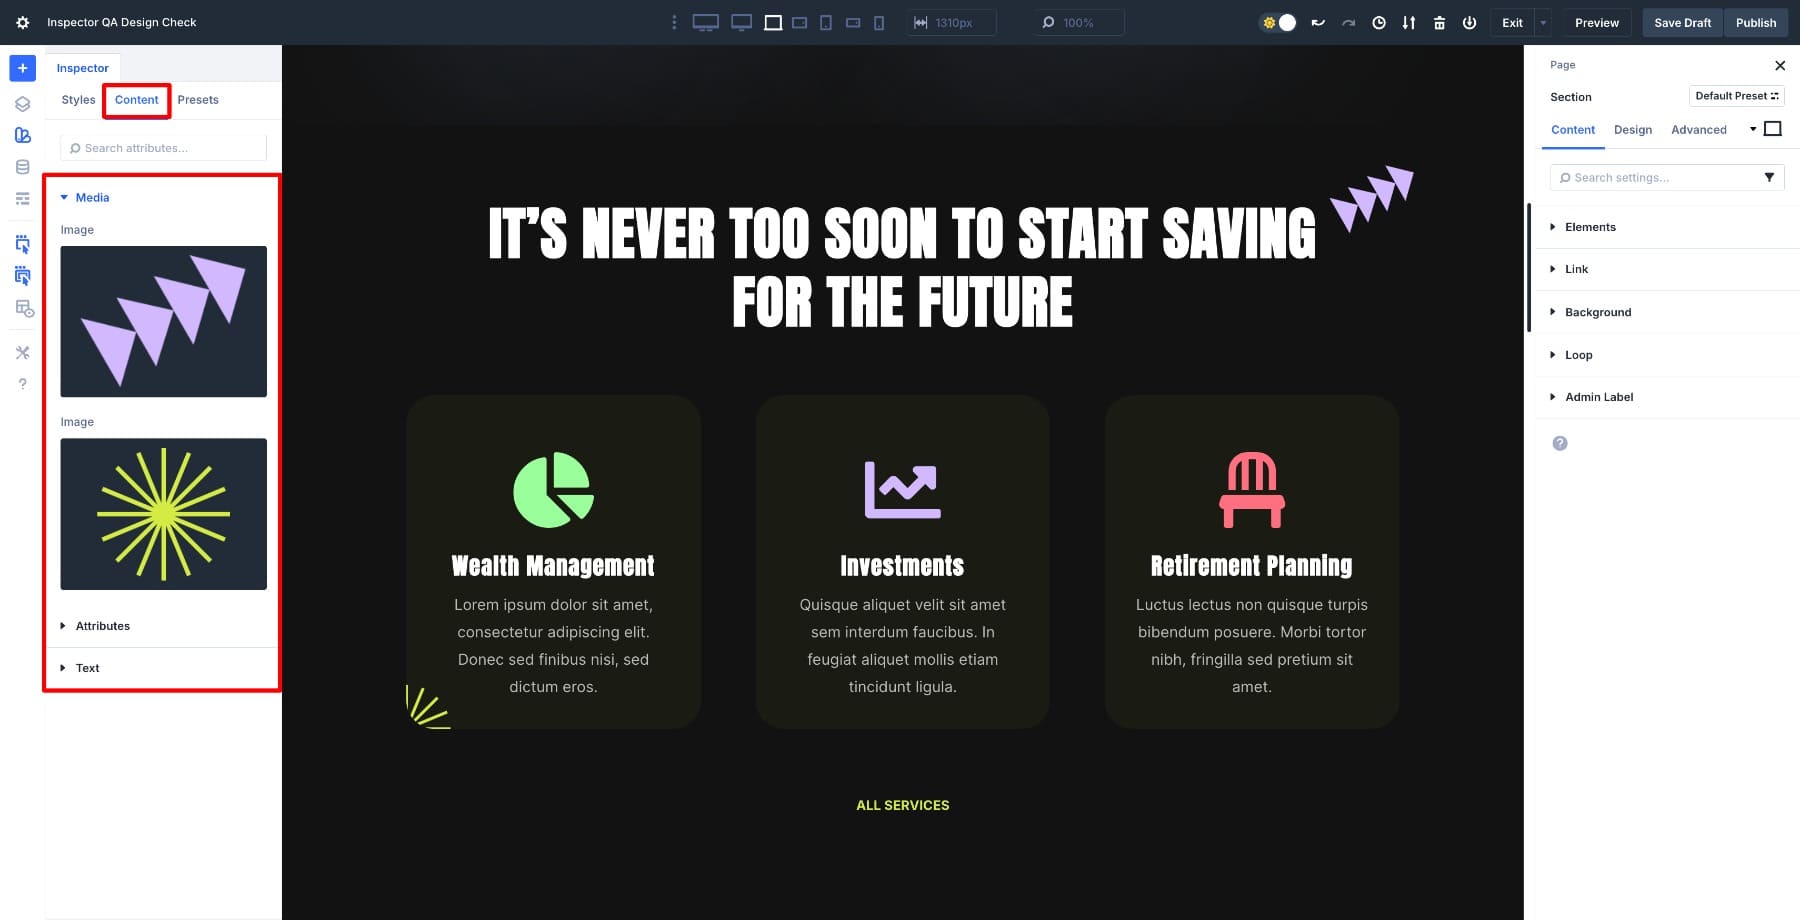
The Content material tab shows textual content, photographs, and Attributes.
The Presets tab signifies which world taste has been carried out, permitting you to substantiate that your modules are adhering to your design device.
With each edit visual in a single sidebar, you’re now not leaping between modules or making an attempt to keep in mind which button used a customized colour. You’ll transfer during the web page methodically: take a look at a bit, take a look at what’s changed, make changes if wanted, then proceed.
The Inspector refreshes immediately when you choose new parts, retaining the glide clean as you scroll from the hero to the footer. Small inconsistencies in spacing or typography develop into evident as you move. By the point you achieve the top of the web page, you’ve already reviewed each changed box and showed that your touchdown web page is polished, constant, and in a position to release.
Learn Everything About Divi 5’s Inspector
How To Carry out A Pre-Release Design QA
You’ve noticed how the Inspector surfaces each changed box to your design. Time to position it to paintings with a complete web page assessment. Start with a short lived evaluate sooner than delving into the person sections.
1. Scan The Complete Web page First
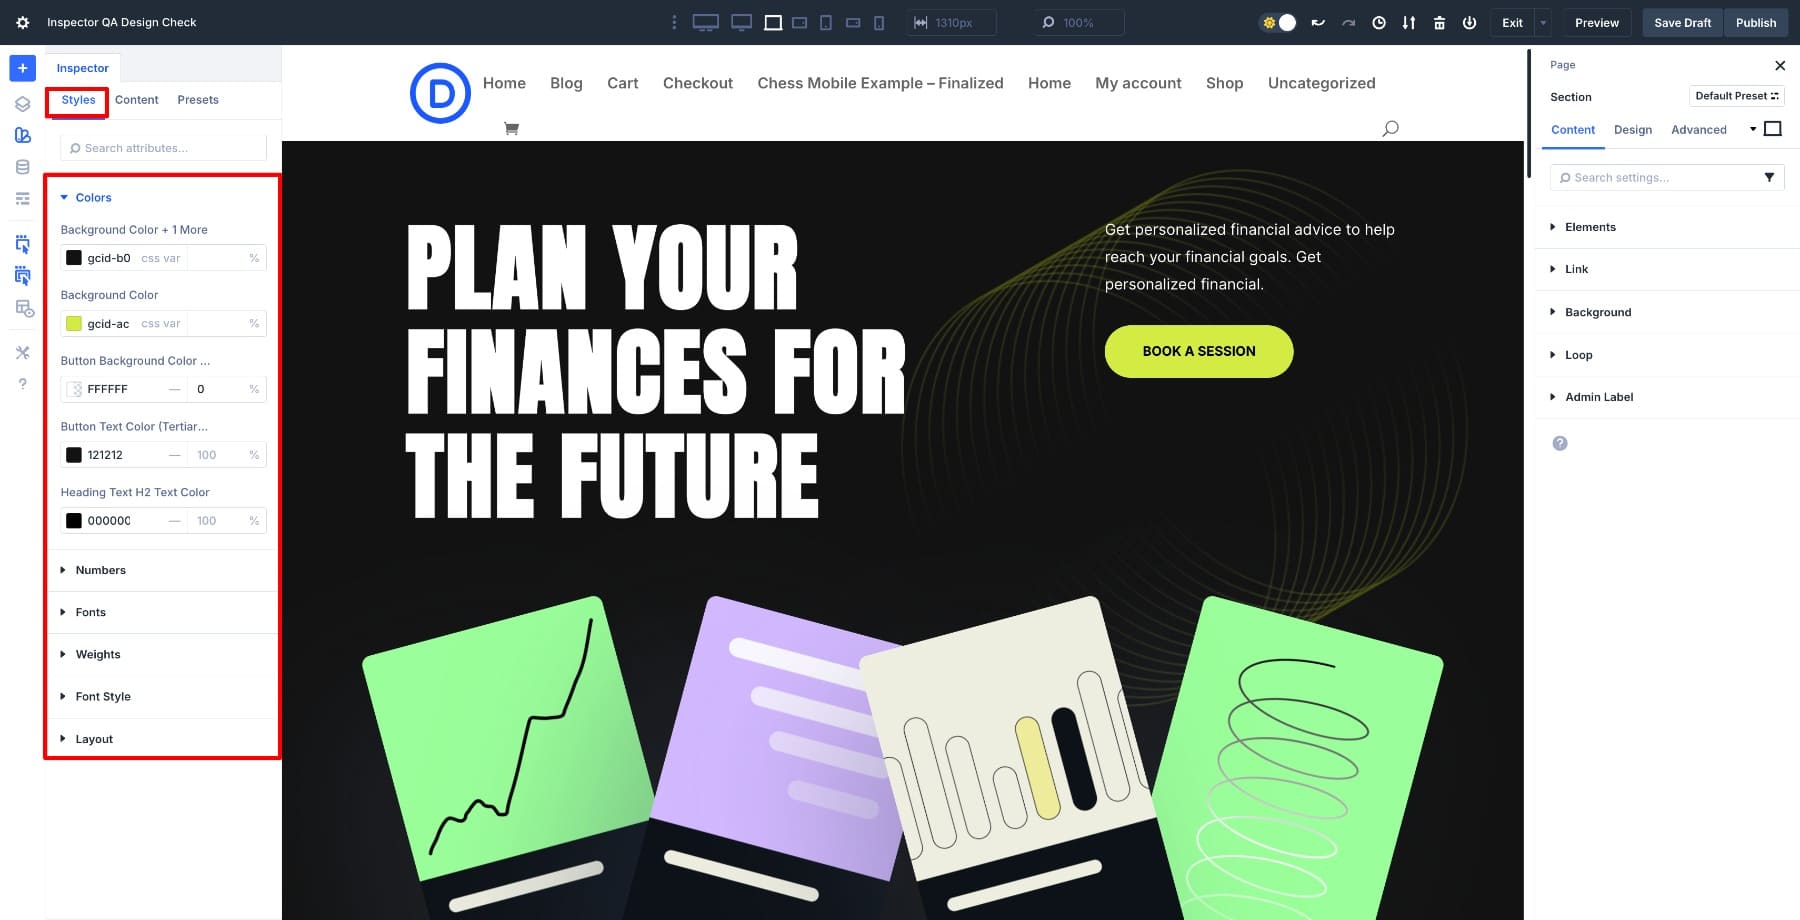
Start with a high-level assessment sooner than entering main points. While you open the Inspector with not anything decided on, it shows a page-level evaluate, appearing all types, content material, and presets these days in use around the web page, with a focal point on fields that range from Divi’s defaults.
As you scroll, search for anything else that visually feels off, like misaligned sections, asymmetric padding, or colours that don’t fit your palette. However transcend simply taking a look.
Squint on the web page to blur the main points and notice in case your visible hierarchy nonetheless holds. A very powerful parts will have to nonetheless stand out even if the whole thing’s somewhat out of focal point. In the event that they don’t, you’ve most probably were given spacing or measurement inconsistencies that want consideration.
Right here’s what to test particularly.
- Typography: Open a couple of headings in numerous sections and evaluate their font circle of relatives, weight, and measurement within the Inspector. In the event you’re the use of Design Variables, they will have to all reference the similar variable names. Hardcoded values jumbled together with variables are in most cases an indication that one thing was once copied and pasted or manually overridden and not wiped clean up.
- Buttons: Click on via a number of buttons throughout other sections and take a look at in the event that they’re pulling from the similar preset or Design Variables. Take a look at their padding values particularly. Buttons that glance “virtually the similar” incessantly have somewhat other padding, which creates refined visible noise.
- Spacing: Use the Inspector to test margin and padding values as you scroll. In the event you see a trend like 40px, 45px, 40px, 50px between an identical parts, you’ve discovered an inconsistency. Tighten the ones values to a constant rhythm, relying in your spacing scale.
At this level, you haven’t fastened anything else but. You’re construction a psychological checklist of patterns to make sure which sections are the use of hardcoded colours as a substitute of variables, the place spacing breaks out of your device, and which parts would possibly want preset changes. This preliminary sweep signifies the place to focal point while you start the detailed, section-by-section assessment.
2. Evaluation The Hero Segment
The hero part units the tone for all of the web page and desires an intensive assessment. Stay the Inspector open at the left and the Part Settings panel at the proper, so you’ll be able to see the visible output along the underlying design main points.
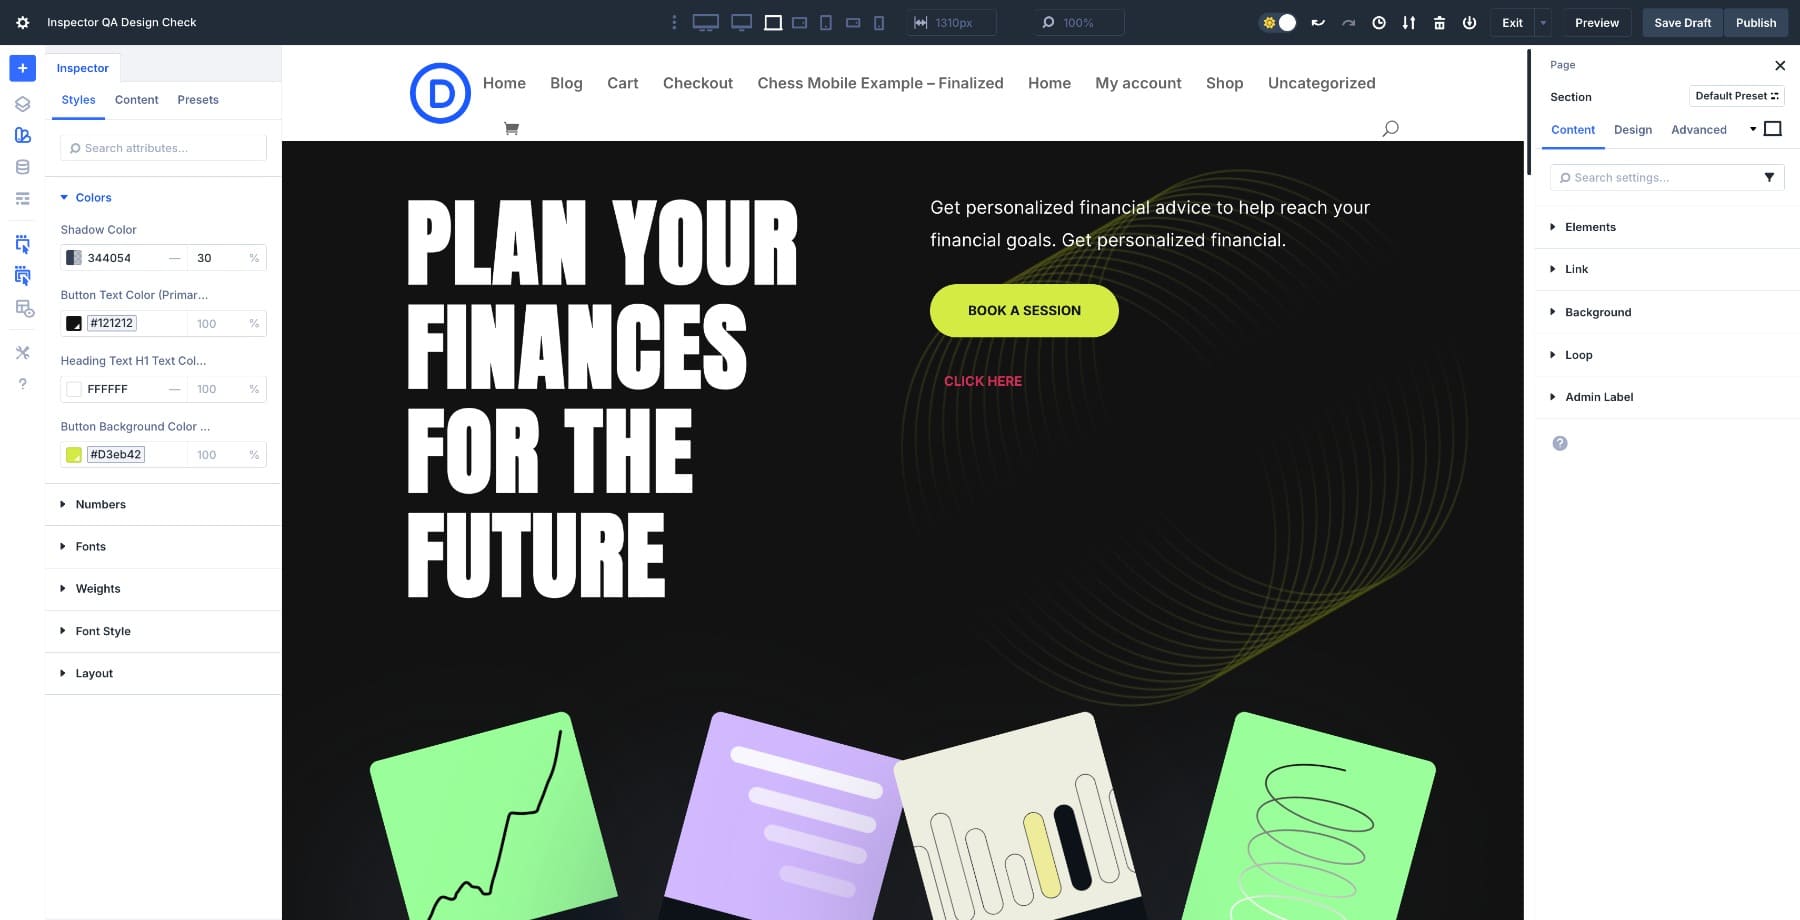
Click on the hero part wrapper and investigate cross-check it within the Inspector to substantiate that headings, subheadings, buttons, and photographs are all pulling their types out of your Design Variables for colours, fonts, and spacing.
When one thing’s the use of a hardcoded worth, hover over the sector choice and click on the Dynamic Content material icon to use the proper variable.
![]()
For newly added buttons, you received’t see any changed fields to start with as a result of they’re the use of default types. Use Extend Attributes to inherit design settings from an present button, and the Inspector will instantly populate with the ones inherited values. You’ll be capable of check that the brand new component suits your established design patterns.
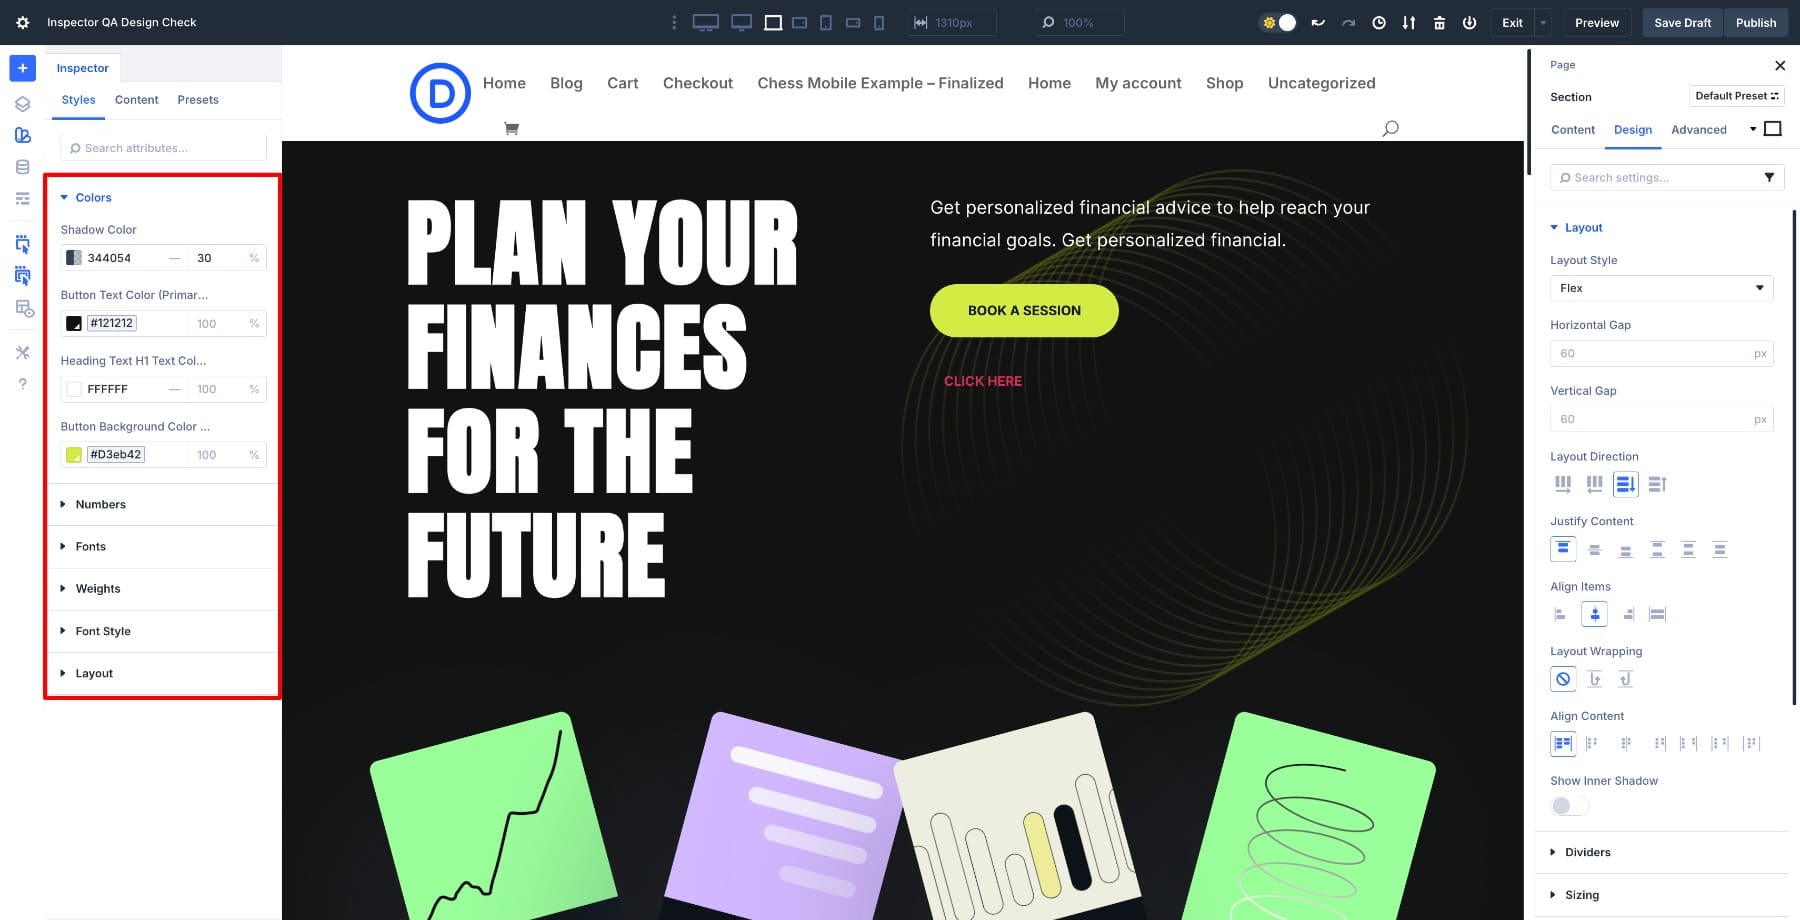
After verifying your Design Variables, assessment the structure construction. In the event you switched the hero part to Flex, take a look at alignment and spacing between parts. You’ll modify column alignment from Segment Settings > Design > Structure > Justify Content material.
Transfer to pill and cell perspectives to make sure the hero content material reflows appropriately. Search for cropped textual content or overlapping parts that would possibly seem on smaller displays.
As soon as the whole thing within the hero aligns along with your preset types and persistently pulls out of your design device, you’re in a position to transport down the web page.
3. Cross Segment By means of Segment
The method now strikes sooner since the Inspector lists each changed box for the energetic part with out requiring guide opening or growth.
Click on via each and every part and scan for visible consistency. Make sure that headings apply the similar hierarchy, colours are derived out of your Design Variables, and the spacing between modules stays constant. If one thing turns out off, hover over the sector within the Inspector to peer what was once modified. You’ll reset it or reapply world variables at once from the panel.
End your QA by way of reviewing the footer, because it incessantly accommodates small inconsistencies that move disregarded. Take a look at that each one hyperlinks, icons, and textual content use the similar colour variables and hover states. Check that typography suits the frame taste of your design device and that spacing between columns or widgets feels balanced.
Check that the emblem and copyright textual content are correctly aligned and readable throughout all display screen sizes. In case your footer comprises buttons or bureaucracy, use the Inspector to substantiate they inherit the proper world presets.
Minimize Your Design QA Time With Divi 5’s Inspector
With Divi 5‘s Inspector, you’ll be able to view each exchange in a single position, permitting you to identify inconsistencies and check world presets with no need to seek via settings panels. What used to take an hour of clicking via modules now takes mins of scrolling and scanning.
By the point you achieve the ground of the web page, you’ll know precisely how each part was once constructed and that all of it follows the similar design device. It’s a snappy ultimate cross that turns a excellent touchdown web page into a sophisticated one in a position to head reside.
The submit How To Run A Pre-Launch Design QA With Divi 5’s Inspector gave the impression first on Elegant Themes Blog.
Contents
- 1 How Divi 5’s Inspector Makes Design QA Easy
- 2 How To Carry out A Pre-Release Design QA
- 3 Minimize Your Design QA Time With Divi 5’s Inspector
- 4 What makes Kinsta’s Google Cloud C3D digital machines so speedy?
- 5 B2B Publication Advertising and marketing: How It Differs From Electronic mail Promotions & What...
- 6 WP FixAll Vs. [Competing Plugin] Comparability / WordPress Safety: The…

0 Comments