
Previous than you place up a landing internet web page, you scroll via but yet again to check if the whole thing seems right kind. Alternatively spacing that doesn’t are compatible, wrong colors, or different fonts can slip right kind earlier you.
Divi 5’s Inspector software solves this by the use of appearing all your design changes in one place, making it easy to spot what needs fixing. This knowledge walks you via the use of the Inspector to review your landing internet web page section by the use of section and make sure it’s polished forward of unlock.
How Divi 5’s Inspector Makes Design QA Simple
The Inspector in Divi 5 is a visual panel that lets you view the whole thing going down inside your design without opening multiple settings house home windows. When you select any section, row, or module, it instantly presentations all the performed design and content material subject matter settings in a single sidebar.
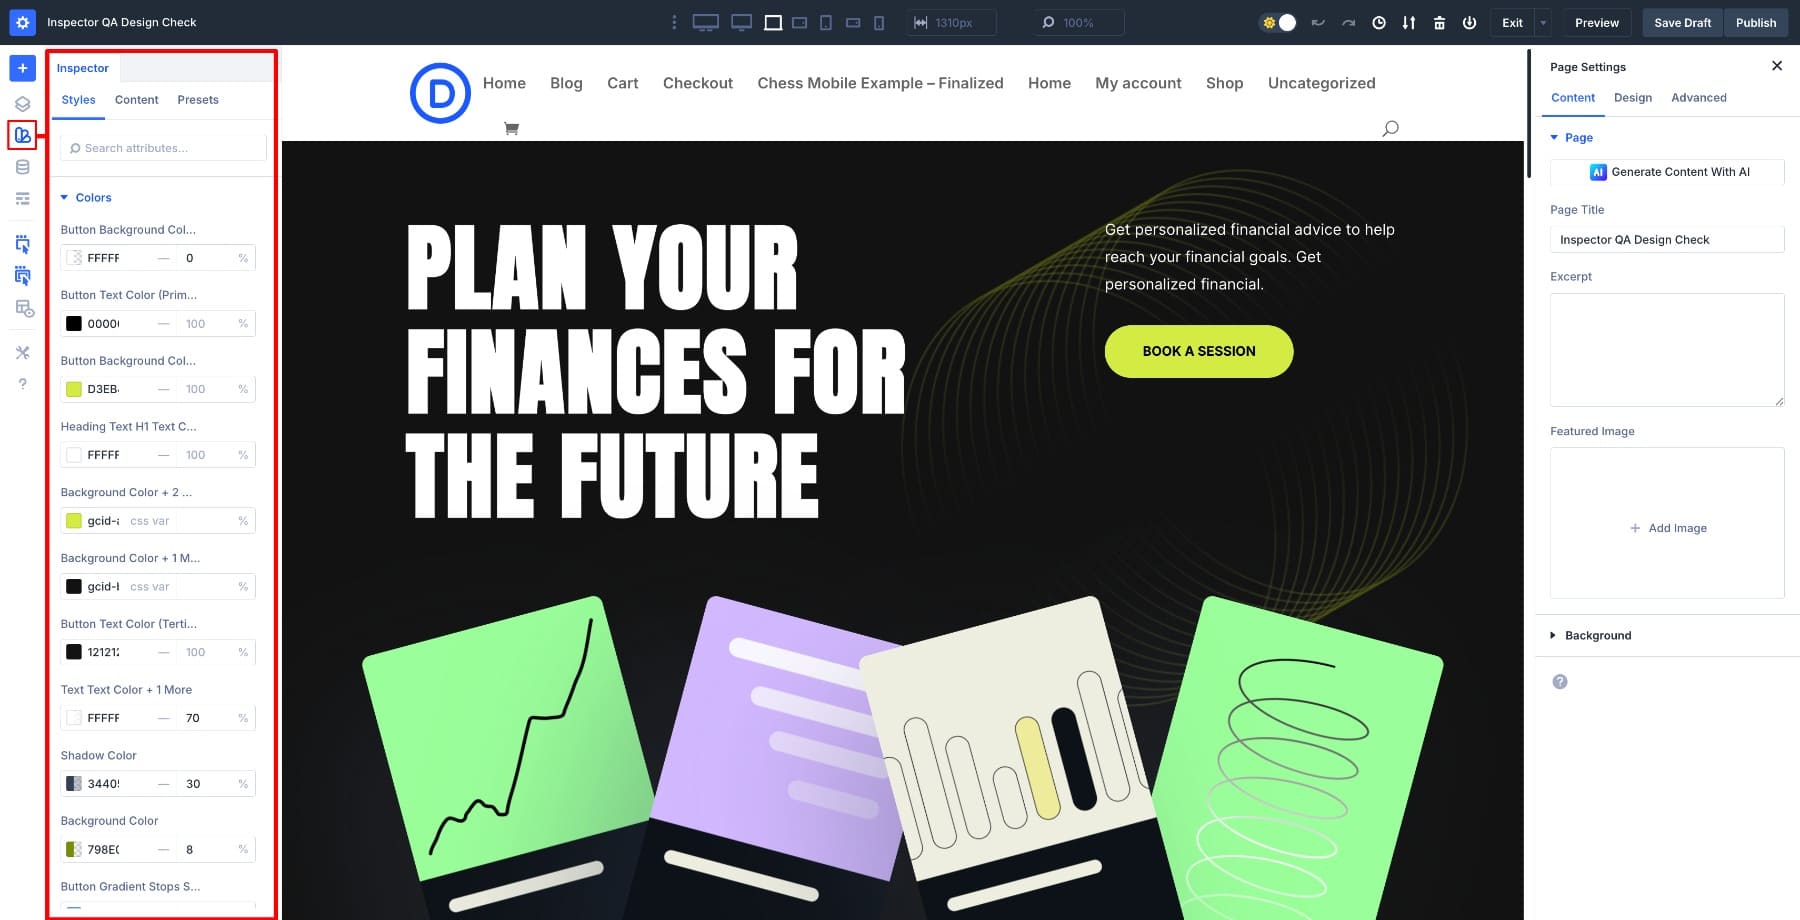
You get an immediate view of exactly how that part of the internet web page was built. Colors, fonts, spacing, and presets appear abruptly, which turns the usual guesswork of design assessment into something additional like following a clear map.
The Inspector most efficient shows fields that have been modified from Divi’s defaults, in order that you’re not wading via dozens of unchanged settings. On a brand-new button or module, the panel will look empty until you convert a value or practice a variable or preset.
Alternatively every time you modify design fields or practice Prolong Attributes from a styled button, the Inspector populates with those customized fields. You’re not looking out via endless alternatives anymore, in search of to piece together what you adjusted hours up to now.
You’ll moreover tweak values instantly throughout the panel and watch the structure exchange in exact time. Click on on a singular section or module, and the sidebar refreshes automatically to show most efficient the comparable settings for that section.
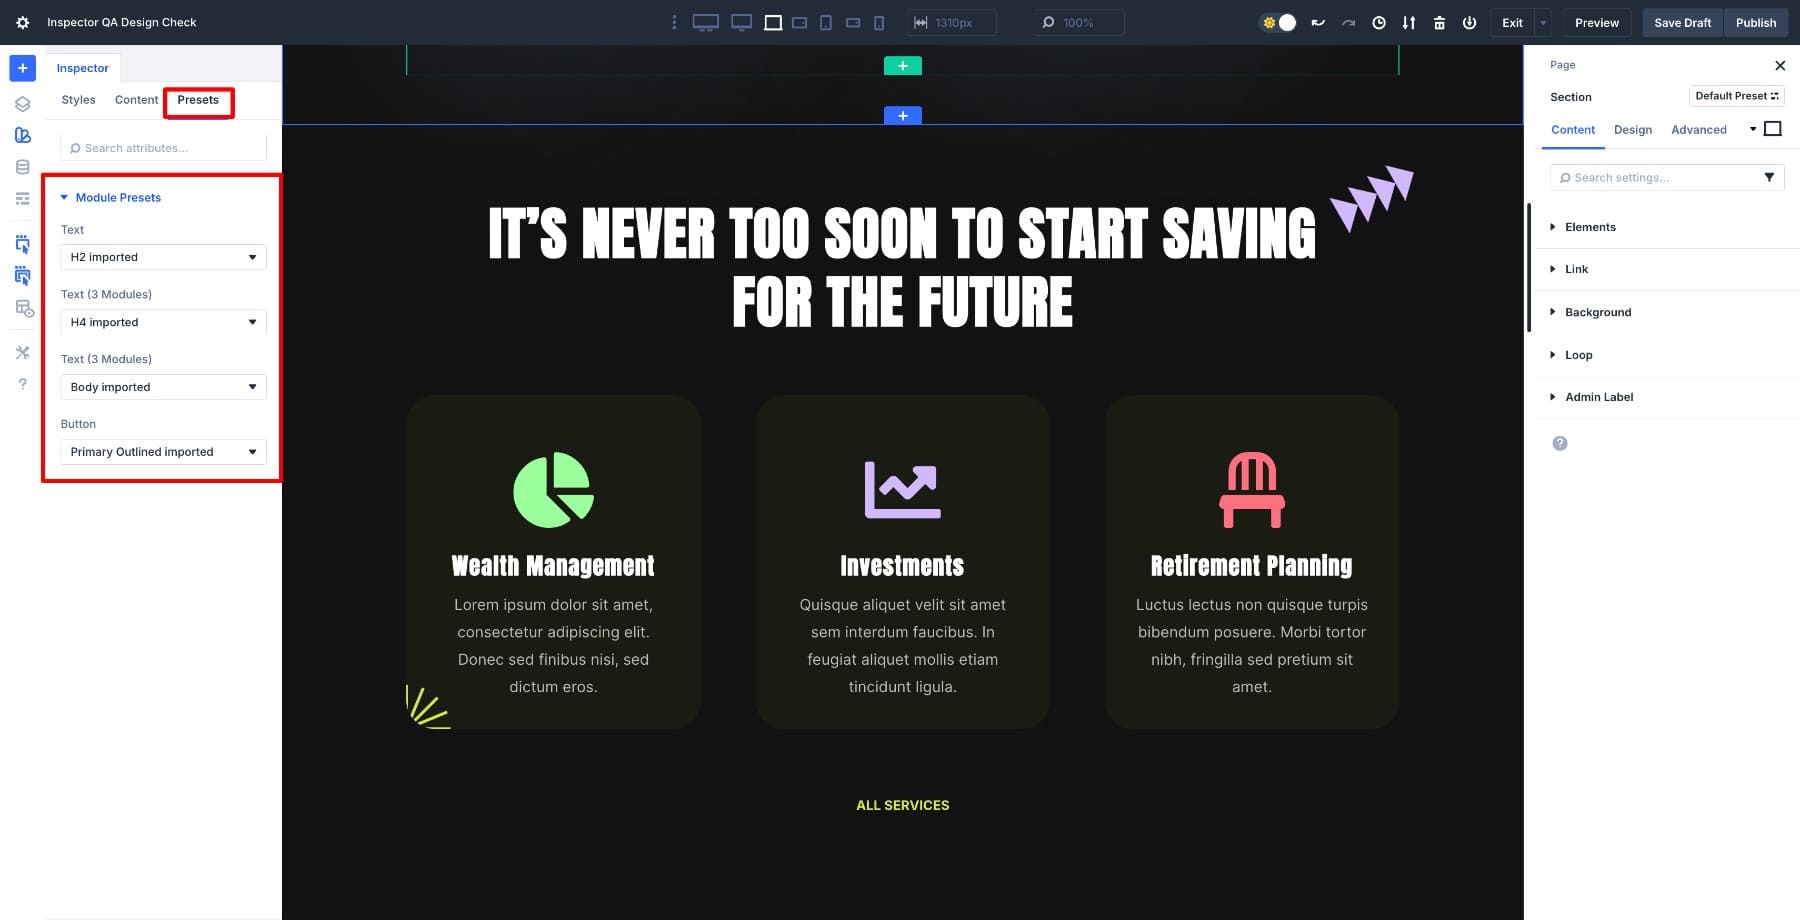
Throughout the Inspector (moreover referred to as the Style Inspector throughout the documentation), the whole thing is organized into 3 main tabs: Types, Content material subject matter, and Presets. The Types tab covers typography, spacing, and colours.
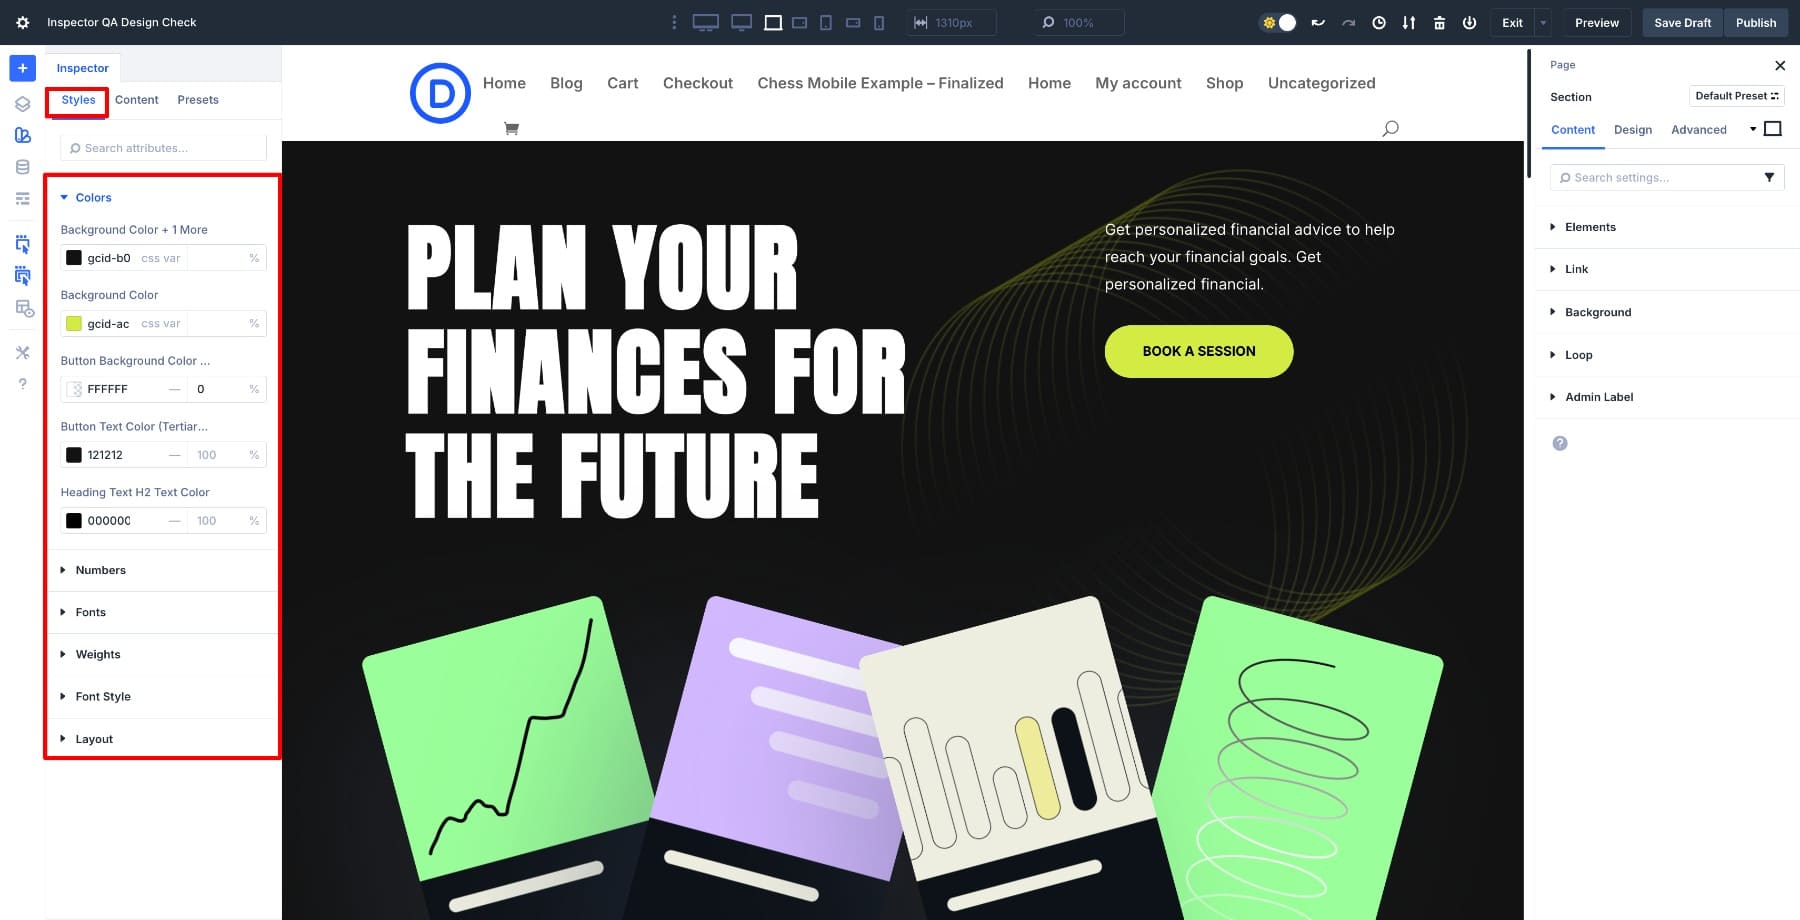
The Content material subject matter tab shows text, photos, and Attributes.
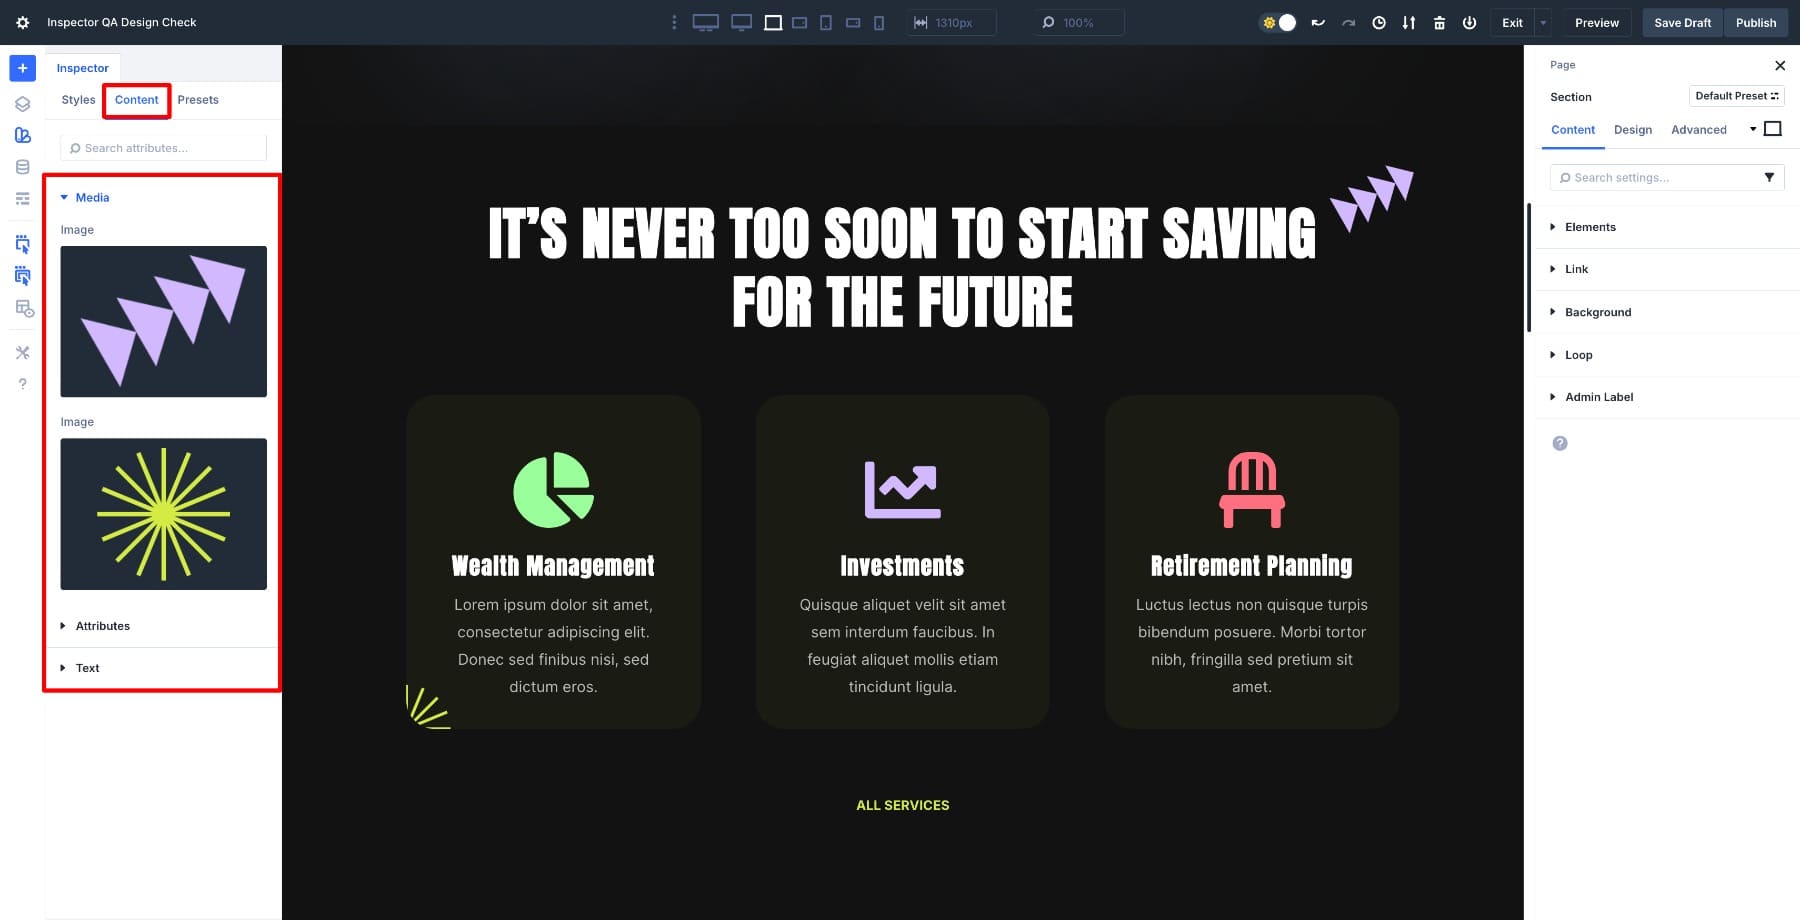
The Presets tab indicates which international style has been performed, allowing you to ensure that your modules are adhering to your design software.
With each edit visible in one sidebar, you’re no longer jumping between modules or making an attempt to bear in mind which button used a custom designed color. You’ll switch during the internet web page methodically: take a look at slightly, take a look at what’s modified, make adjustments if sought after, then continue.
The Inspector refreshes instantly when you select new portions, maintaining the drift blank as you scroll from the hero to the footer. Small inconsistencies in spacing or typography become obtrusive as you go. By the time you succeed in the top of the internet web page, you’ve already reviewed each modified field and confirmed that your landing internet web page is polished, consistent, and ready to unlock.
Be informed The entirety About Divi 5’s Inspector
How To Perform A Pre-Unencumber Design QA
You’ve noticed how the Inspector surfaces each modified field to your design. Time to put it to artwork with a whole internet web page assessment. Get started with a brief evaluation forward of delving into the individual sections.
1. Scan The Entire Internet web page First
Get started with a high-level assessment forward of entering details. Whilst you open the Inspector with now not the rest determined on, it shows a page-level evaluation, showing every kind, content material subject matter, and presets this present day in use across the internet web page, with a point of interest on fields that change from Divi’s defaults.
As you scroll, seek for the remainder that visually feels off, like misaligned sections, uneven padding, or colors that don’t suit your palette. Alternatively go beyond merely having a look.
Squint on the internet web page to blur the details and notice if your visual hierarchy nevertheless holds. A very powerful portions should nevertheless stand out even supposing the whole thing’s quite out of point of interest. Within the match that they don’t, you’ve almost certainly got spacing or size inconsistencies that need attention.
Proper right here’s what to check particularly.
- Typography: Open a few headings in a lot of sections and evaluation their font family, weight, and size throughout the Inspector. Should you occur to’re the use of Design Variables, they are going to need to all reference the identical variable names. Hardcoded values jumbled at the side of variables are normally a sign that something was copied and pasted or manually overridden and now not cleaned up.
- Buttons: Click on on via quite a few buttons all through different sections and take a look at within the match that they’re pulling from the identical preset or Design Variables. Take a look at their padding values particularly. Buttons that look “just about the identical” ceaselessly have quite different padding, which creates refined visual noise.
- Spacing: Use the Inspector to check margin and padding values as you scroll. Should you occur to peer a building like 40px, 45px, 40px, 50px between similar portions, you’ve came upon an inconsistency. Tighten those values to a continuing rhythm, depending to your spacing scale.
At this point, you haven’t mounted the remainder however. You’re building a mental tick list of patterns to make sure which sections are the use of hardcoded colors as a substitute of variables, where spacing breaks from your software, and which portions would in all probability need preset adjustments. This initial sweep indicates where to point of interest whilst you get started the detailed, section-by-section assessment.
2. Evaluate The Hero Section
The hero section gadgets the tone for all the internet web page and desires an intensive assessment. Keep the Inspector open on the left and the Phase Settings panel at the right kind, so that you’ll see the visual output alongside the underlying design details.
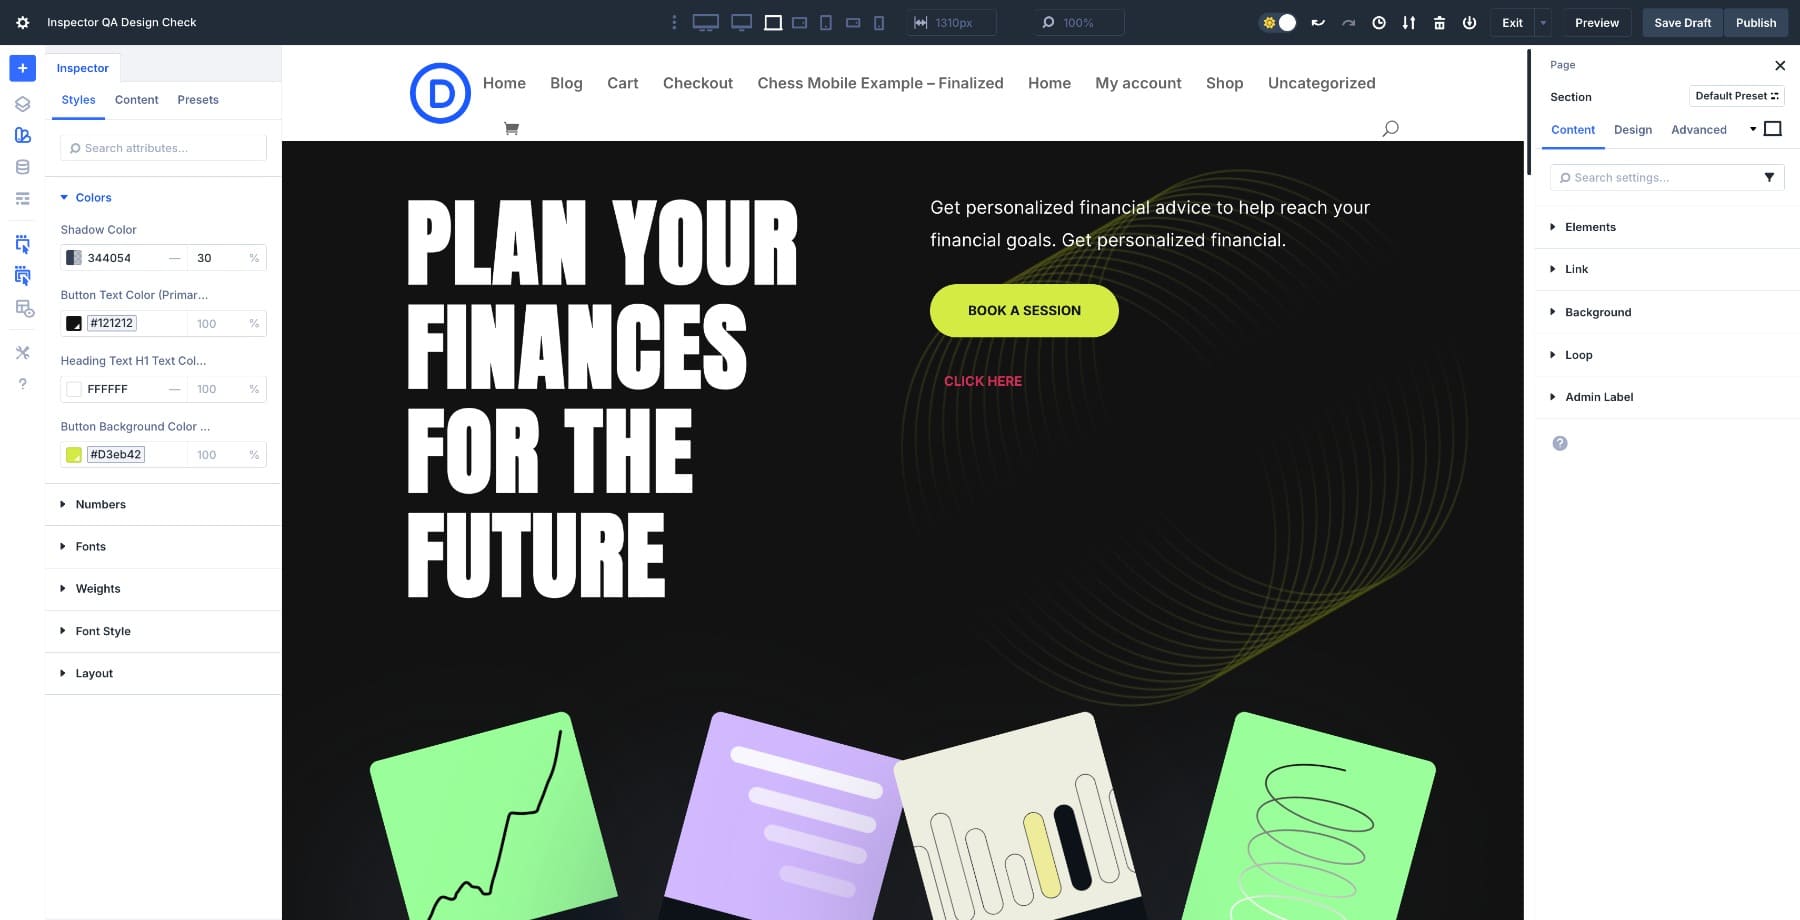
Click on at the hero section wrapper and take a look at it throughout the Inspector to ensure that headings, subheadings, buttons, and pictures are all pulling their sorts from your Design Variables for colors, fonts, and spacing.
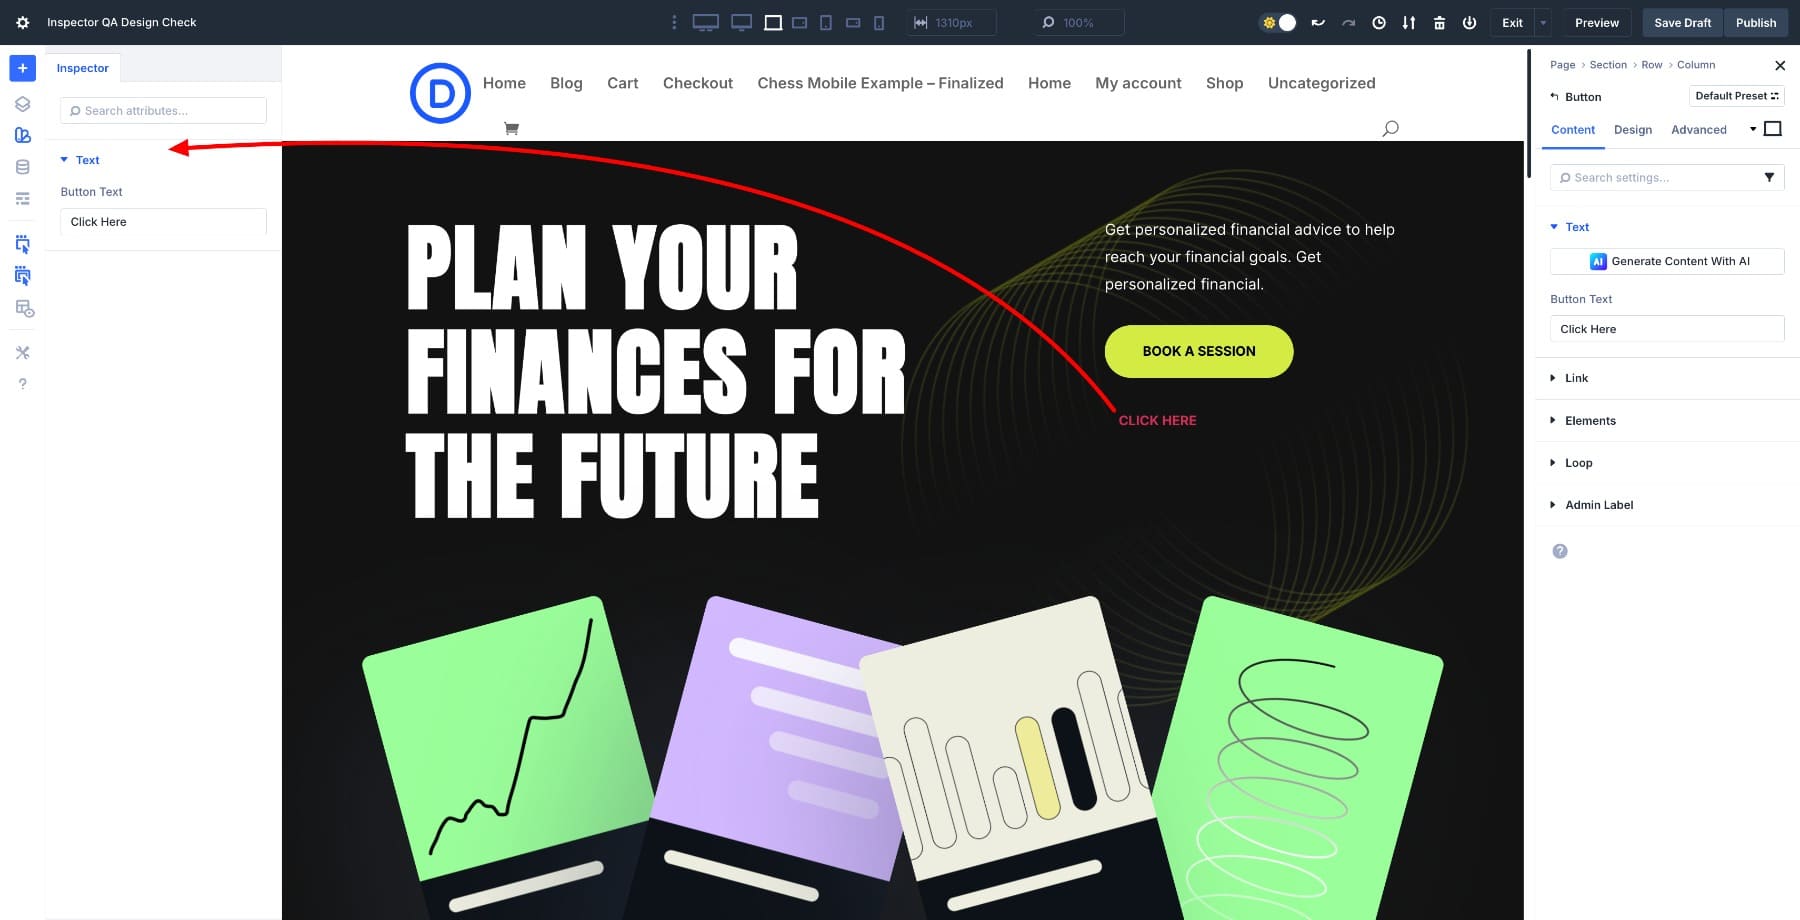
When something’s the use of a hardcoded price, hover over the sphere selection and click on at the Dynamic Content material subject matter icon to make use of the right kind variable.
![]()
For newly added buttons, you gained’t see any modified fields at first on account of they’re the use of default sorts. Use Prolong Attributes to inherit design settings from an provide button, and the Inspector will in an instant populate with those inherited values. You’ll be capable to read about that the new section suits your established design patterns.
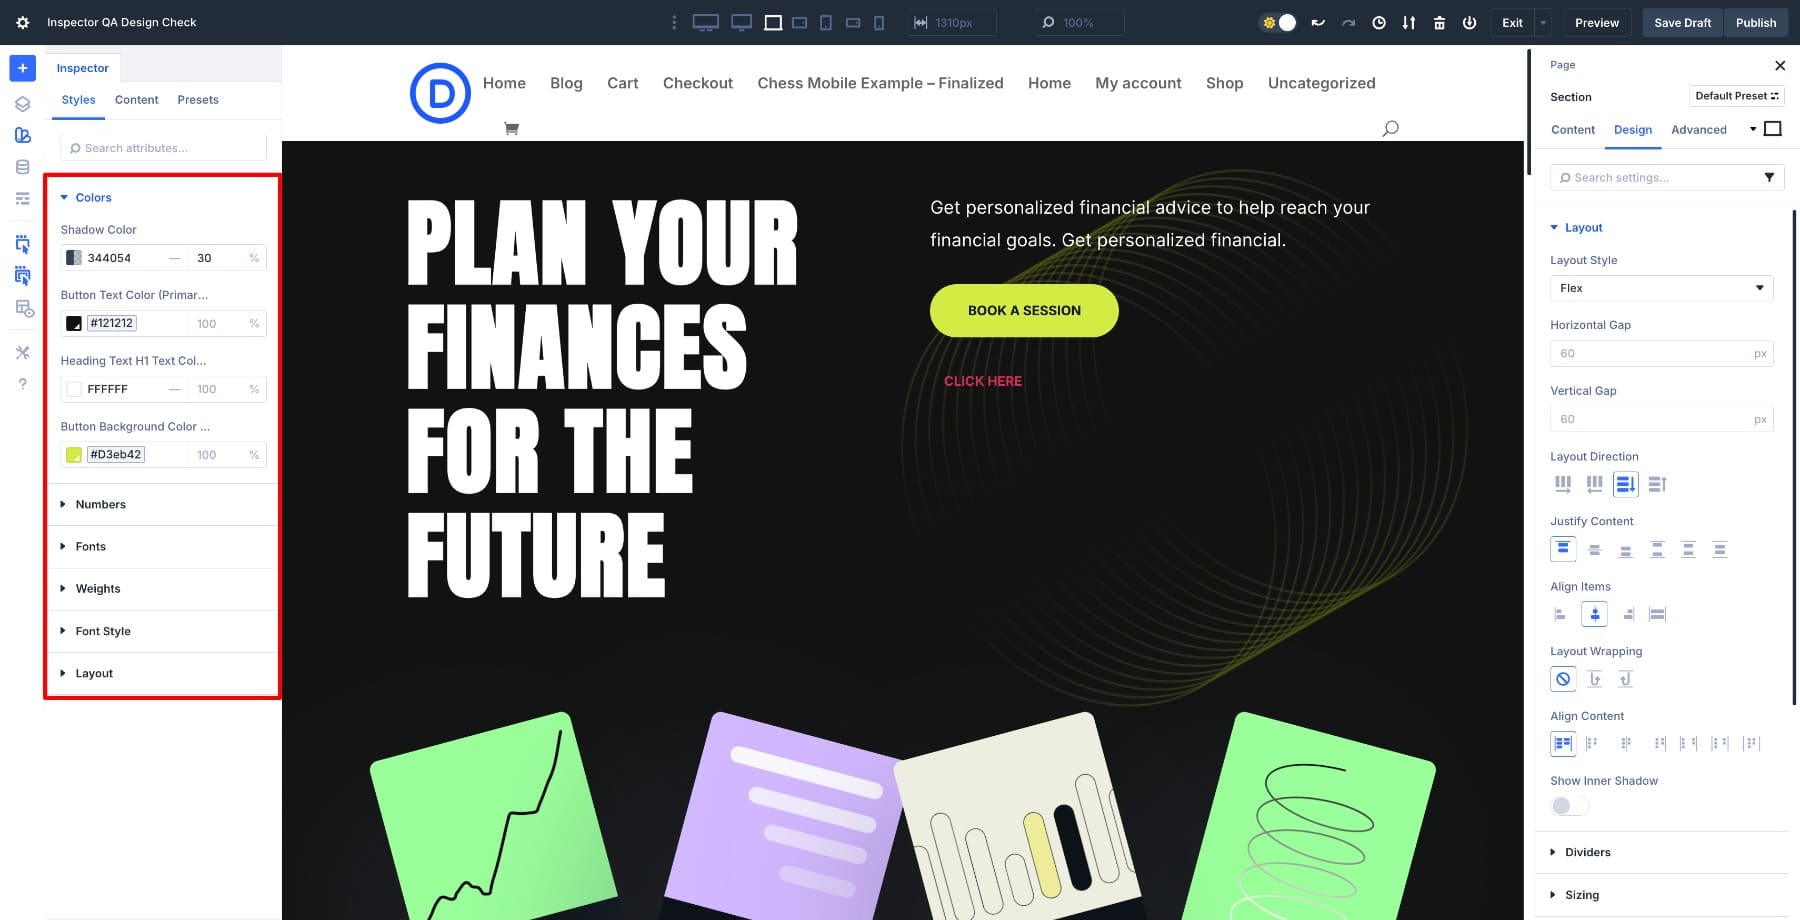
After verifying your Design Variables, assessment the structure building. Should you occur to switched the hero section to Flex, take a look at alignment and spacing between portions. You’ll keep watch over column alignment from Section Settings > Design > Construction > Justify Content material subject matter.
Switch to tablet and cellular views to make sure the hero content material subject matter reflows appropriately. Seek for cropped text or overlapping portions that might in all probability appear on smaller presentations.
As quickly because the entirety throughout the hero aligns at the side of your preset sorts and repeatedly pulls from your design software, you’re ready to move down the internet web page.
3. Move Section By way of Section
The process now moves sooner given that Inspector lists each modified field for the full of life section without requiring information opening or expansion.
Click on on via each section and scan for visual consistency. Be sure that headings apply the identical hierarchy, colors are derived from your Design Variables, and the spacing between modules remains consistent. If something seems off, hover over the sphere throughout the Inspector to appear what was changed. You’ll reset it or reapply international variables instantly from the panel.
Finish your QA by the use of reviewing the footer, as it ceaselessly accommodates small inconsistencies that go unnoticed. Check that all links, icons, and text use the identical color variables and hover states. Check that typography suits the body style of your design software and that spacing between columns or widgets feels balanced.
Check that the logo and copyright text are appropriately aligned and readable all through all show sizes. If your footer accommodates buttons or bureaucracy, use the Inspector to ensure they inherit the right kind international presets.
Decrease Your Design QA Time With Divi 5’s Inspector
With Divi 5‘s Inspector, you’ll view each exchange in one place, allowing you to spot inconsistencies and read about international presets without a wish to search via settings panels. What used to take an hour of clicking via modules now takes minutes of scrolling and scanning.
By the time you succeed in the bottom of the internet web page, you’ll know exactly how each section was built and that each one of it follows the identical design software. It’s a handy guide a rough final move that turns a very good landing internet web page into an advanced one ready to transport are living.
The post How To Run A Pre-Release Design QA With Divi 5’s Inspector appeared first on Sublime Topics Weblog.
Contents
- 1 How Divi 5’s Inspector Makes Design QA Simple
- 2 How To Perform A Pre-Unencumber Design QA
- 3 Decrease Your Design QA Time With Divi 5’s Inspector
- 4 14 Perfect Webinar Instrument Platform for Small Companies (When compared)
- 5 Flip WooⓇ to Wow! Introducing the New eCommerce Efficiency Pack
- 6 Divi Plugin Highlight: Divi ConKit Pro

0 Comments