
Proper right here’s an unbelievably tense problem that occurs in every single place the Cricut Print and Reduce process – a thin line or border turns out around the design you create, even whilst you’re certain there’s no border throughout the design.
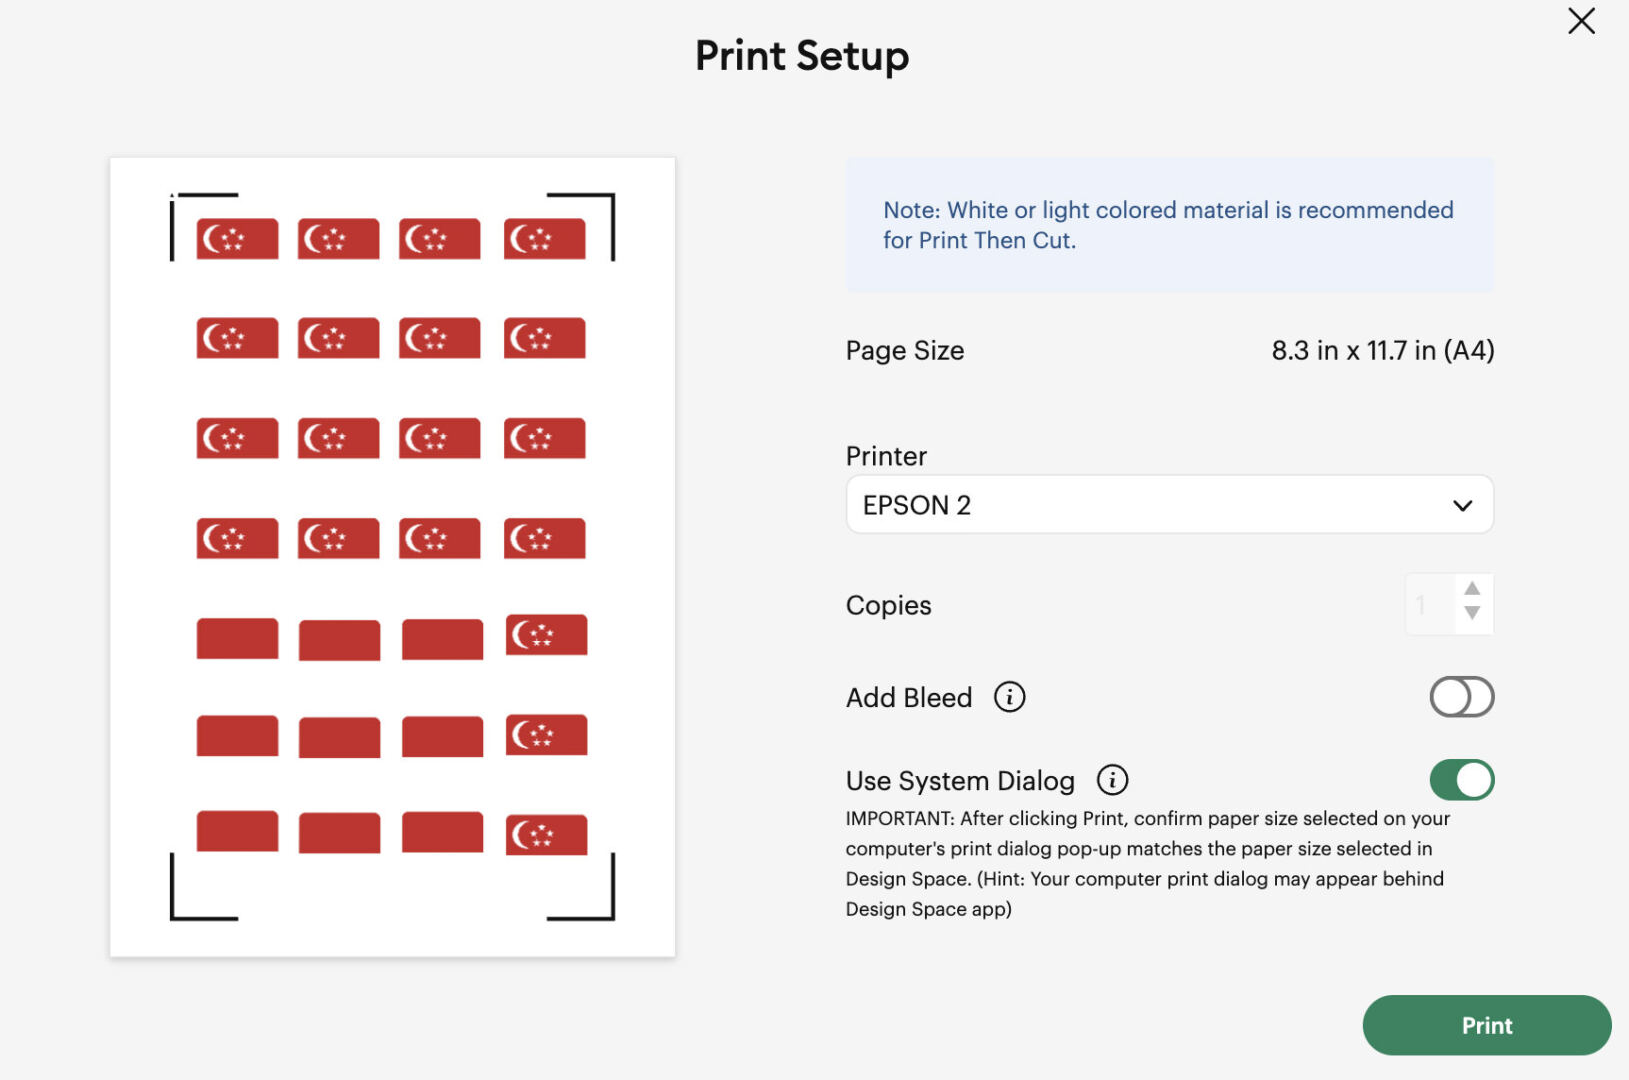
When you send the design to print in Cricut, this thin line magically turns out in every single place the Print Setup degree.
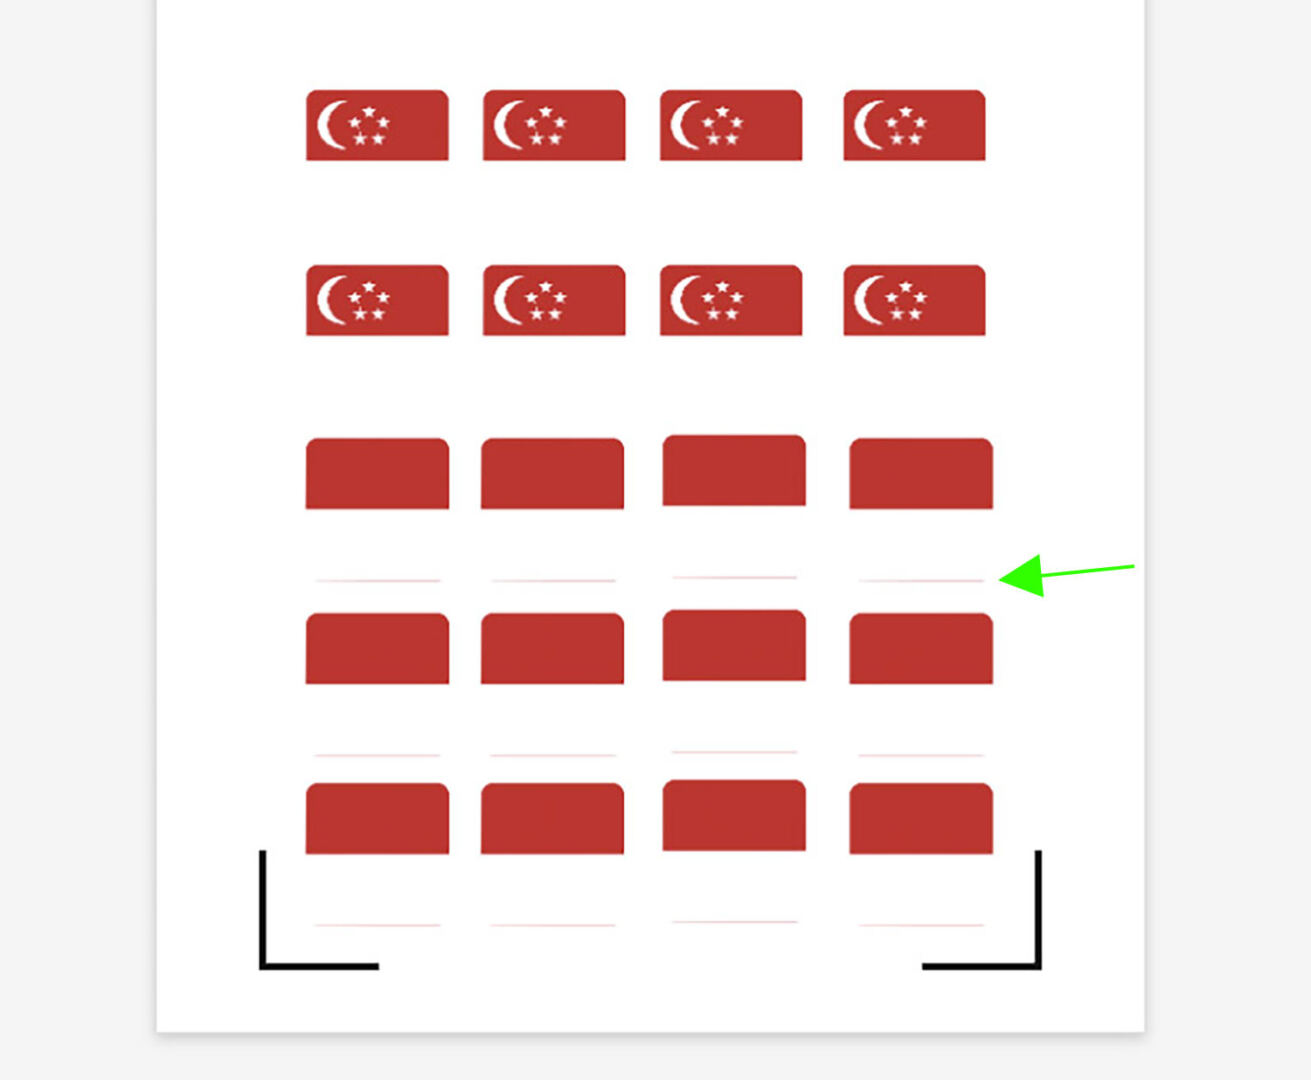
Should you pass ahead with the print and decrease, this unwanted thin line remains, which seems like this:
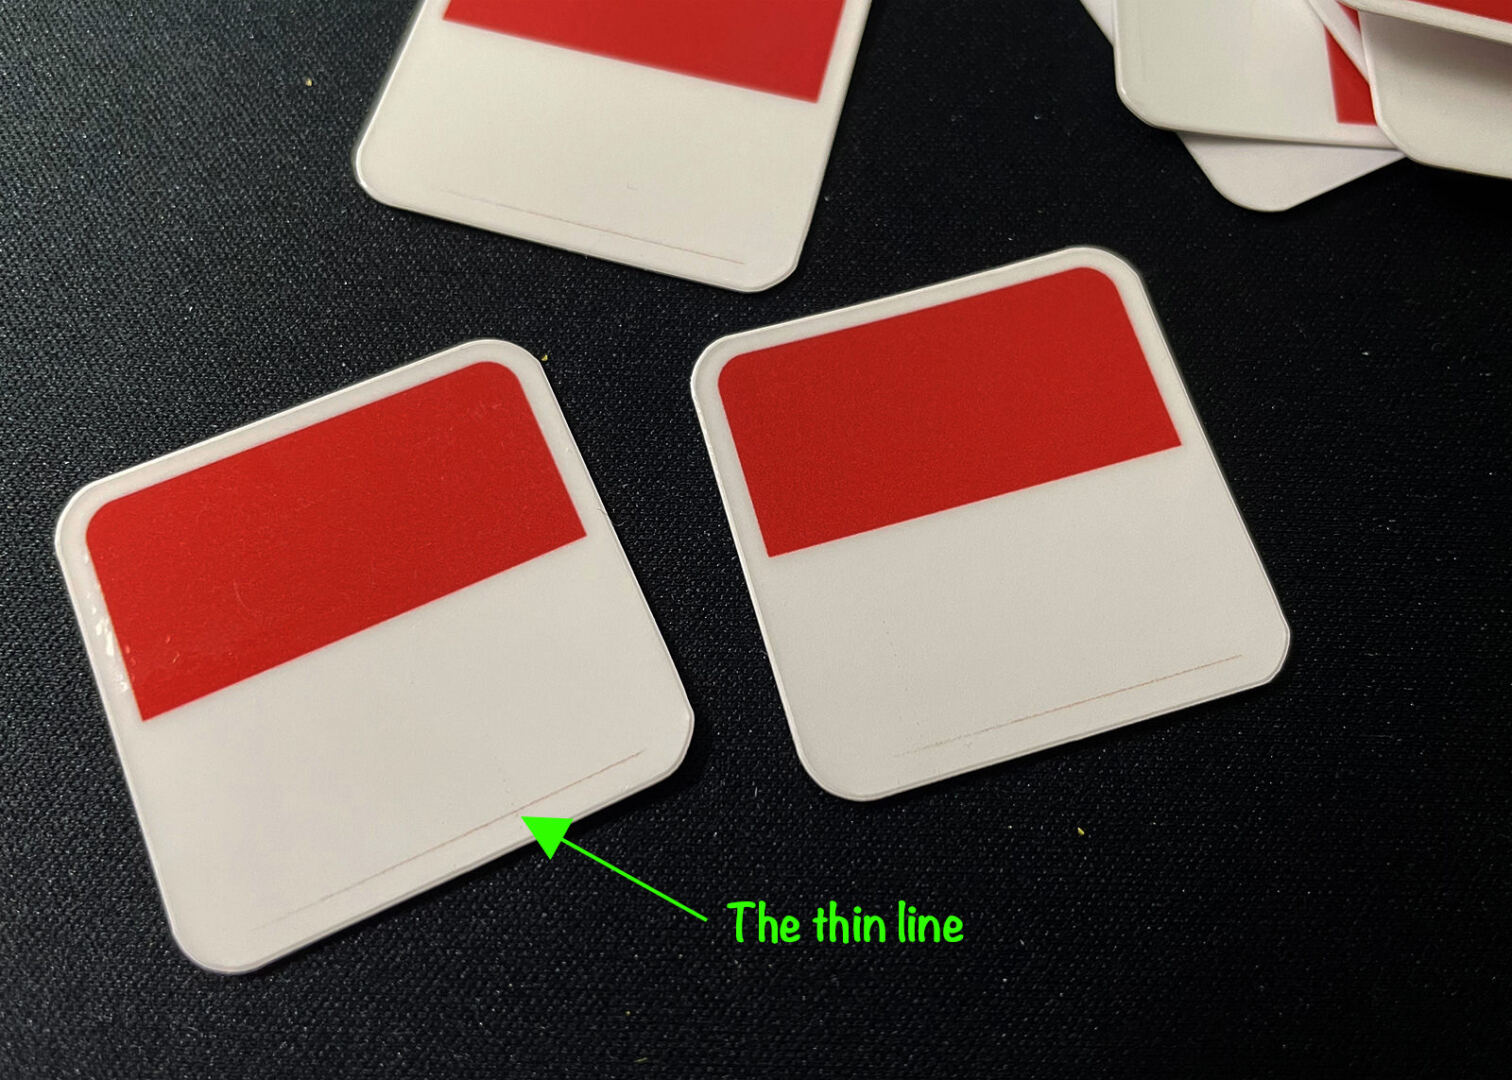
Regardless of a few checks to ensure no lines exist in my design, the issue persists. I’ve tried relatively a large number of methods to remove this problem, alternatively now not anything else worked. The thin purple line I encountered seems to go back from the best part of the design.
After a large number of experiments, I consider I’ve came upon a solution. I’ll skip the failed makes an strive and get straight away to the way you’ll be capable to get to the bottom of this problem. Should you’re moreover experiencing a similar issue, follow the solutions underneath.
First, you’ll need an symbol enhancing app, like Adobe Photoshop.
Open the image and save it as a .PNG file. This step is essential.
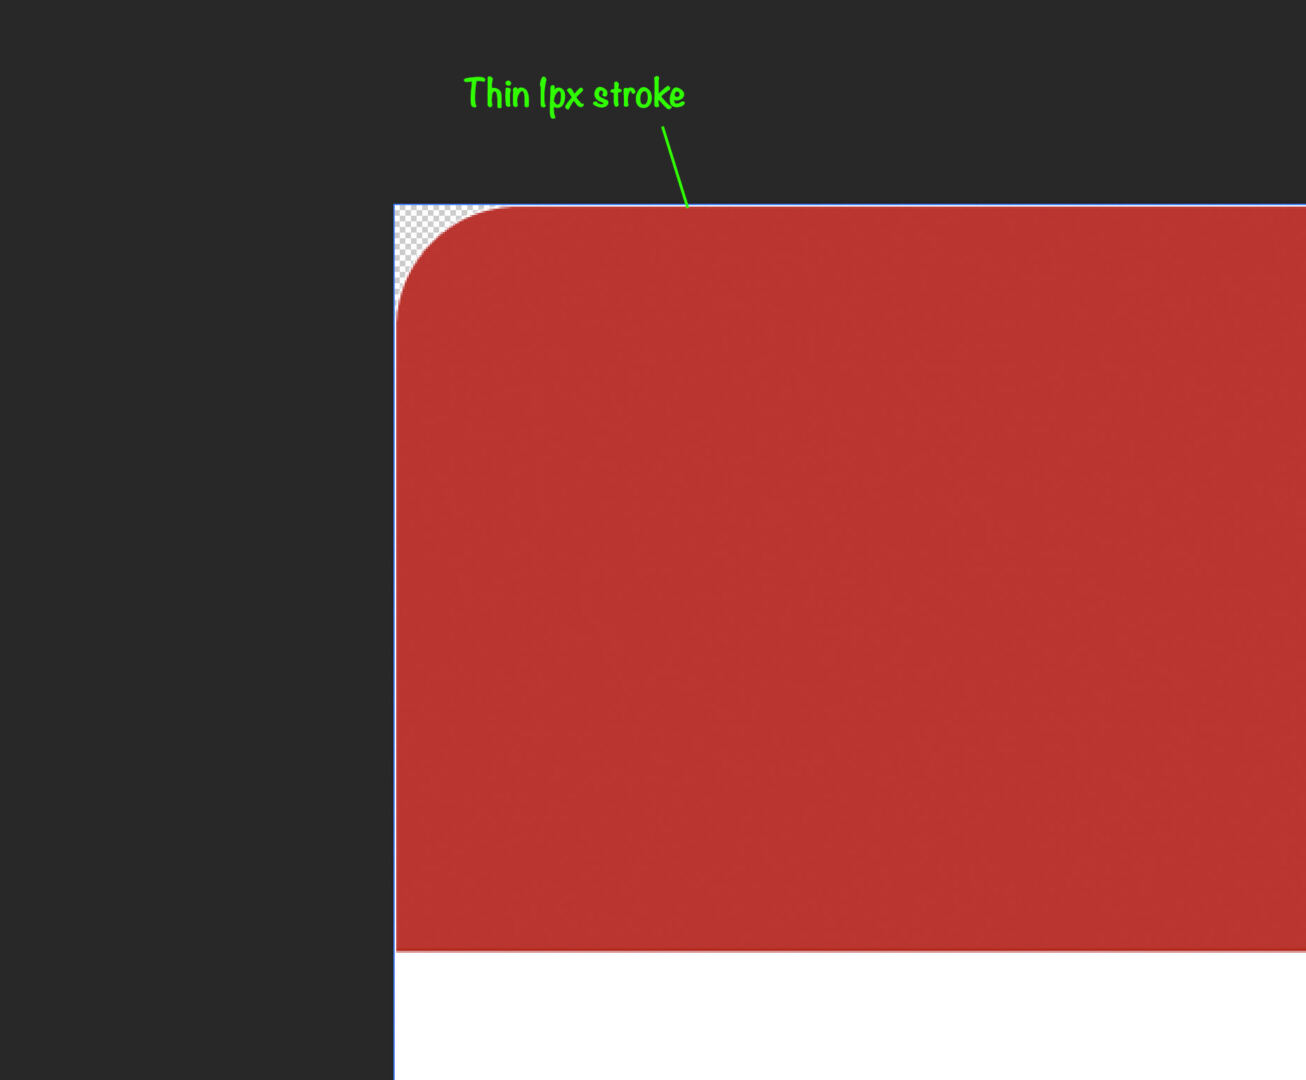
Next, add a thin white border around the image.
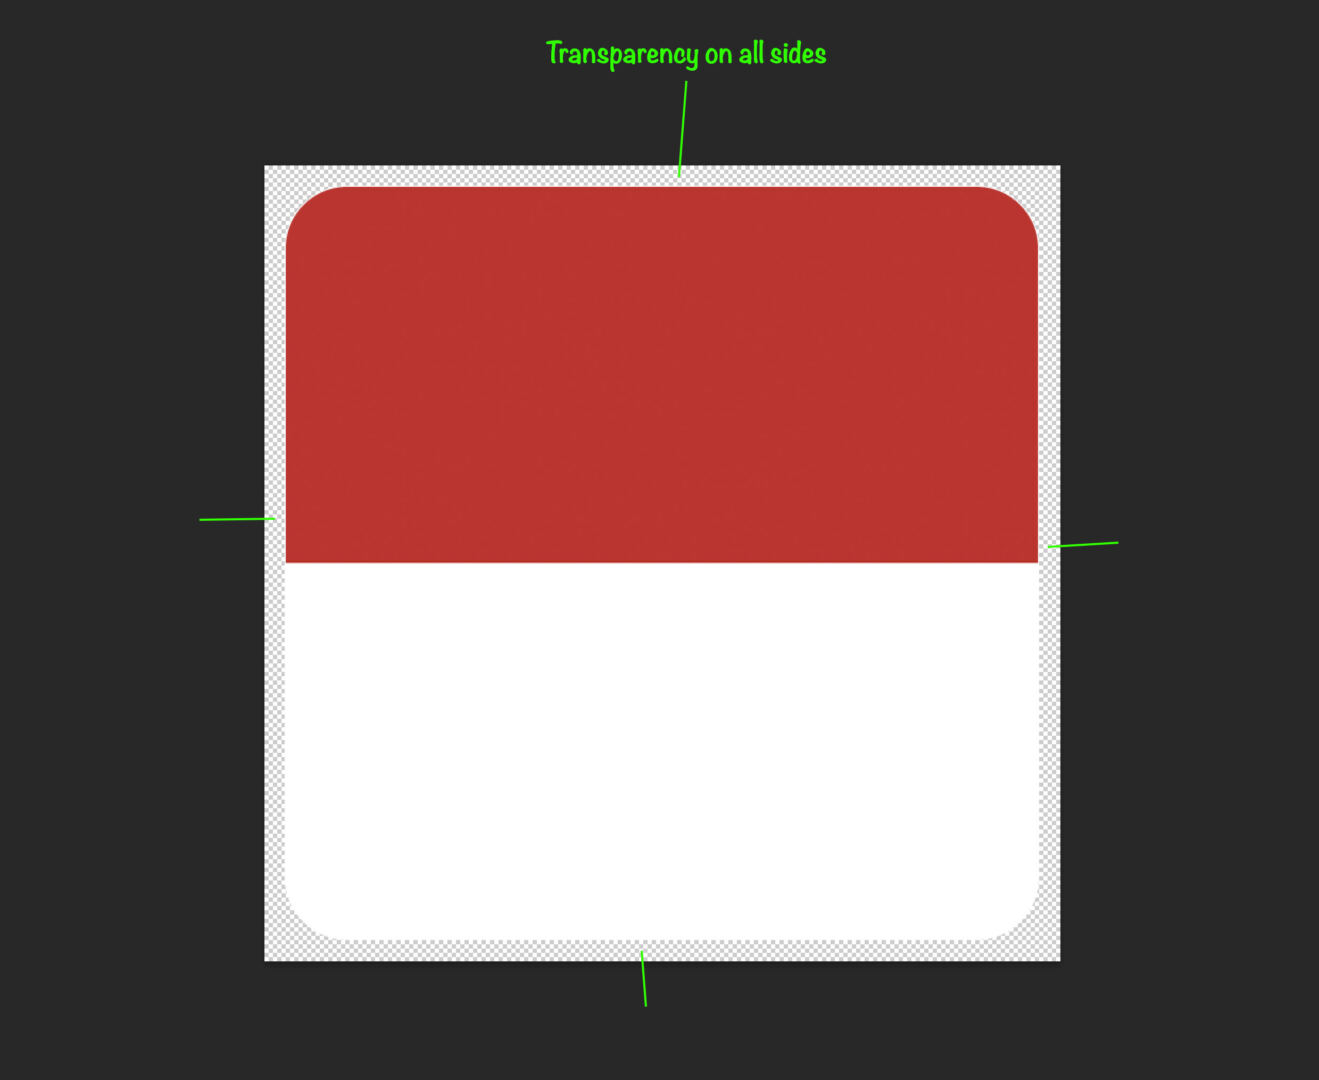
Then, building up the image slightly to be able to upload transparency all the way through, like this:
Now, export the new image as a PNG file and bring it once more into Cricut. Proceed with the Print and Reduce process as usual. You’ll understand the thin white lines are long gone throughout the Print Setup.
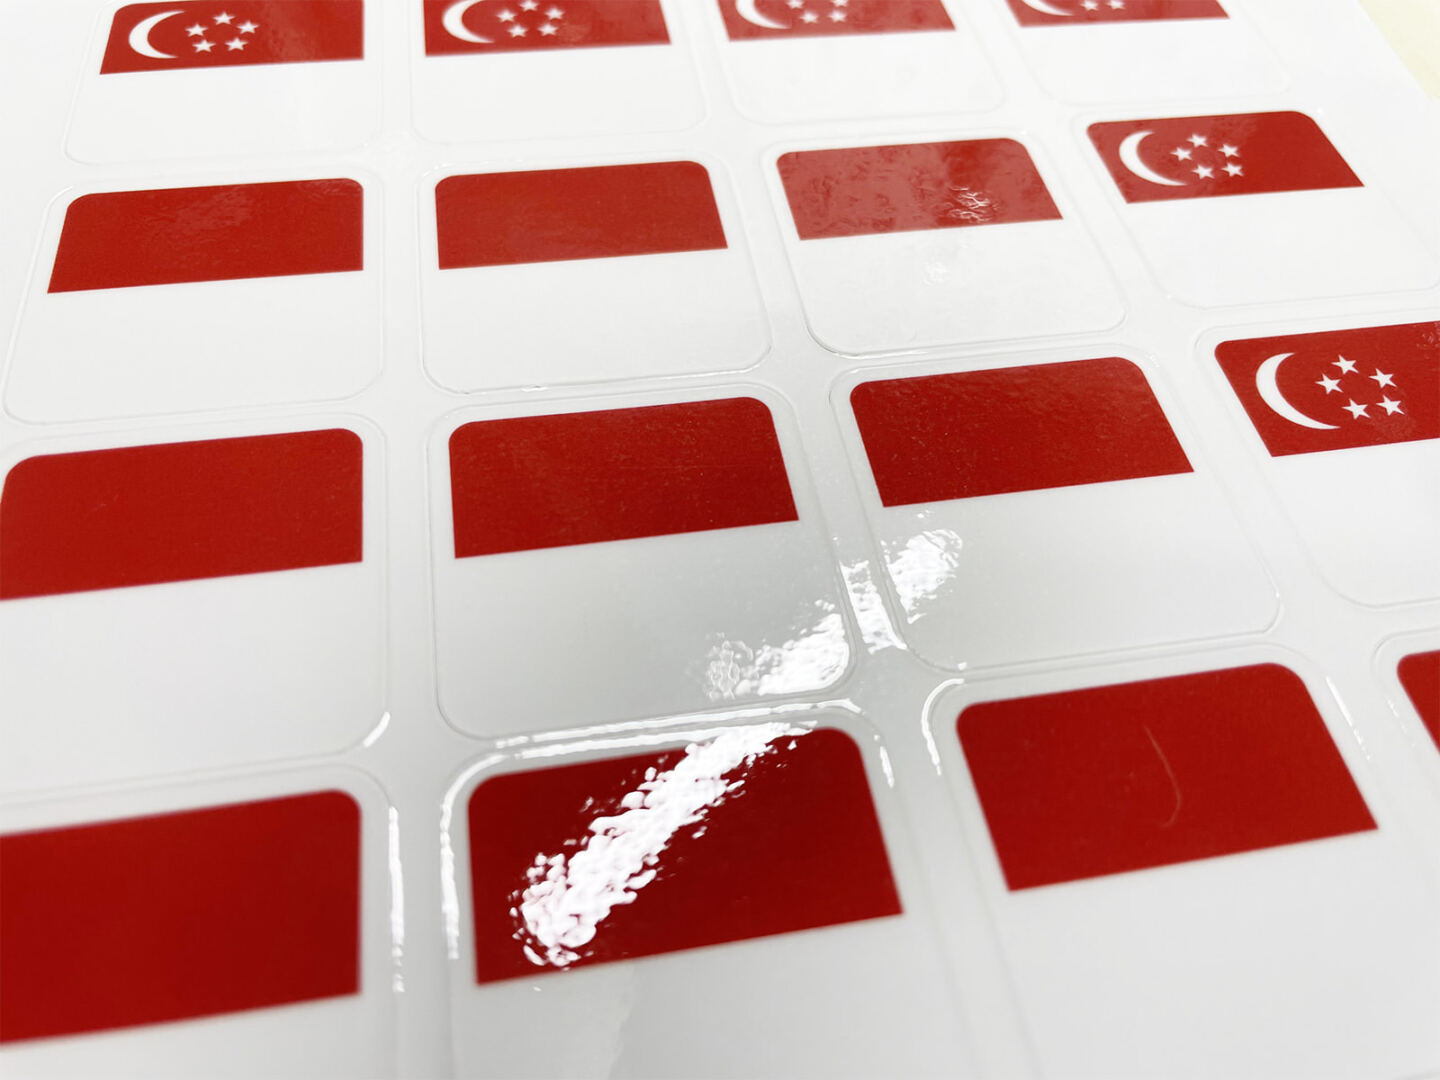
The unwanted lines may also not appear after printing, as confirmed underneath. Should you’re experiencing a similar problem, do this way – hope it’s serving to!
The publish The best way to Repair the Skinny Line Factor Right through Cricut Print and Minimize Procedure appeared first on Hongkiat.
Supply: https://www.hongkiat.com/blog/fix-cricut-thin-line-print-cut/
Contents

0 Comments