

If you’re an inventive or run a service-based trade, you could wish to create a portfolio site to exhibit your revel in and show your initiatives. Having an internet portfolio mean you can be came upon via doable shoppers and will determine your credibility. You’ll use undertaking pages to exhibit your procedure and the guidelines at the back of your paintings, serving to guests believe what it may well be love to paintings with you.
On this instructional, we will be able to display you the right way to create an identical portfolio and undertaking web page with Divi. We will be able to use dynamic content material for the design of the portfolio web page to be able to briefly and simply upload new initiatives on your portfolio with no need to design a undertaking web page each and every time. We’ll spotlight the use of the tough Divi Filterable Portfolio Module as neatly!
Let’s get began!
Sneak Peek
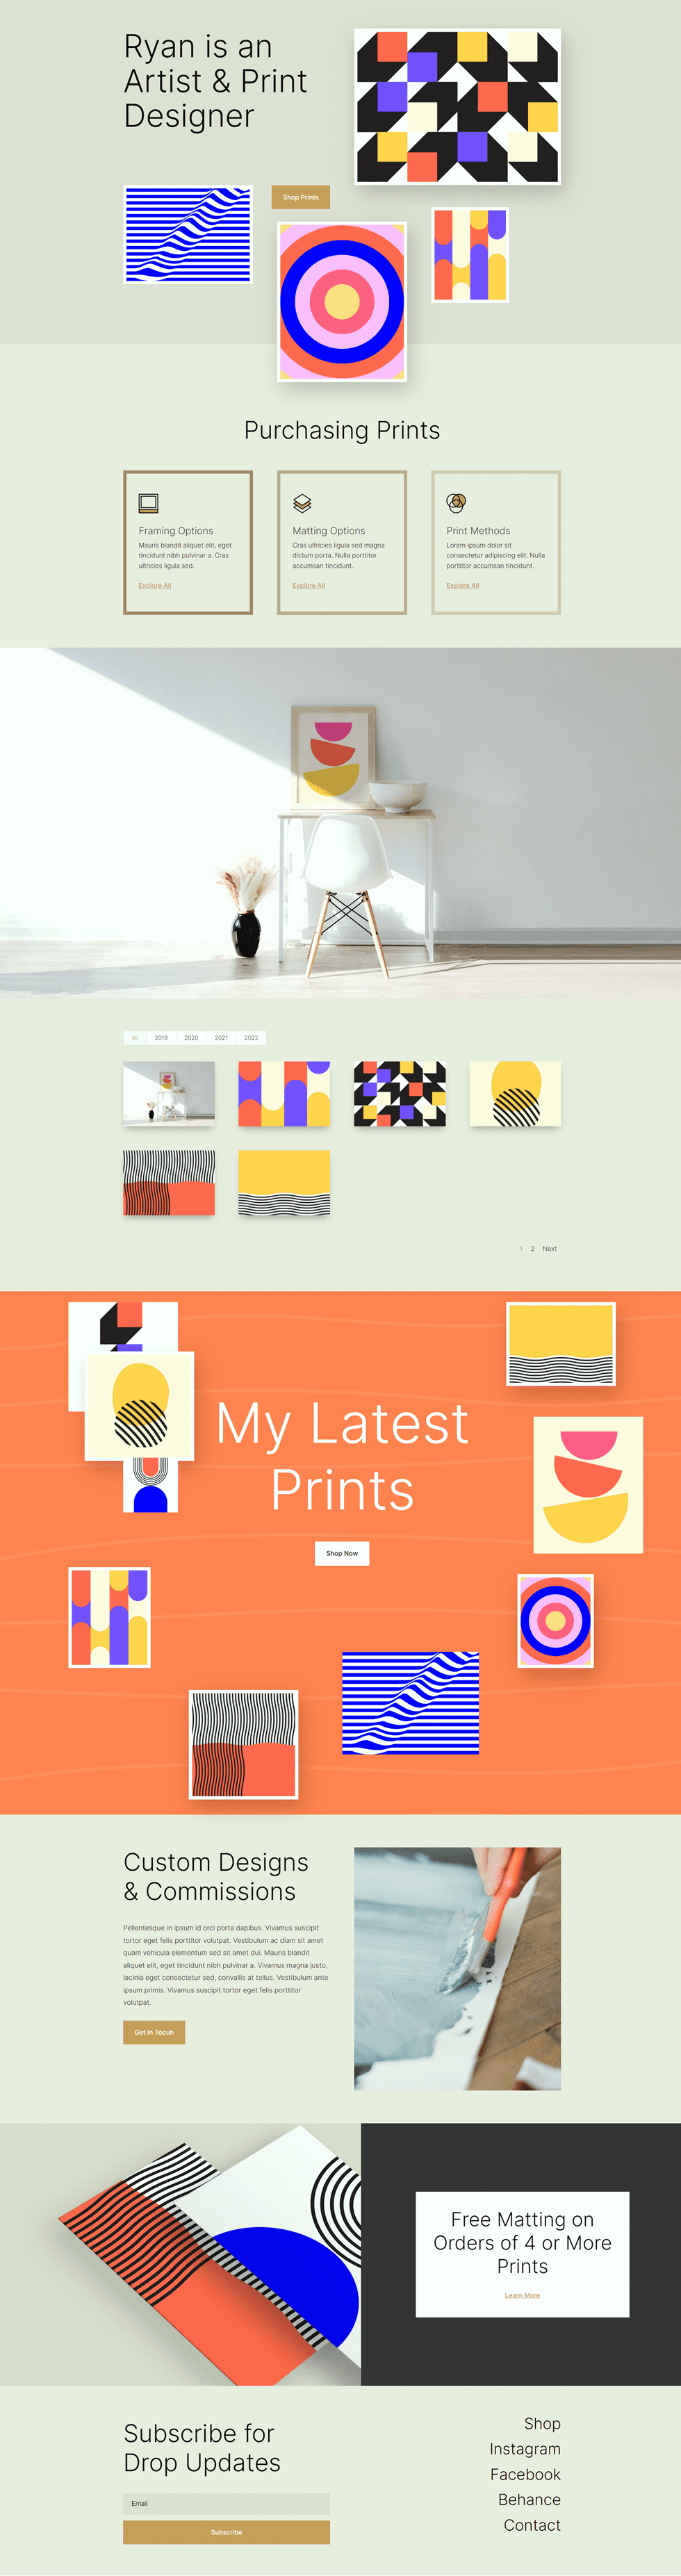
Here’s a preview of what we will be able to design
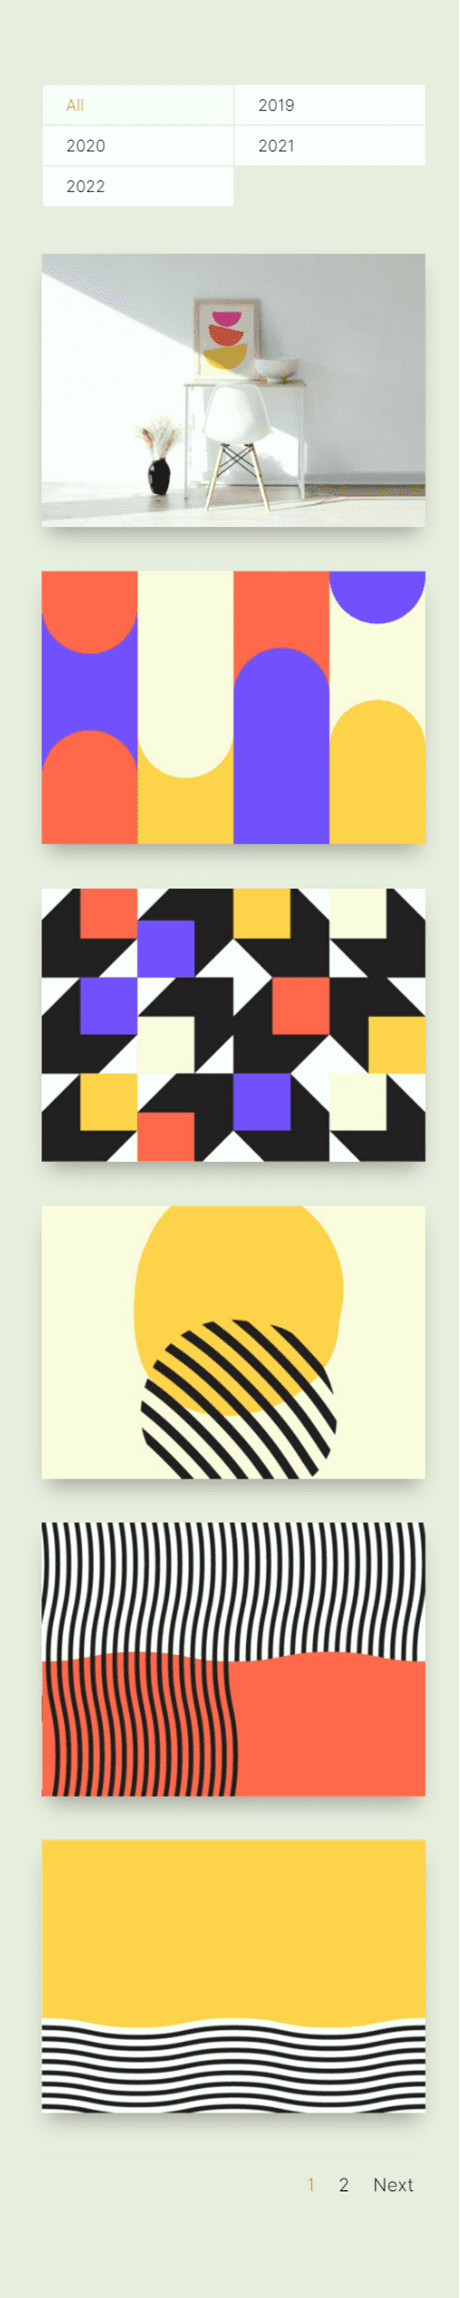
Portfolio Web page

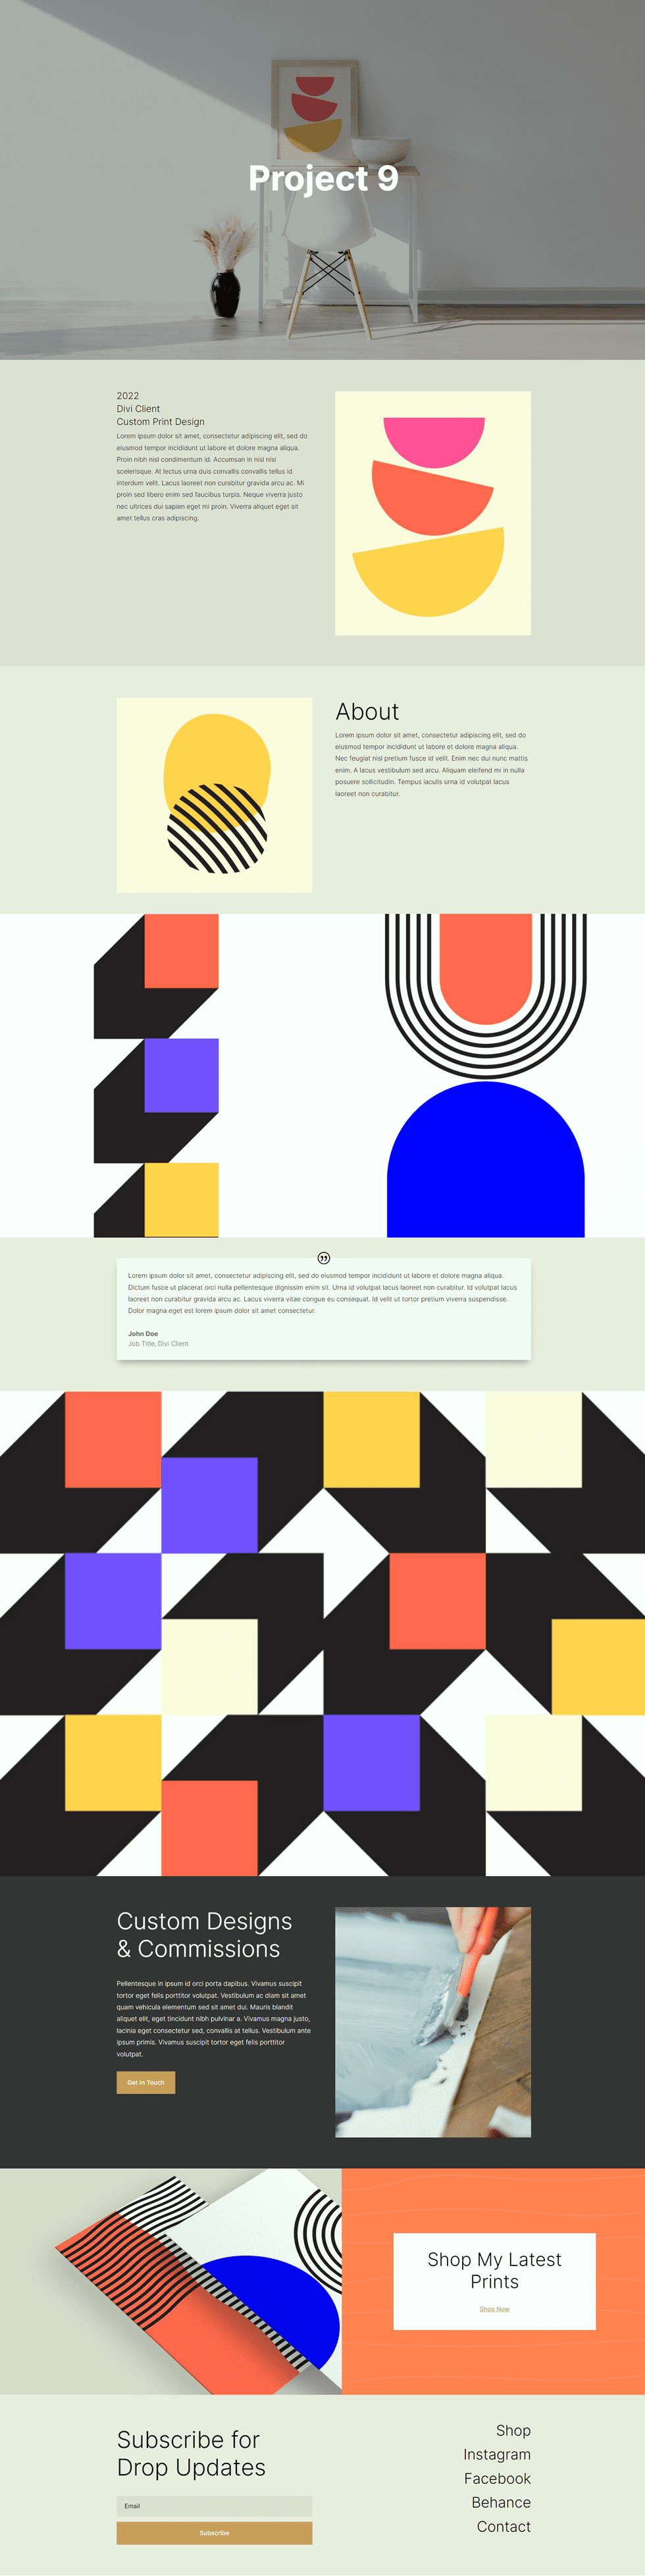
Undertaking Web page

What You Want to Get Began
Ahead of we start, install and activate the Divi Theme and make sure to have the newest model of Divi to your site.
Now, you’re ready to start out!
The way to Create Matching Portfolio & Tasks with Divi
Set Up Complicated Customized Fields Plugin
For this design, we’re going to be the use of dynamic content material to create a template for our undertaking pages. Via the use of dynamic content material in a template, you’ll be able to create and replace fully-designed undertaking pages via filling out the customized fields related to the undertaking. You’ll use the integrated customized fields serve as in WordPress to do that, however it has some obstacles. For this design we would like more than one pictures to dynamically populate, so we’re going to use the Complicated Customized Fields Plugin to perform this. This plugin is unfastened at the WordPress plugin listing and lets in us so as to add tough customized fields to the undertaking pages.
From the WordPress dashboard, navigate to the Plugins settings and click on Upload New. Then seek for the Advanced Custom Fields Plugin, set up, and turn on.

Upload Customized Fields
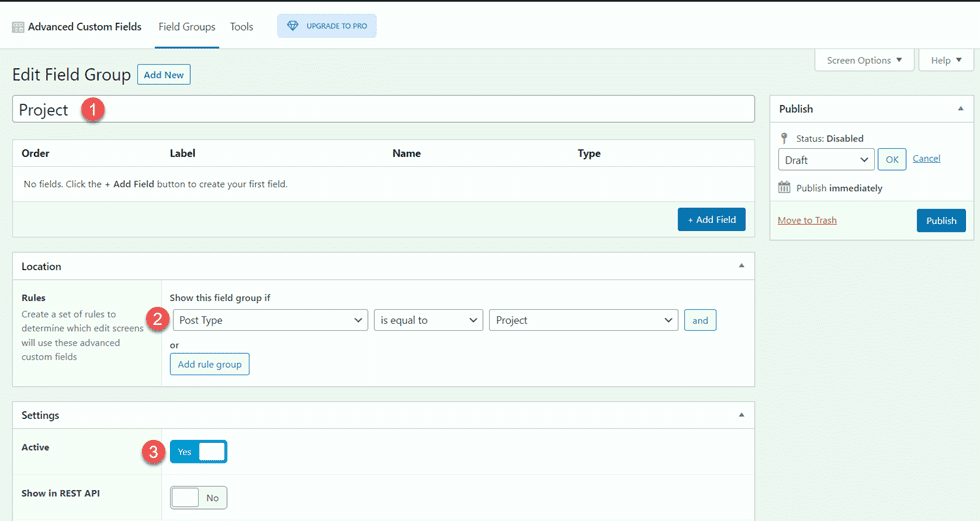
As soon as the plugin has been put in and activated, open the Complicated Customized Fields settings and upload a brand new Box Team. Upload a name, then set the site laws and set the sphere crew as energetic.
- Name: Undertaking
- Location Regulations: Display this box crew if Put up Kind is the same as Undertaking
- Lively: Sure
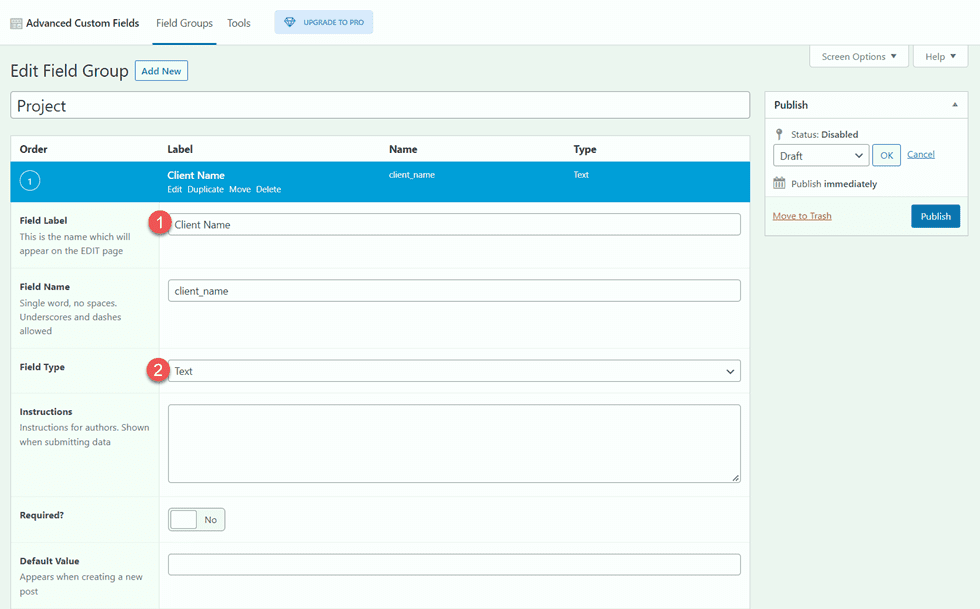
Subsequent, upload the customized fields via clicking the blue Upload Box button. For this instructional, we will be able to handiest regulate the sphere label and kind for each and every box. The primary box would be the shopper identify.
- Box Label: Consumer Title
- Box Kind: Textual content
Subsequent, upload the next fields.
- Box Label: Undertaking Yr
- Box Kind: Quantity
- Box Label: Deliverables
- Box Kind: Textual content
- Box Label: Undertaking Description
- Box Kind: Textual content House
- Box Label: Symbol 1
- Box Kind: Symbol
- Box Label: Symbol 2
- Box Kind: Symbol
- Box Label: About Textual content
- Box Kind: Textual content House
- Box Label: Symbol 3
- Box Kind: Symbol
- Box Label: Symbol 4
- Box Kind: Symbol
- Box Label: Testimonial Textual content
- Box Kind: Textual content House
- Box Label: Testimonial Title
- Box Kind: Textual content
- Box Label: Testimonial Process
- Box Kind: Textual content
- Box Label: Symbol 5
- Box Kind: Symbol
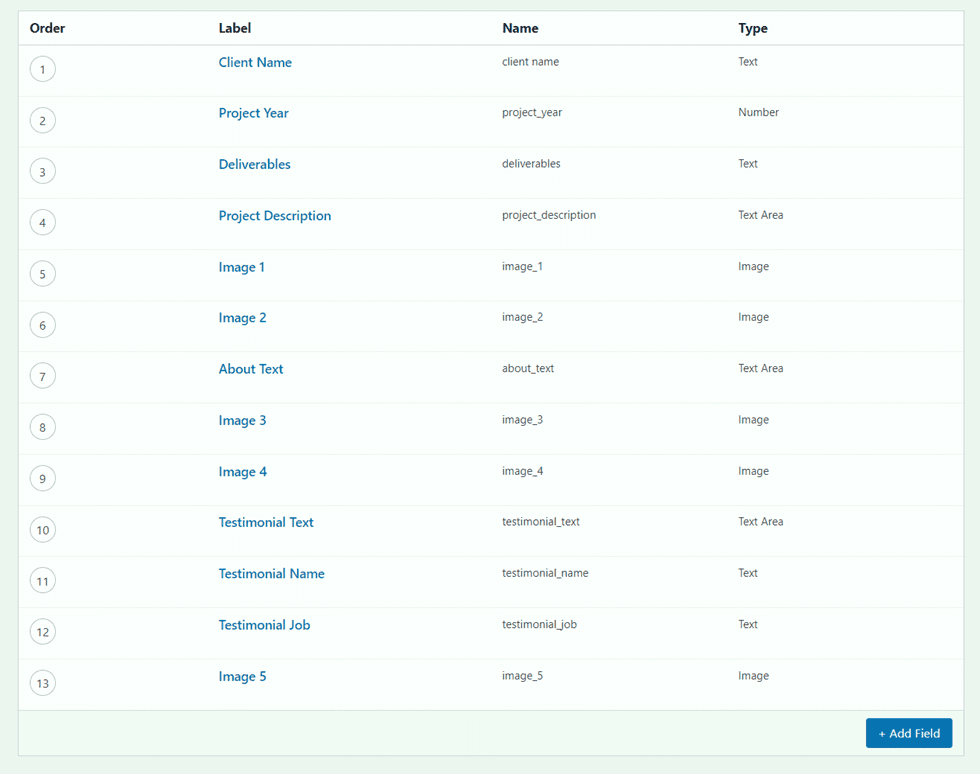
Whenever you put up and save the customized fields, upload a brand new undertaking or edit an current one. You will have to see the customized fields towards the ground of the modifying web page. For this portfolio and undertaking structure, fill out each and every of the customized fields and add a featured symbol to the undertaking. If you wish to upload a filterable portfolio, be sure the posts are categorised as neatly.
Design Portfolio Web page
Now let’s get began with designing our portfolio web page. We’ll get started with a premade touchdown web page and upload a filterable portfolio module to it.
Get started With a Premade Format
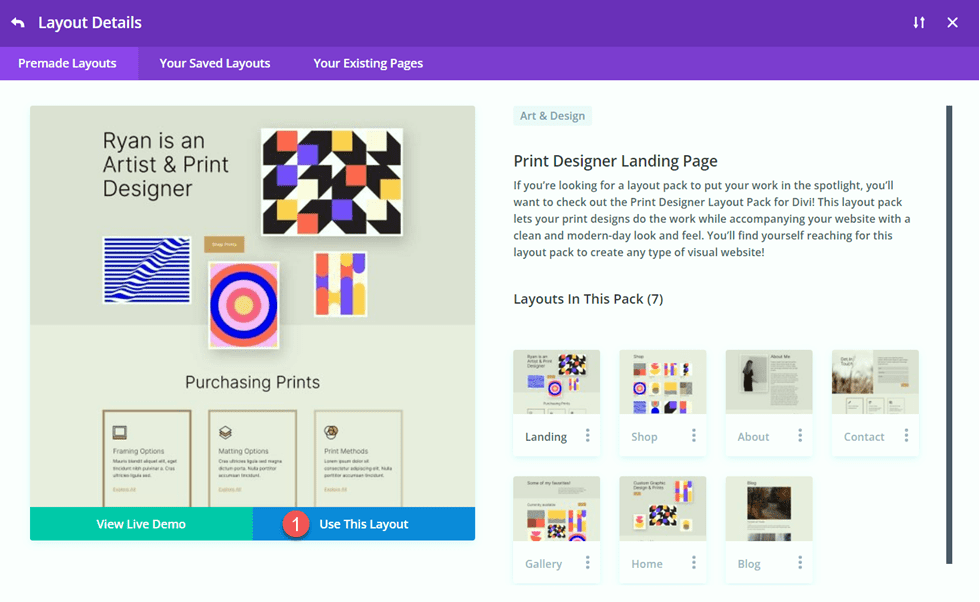
Let’s get started via the use of a premade structure from the Divi library. For this design, we will be able to use the Print Fashion designer Touchdown Web page from the Print Designer Layout Pack.
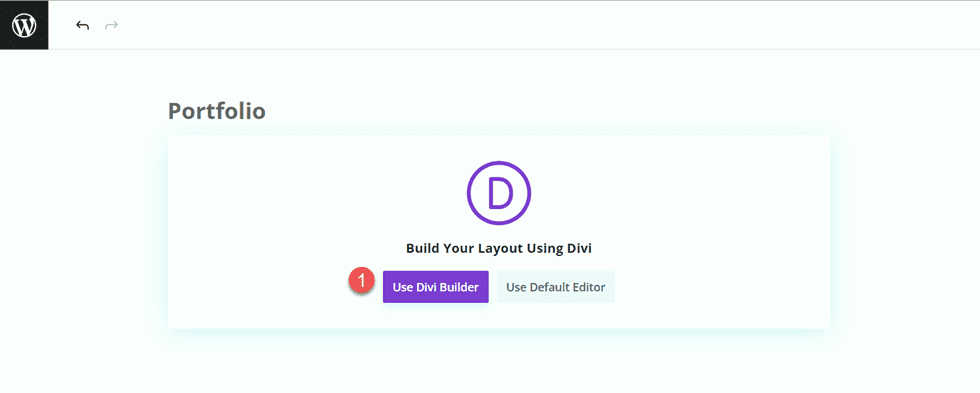
Upload a brand new web page on your site and provides it a name, then make a choice the strategy to Use Divi Builder.
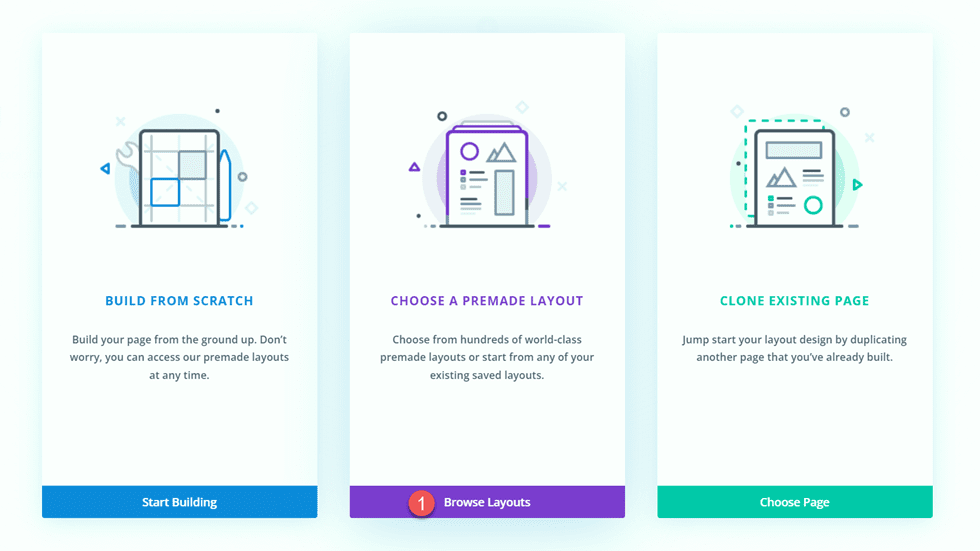
We will be able to use a premade structure from the Divi library for this situation, so make a choice Browse Layouts.
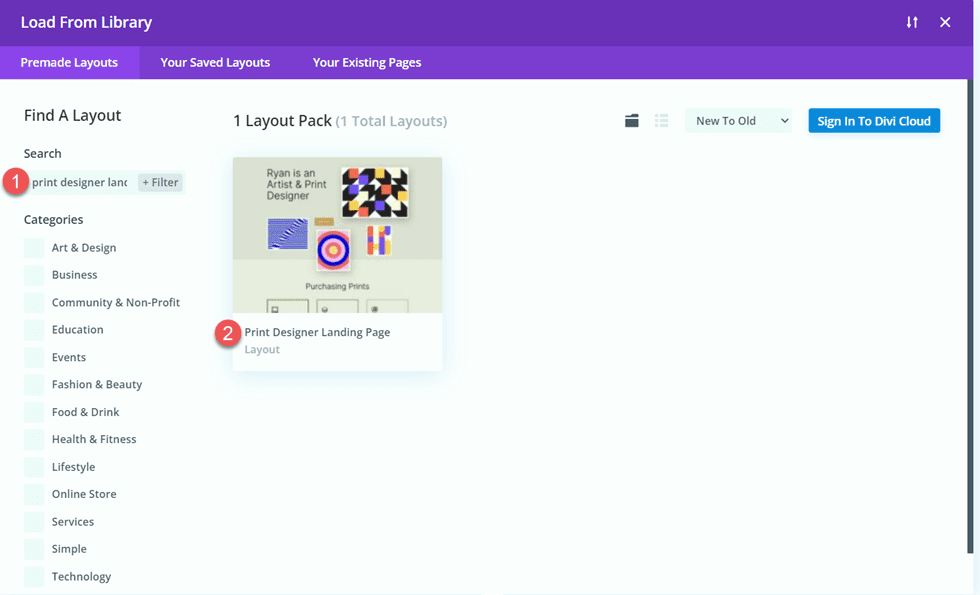
Seek for and make a choice the Print Fashion designer Touchdown Web page.
Choose Use This Format so as to add the structure on your web page.
Now we’re in a position to construct our design.
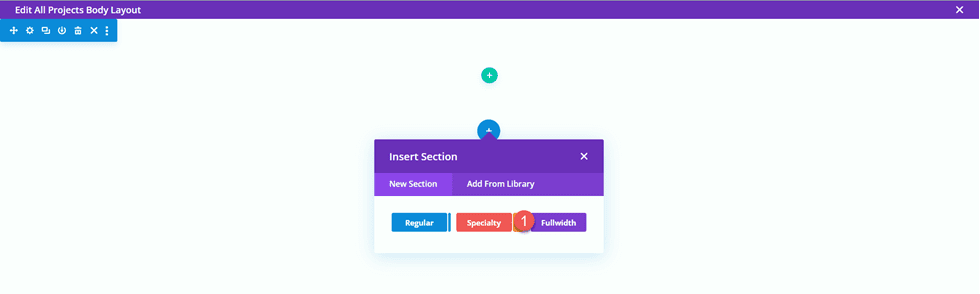
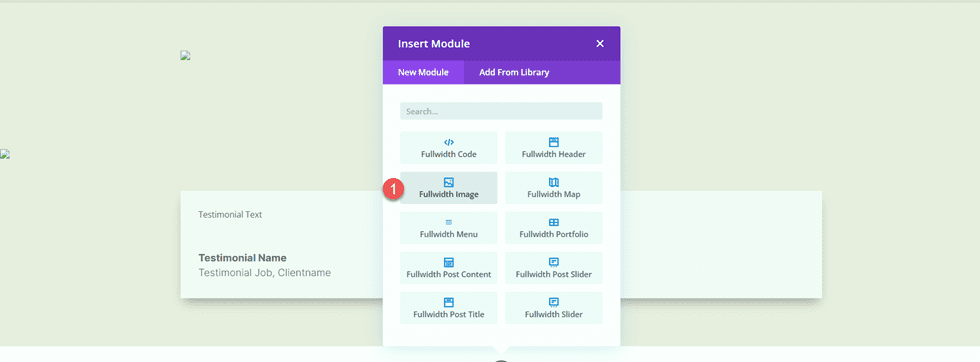
Upload the Filterable Portfolio Module
Upload a brand new common segment underneath the picture of the table, above the orange “My Newest Prints” segment.
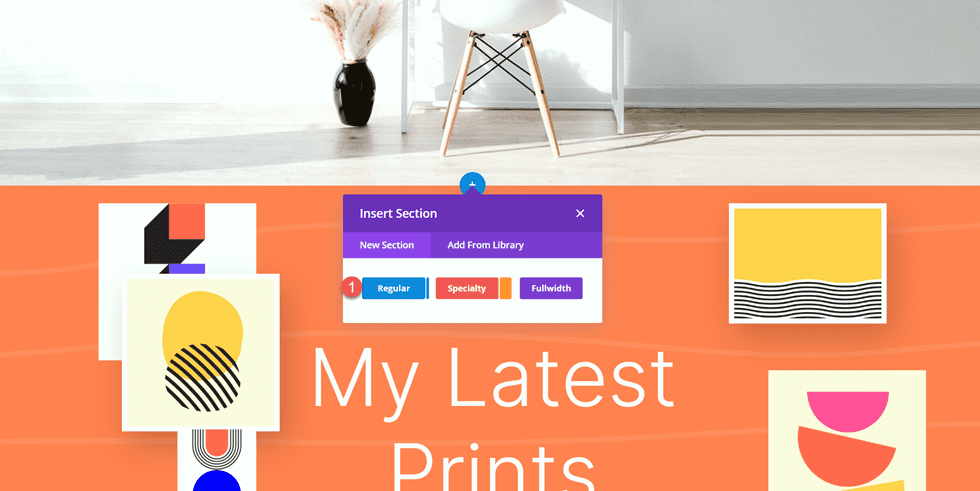
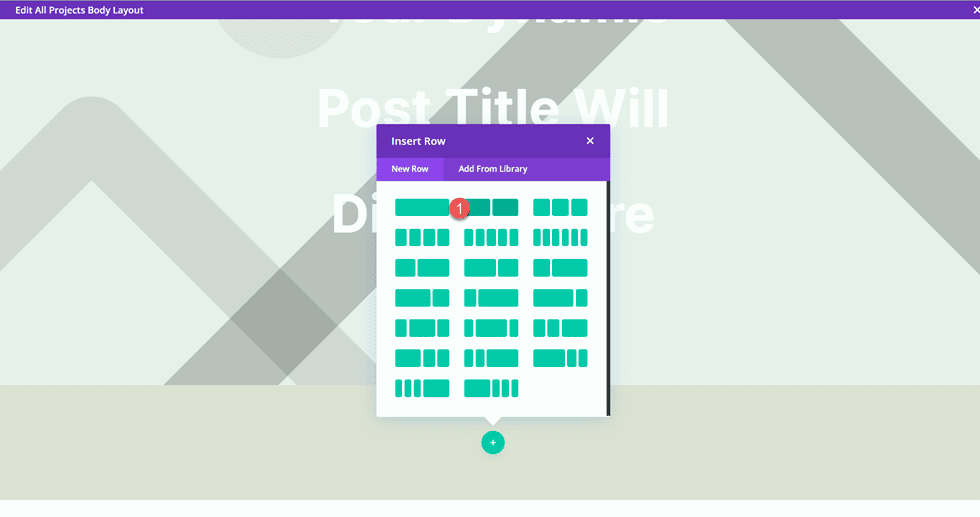
Upload a unmarried row.

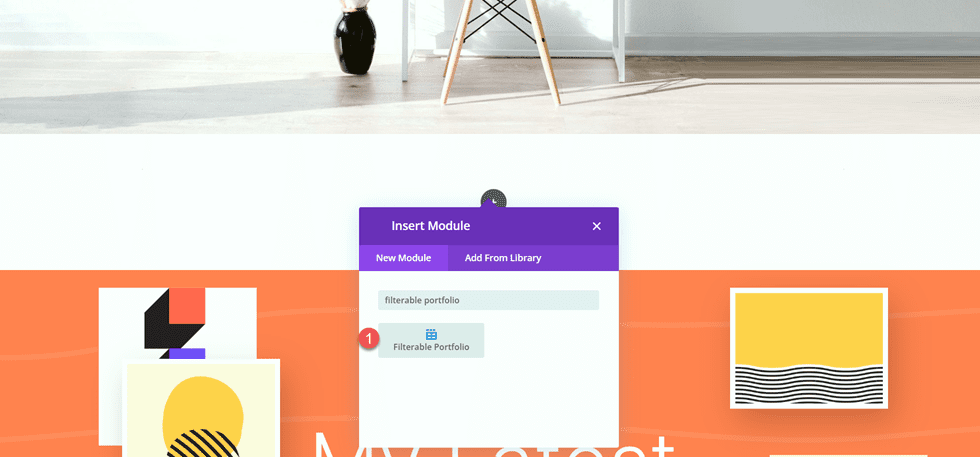
Then, upload the filterable portfolio module to the row.
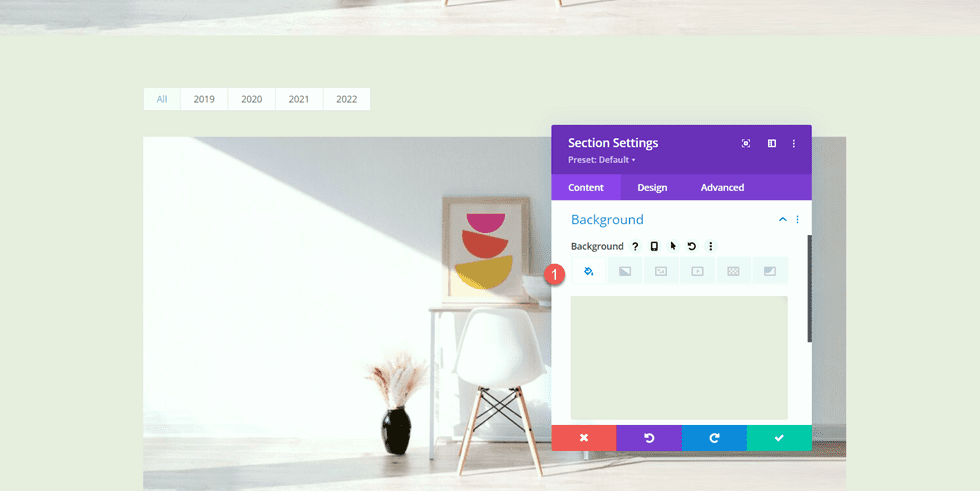
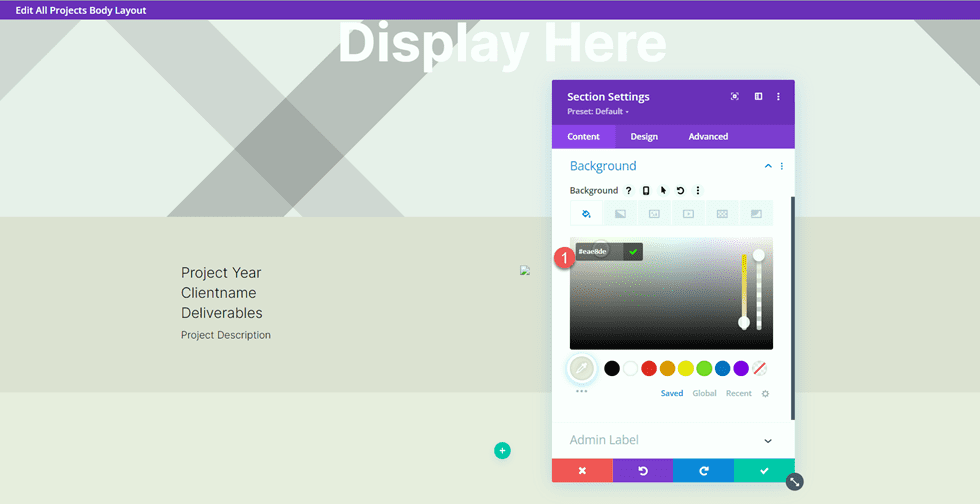
Open the segment settings and upload a background colour.
- Background: #eae8de
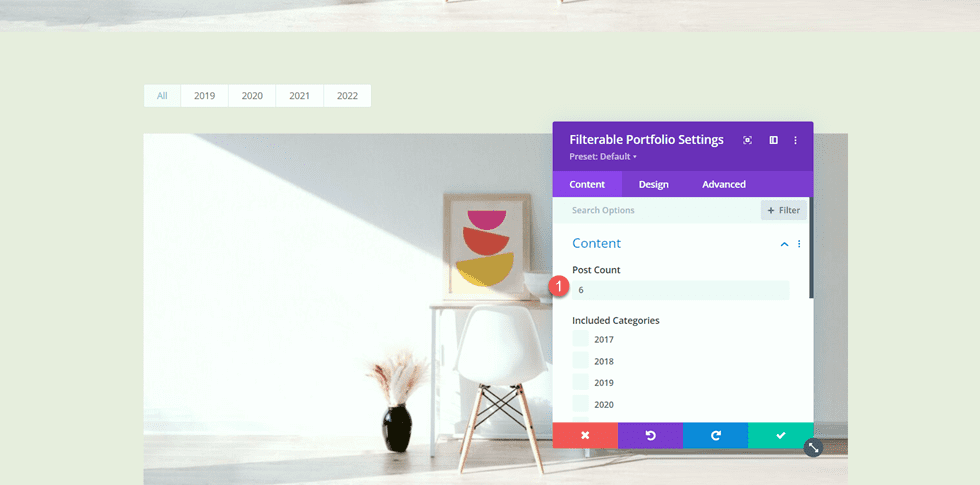
Subsequent, open the filterable portfolio module settings. Underneath Content material, set the put up rely to six.
- Put up Rely: 6
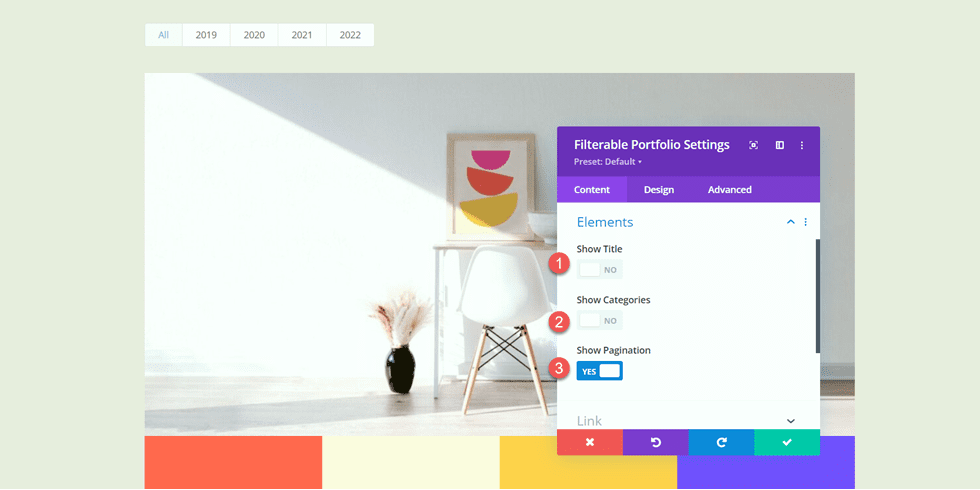
Underneath Parts, disable the name and classes.
- Display Name: No
- Display Classes: No
- Display Pagination: Sure
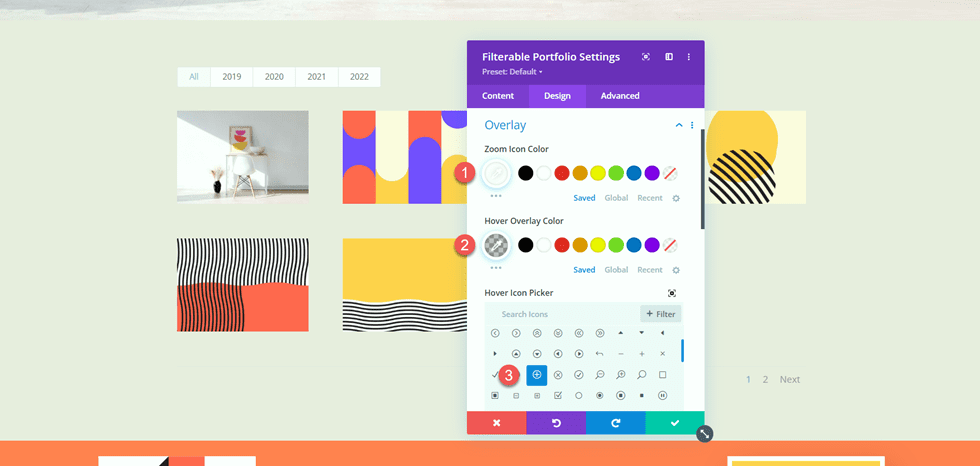
Then, transfer to the design tab and open the Format settings. Choose the Grid structure.
- Format: Grid

Underneath Overlay, customise the choices as follows:
- Zoom Icon Colour: #FFFFFF
- Hover Overlay Colour: rgba(10,10,10,0.25)
- Hover Icon: Plus Icon in Circle
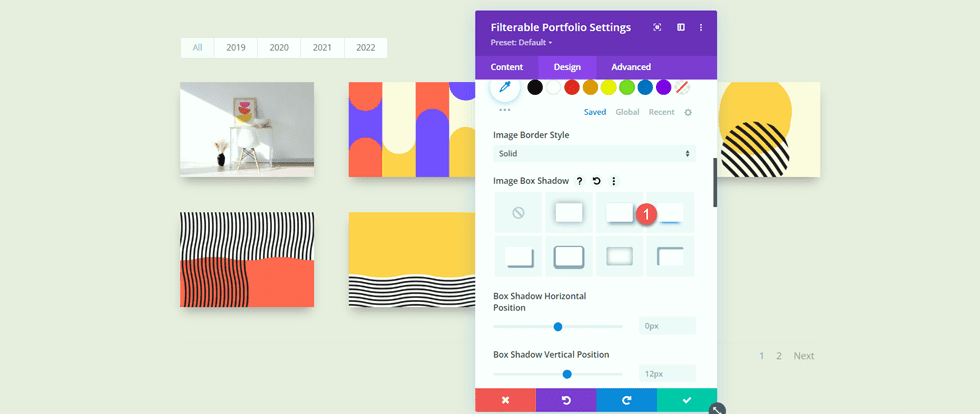
Subsequent, upload a picture field shadow.
- Symbol Field Shadow: Under
Now regulate the filter out standards font settings.
- Filter out Standards Font: Inter
- Filter out Standards Font Weight: Mild
- Filter out Standards Textual content Colour: #000000

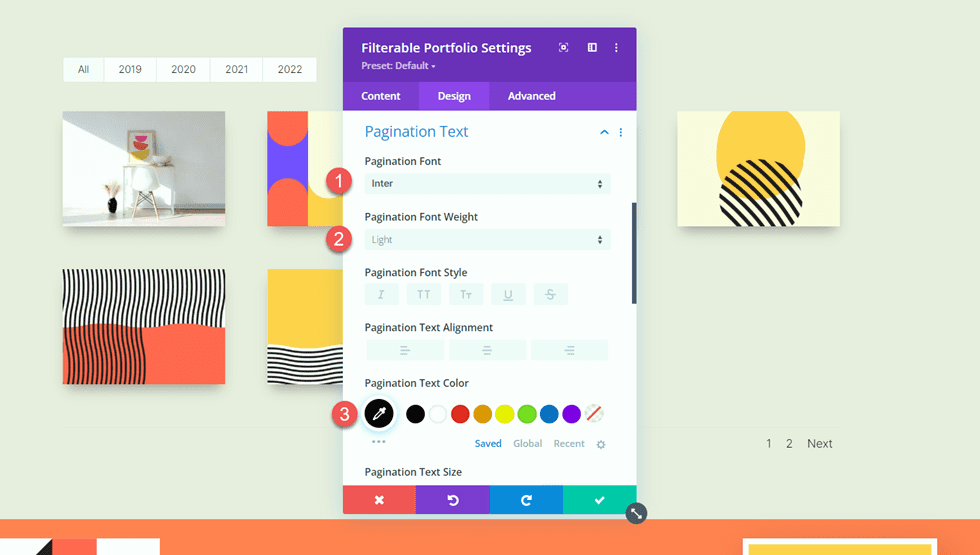
In spite of everything, regulate the pagination font settings.
- Pagination Font: Inter
- Pagination Font Weight: Mild
- Pagination Textual content Colour: #000000
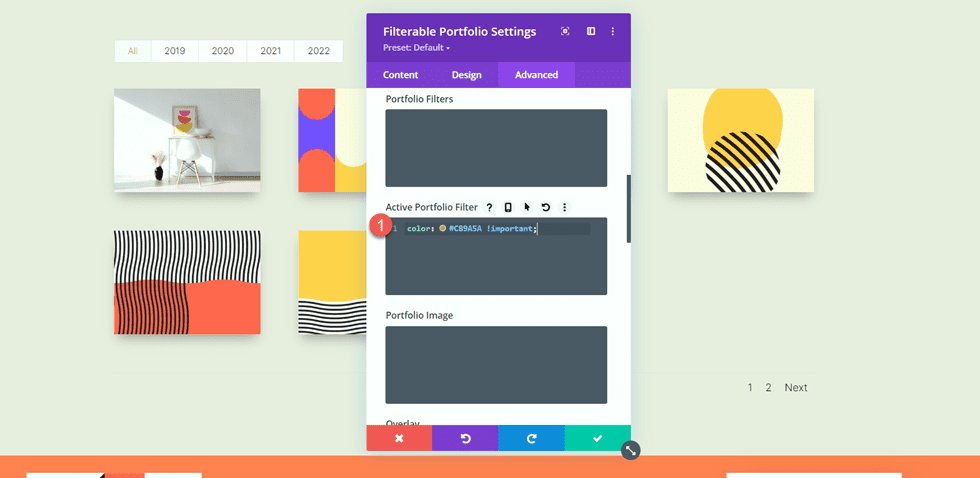
We wish the energetic portfolio filter out and the energetic web page colour to be a unique colour than the remainder of the textual content. Transfer over to the complex tab and upload the next CSS.
Underneath the Lively Portfolio Filter out CSS segment upload the next:
colour: #C89A5A !essential;
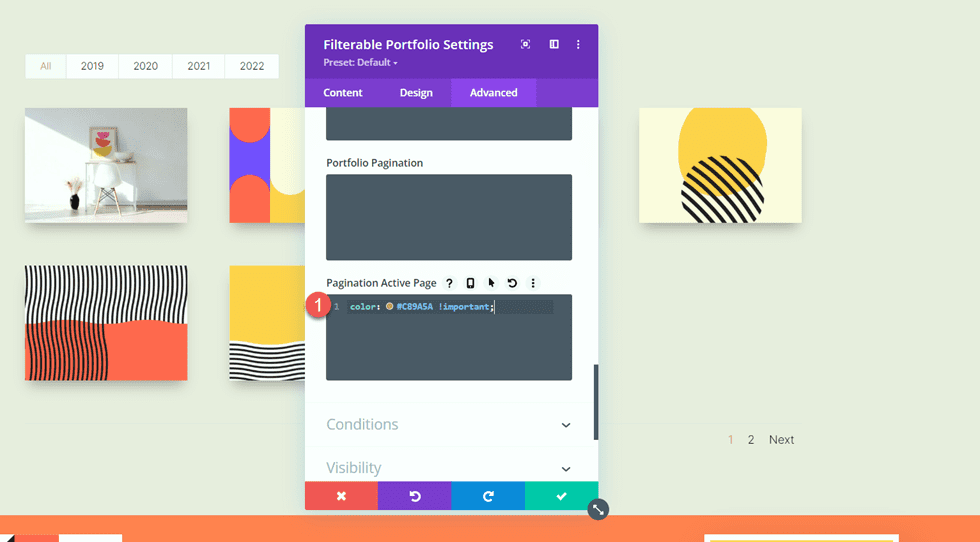
In spite of everything, upload the next to the Pagination Lively Web page CSS:
colour: #C89A5A !essential;
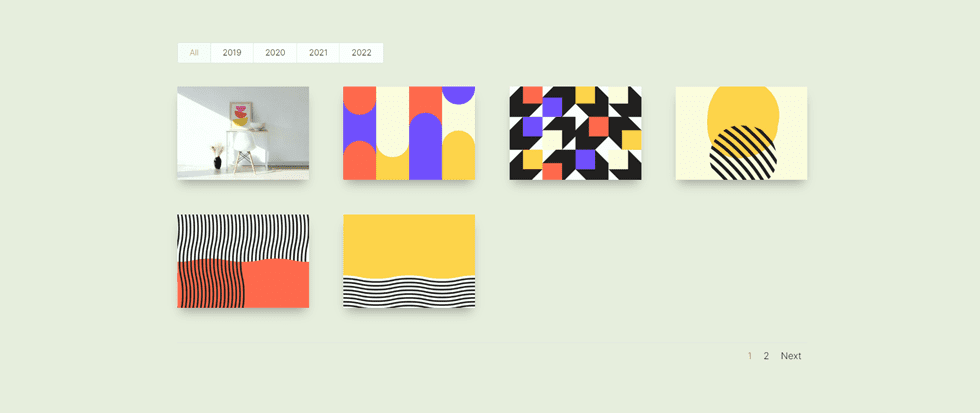
Portfolio Web page Ultimate Design
Now here’s the general design for the portfolio segment.
Design Undertaking Template
Use the Theme Builder
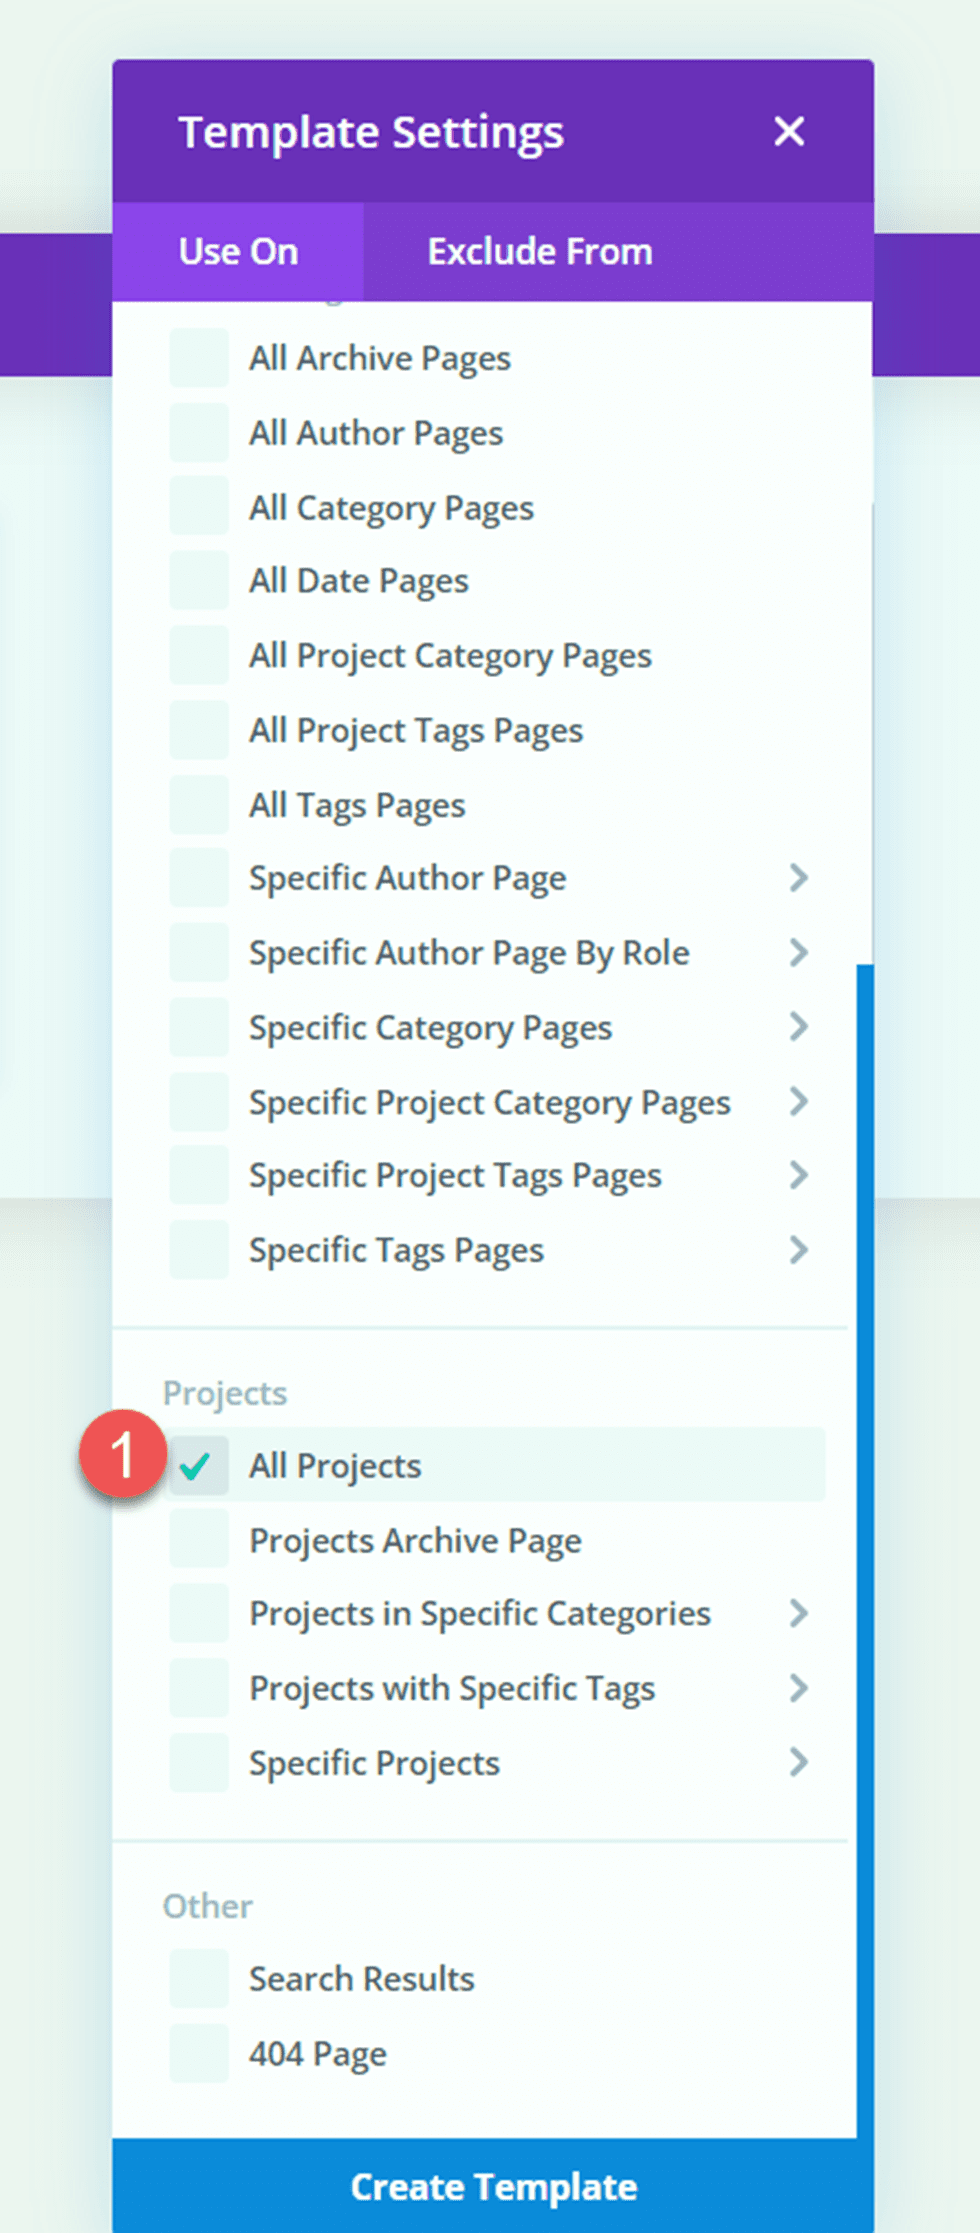
Now let’s create the template for our undertaking pages. To try this, we will be able to use Divi’s theme builder. Open the WordPress dashboard and navigate to the Theme Builder. Then make a choice Upload a New Template.
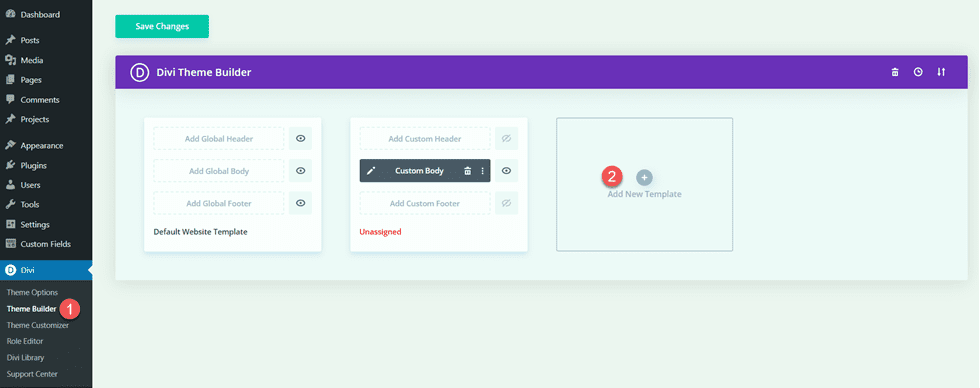
Subsequent, set the template to use to all undertaking pages.
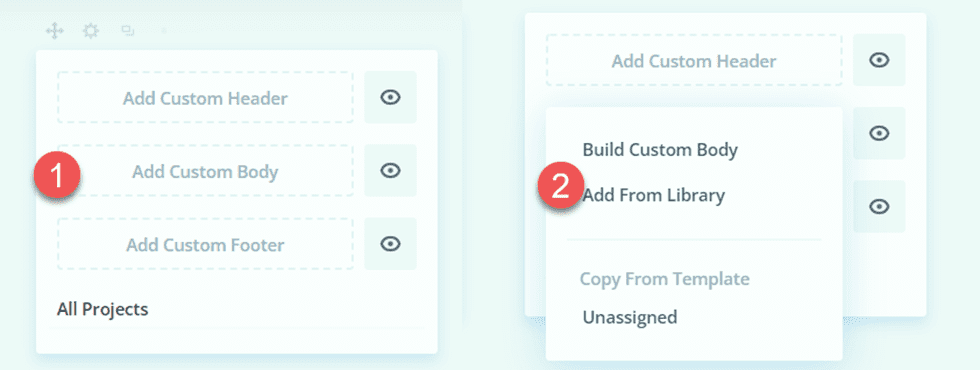
Click on “Upload Customized Frame”, then make a choice “Construct Customized Frame”.
Header Design
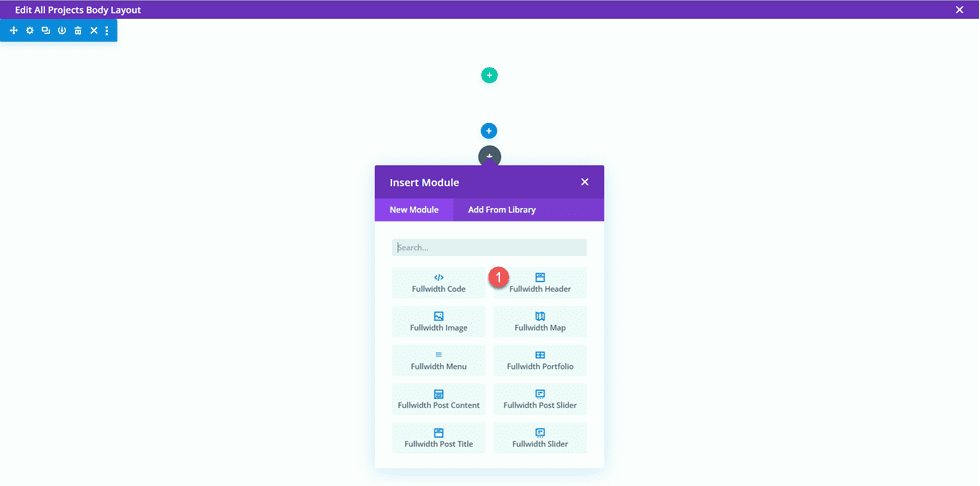
First, upload a fullwidth segment to the web page.
Then, upload a fullwidth header module.
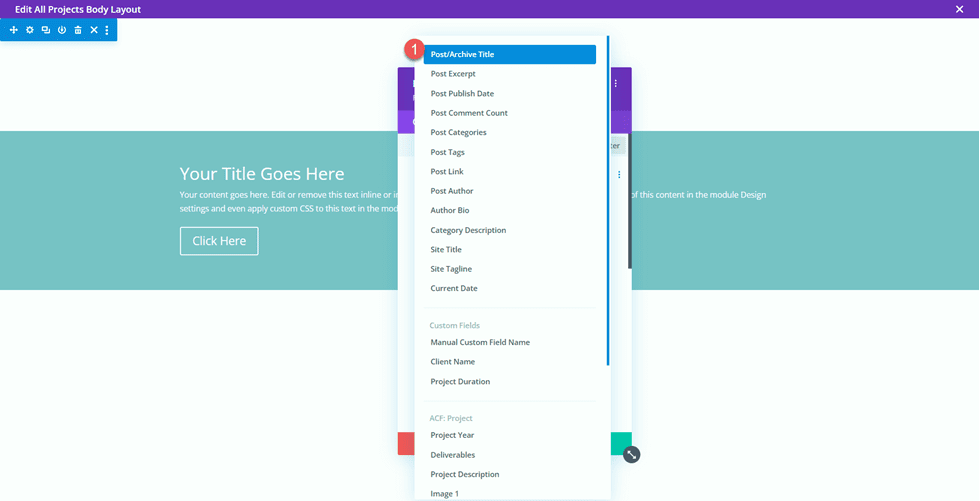
Open the header settings. We wish the name of this web page to dynamically populate in accordance with the name of the undertaking. Subsequent to Name, click on the dynamic content material icon.
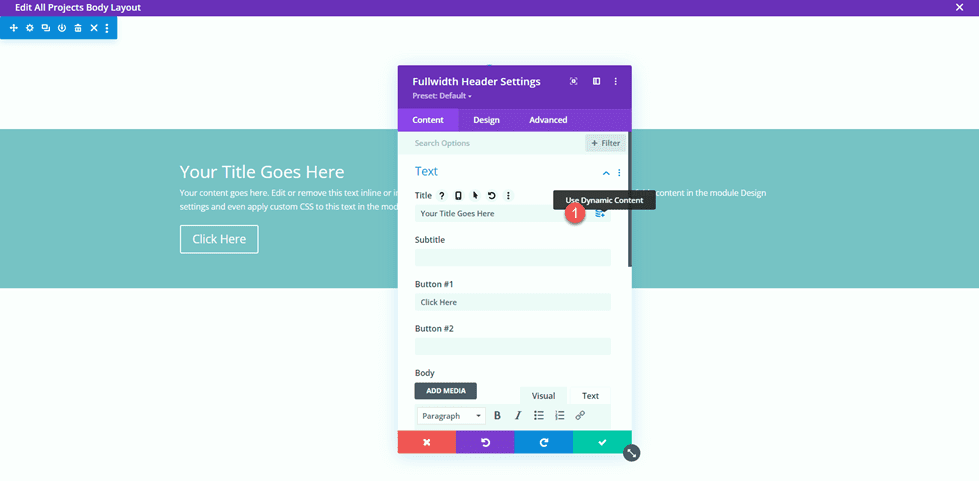
Then, set the Name to “Posts/Archive Name.” Now the name will dynamically populate.
Take away the textual content from the Button #1 and Frame sections and take away the background colour.
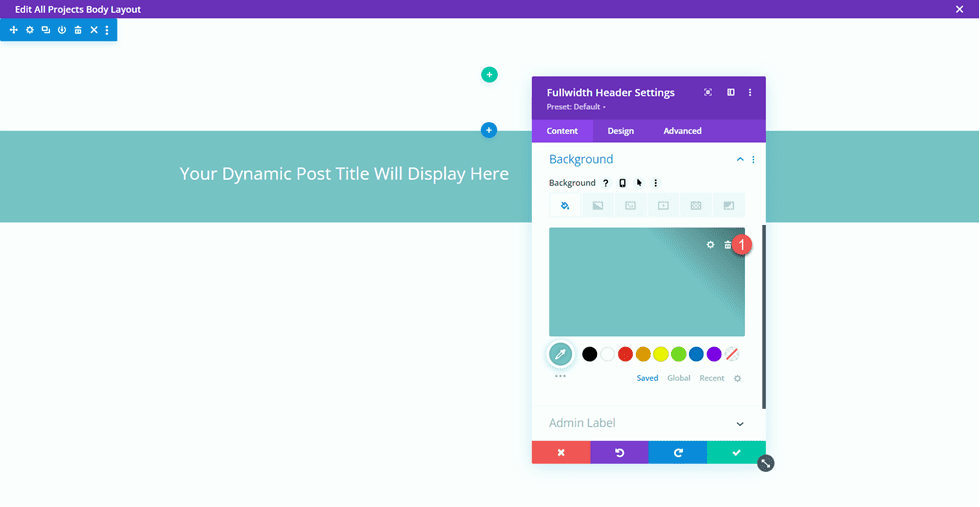
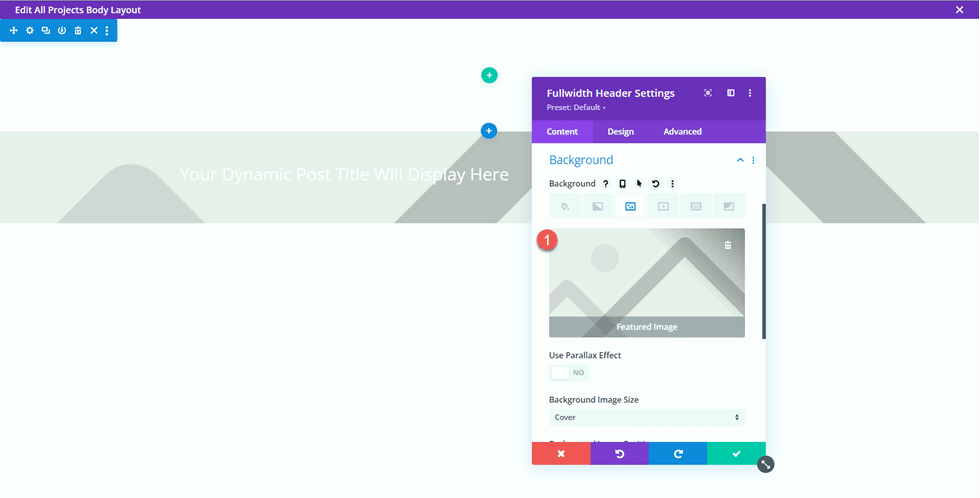
Subsequent, we wish to upload a dynamic background symbol. Transfer to the background symbol tab and click on the dynamic content material icon. Set the background symbol to “Featured Symbol”. This fashion, the featured symbol for the undertaking put up will seem on the most sensible of our undertaking web page.
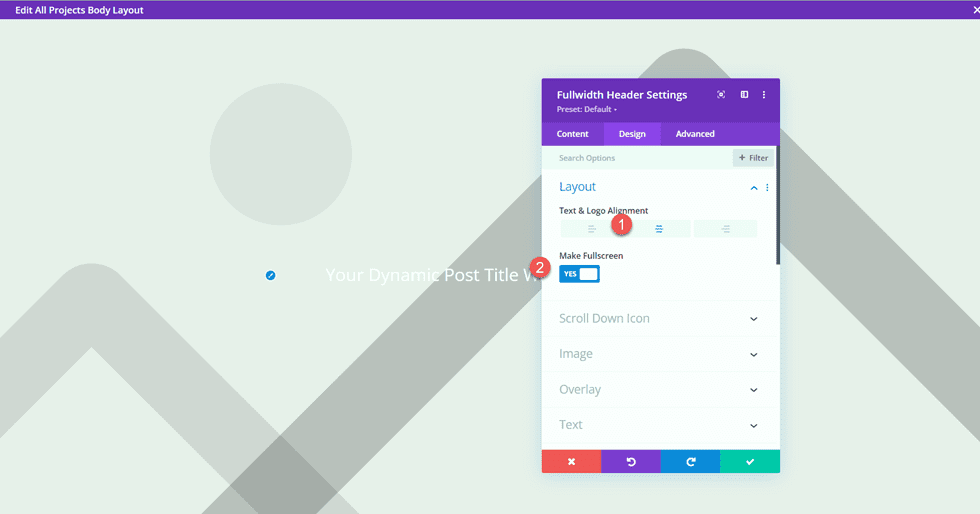
Transfer over to the design tab and open the structure settings. Set the alignment to focused and make the header fullscreen.
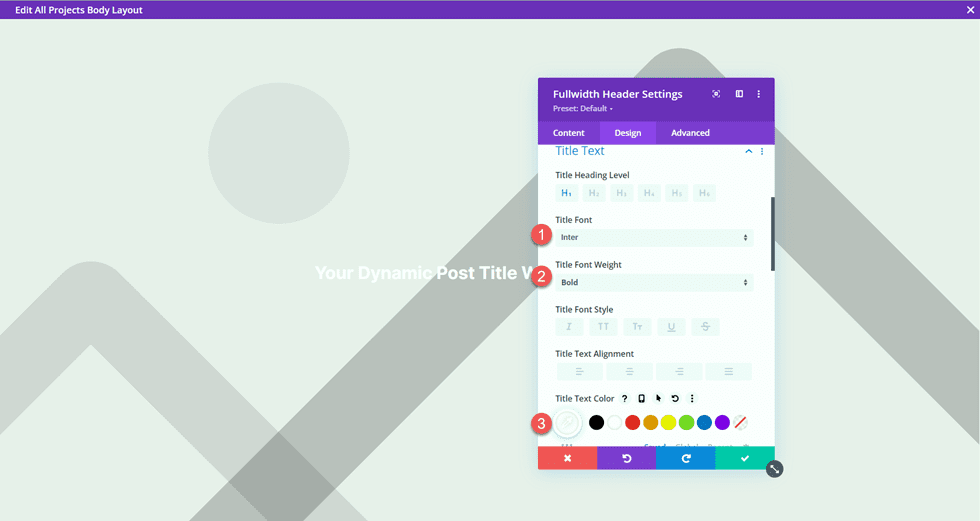
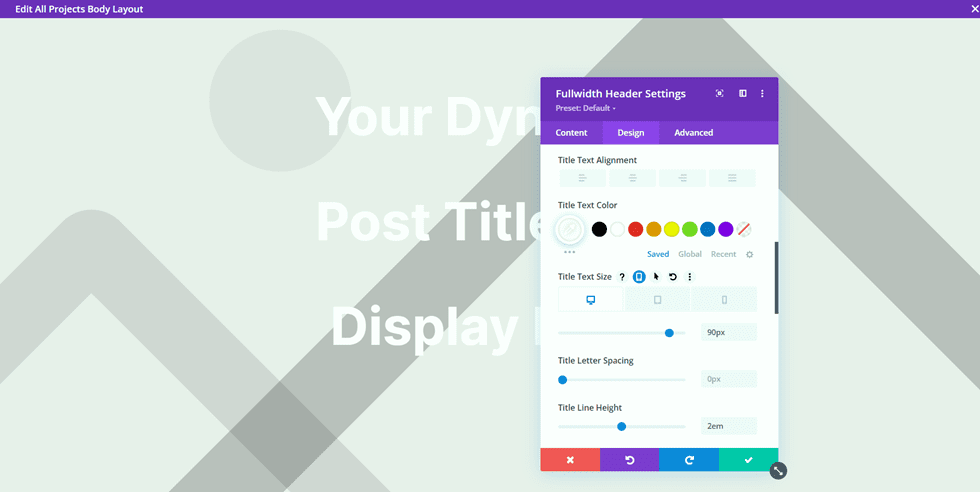
Then, regulate the name font settings.
- Name Font: Inter
- Name Font Weight: Daring
- Name Textual content Colour: #FFFFFF
Use the responsive settings to set other textual content sizes for various display screen sizes. Moreover, set the road peak.
- Name Textual content Measurement on Desktop: 90px
- Name Textual content Measurement on Pill: 60px
- Name Textual content Measurement on Cell: 40px
- Name Line Top: 1.1em
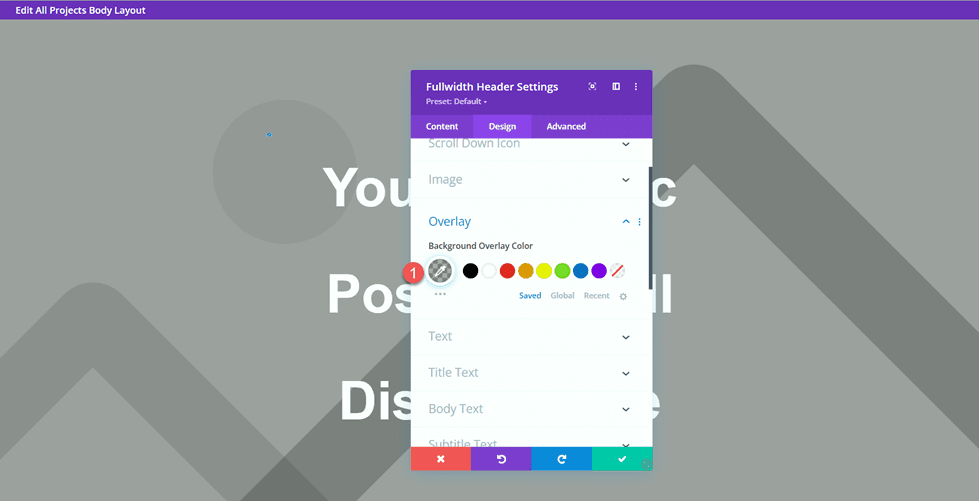
Underneath the Overlay settings, upload an overlay.
- Background Overlay Colour: rgba(0,0,0,0.33)
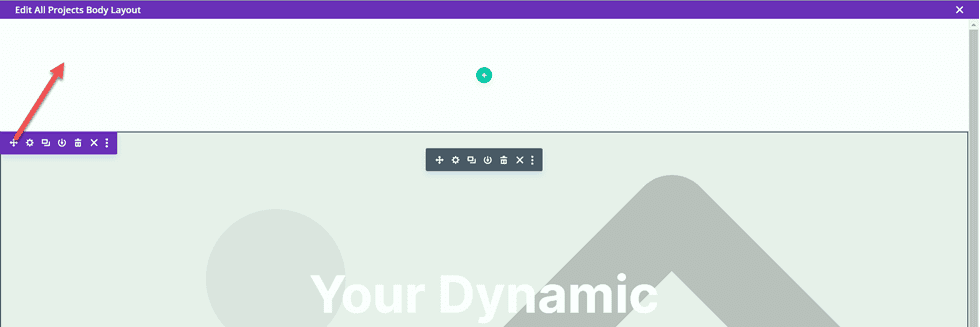
Now transfer the fullwidth segment to the highest of the web page.
Undertaking Description Design
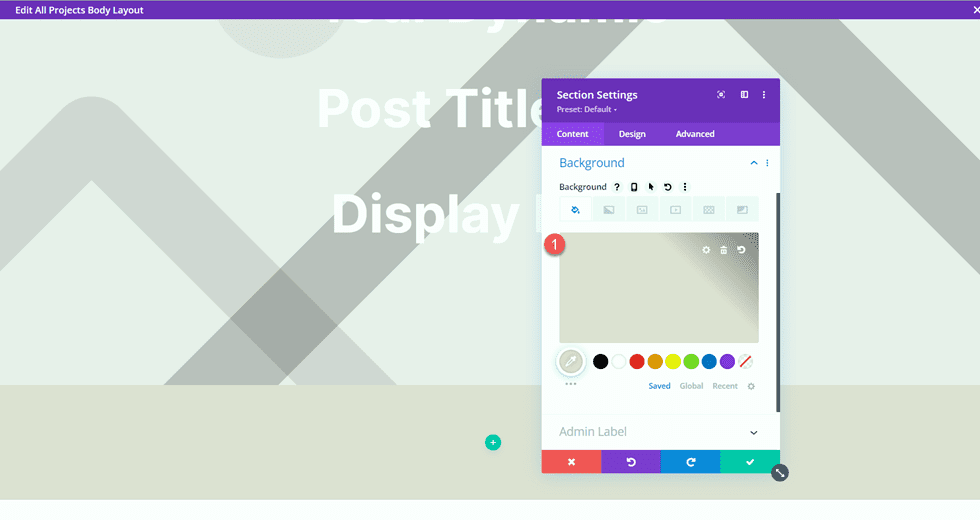
Open the segment settings for the empty common segment at the web page and set a background colour.
- Background: #dfdcd2
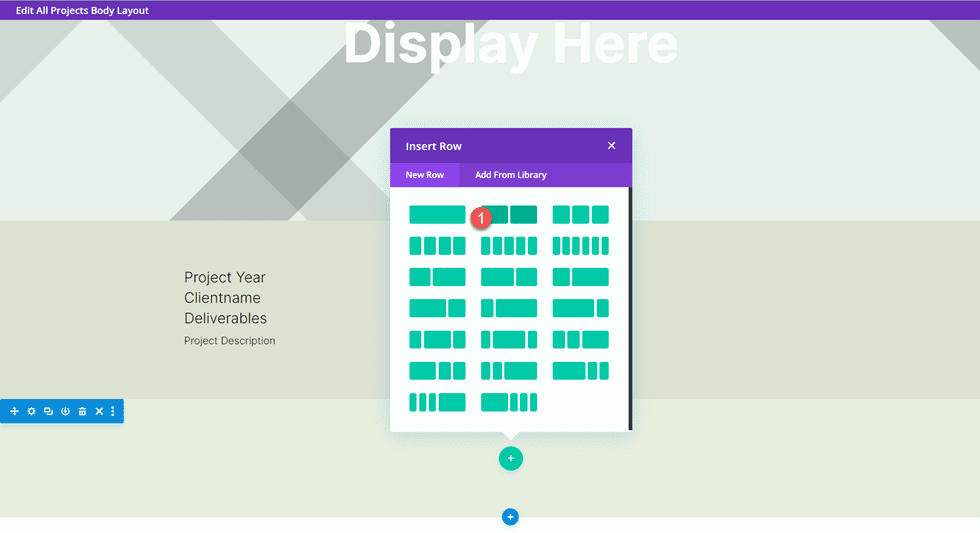
Then upload a row with two columns.
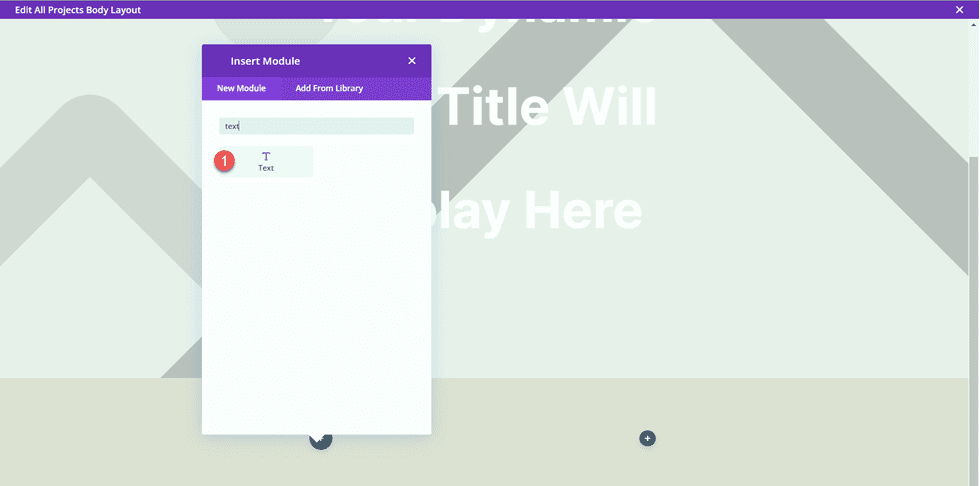
Upload a textual content module to the column at the left.
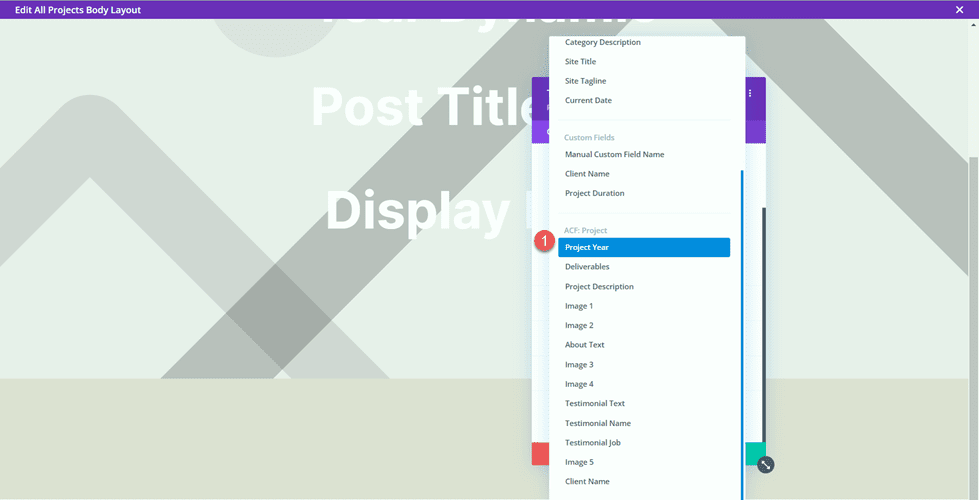
Exchange the frame content material with dynamic content material. For this module, we will be able to upload the Undertaking Yr.
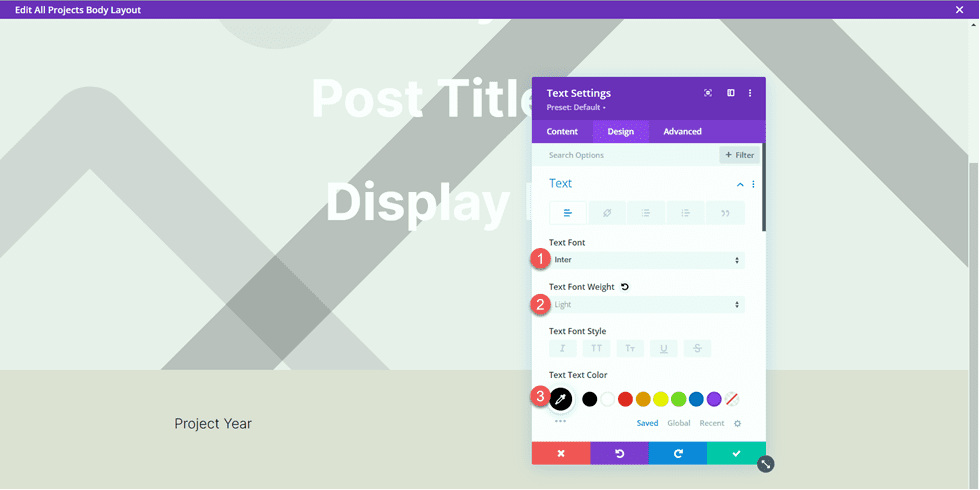
Transfer to the design tab and open the Textual content font settings. Customise the font as follows.
- Textual content Font: Inter
- Textual content Font Weight: Mild
- Textual content Textual content Colour: #000000
Subsequent, set the textual content measurement and line peak. Use the responsive choices to set a smaller textual content measurement on pill and cellular.
- Textual content Textual content Measurement Desktop: 24px
- Textual content Textual content Measurement Pill: 20px
- Textual content Textual content Measurement Cell: 18px
- Textual content Line Top: 1em
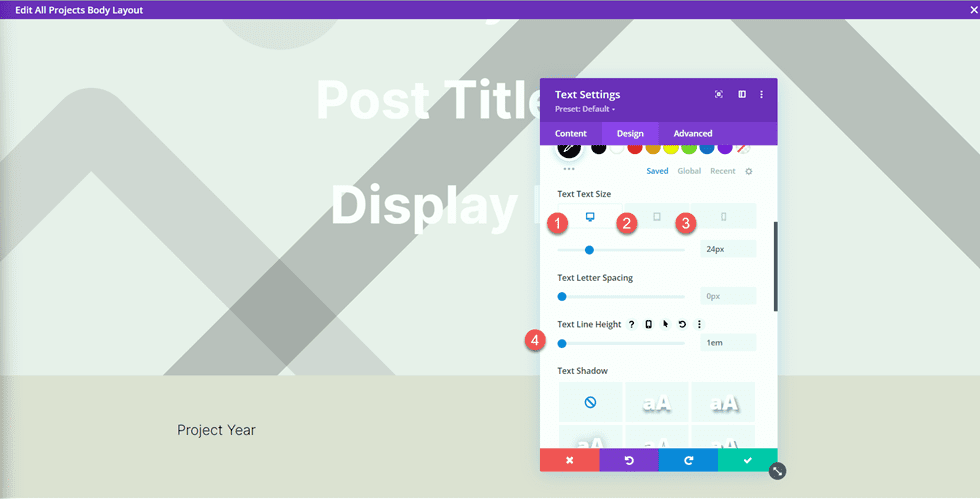
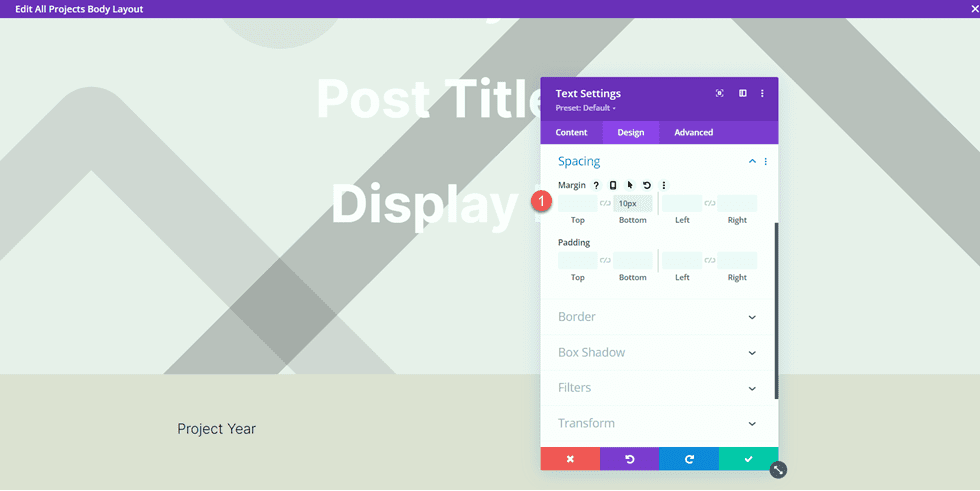
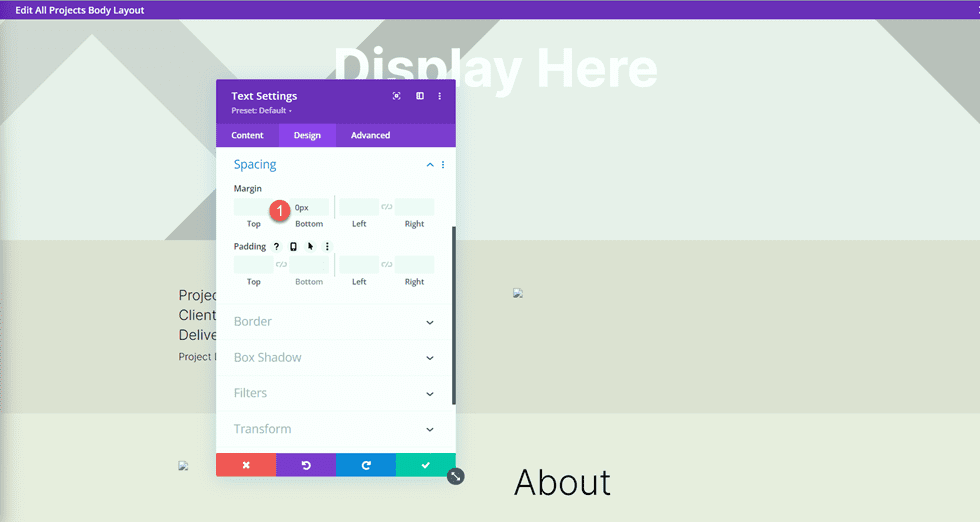
In spite of everything, transfer to the Spacing segment and upload a backside margin.
- Margin Backside: 10px
Now reproduction the Undertaking Yr textual content module.
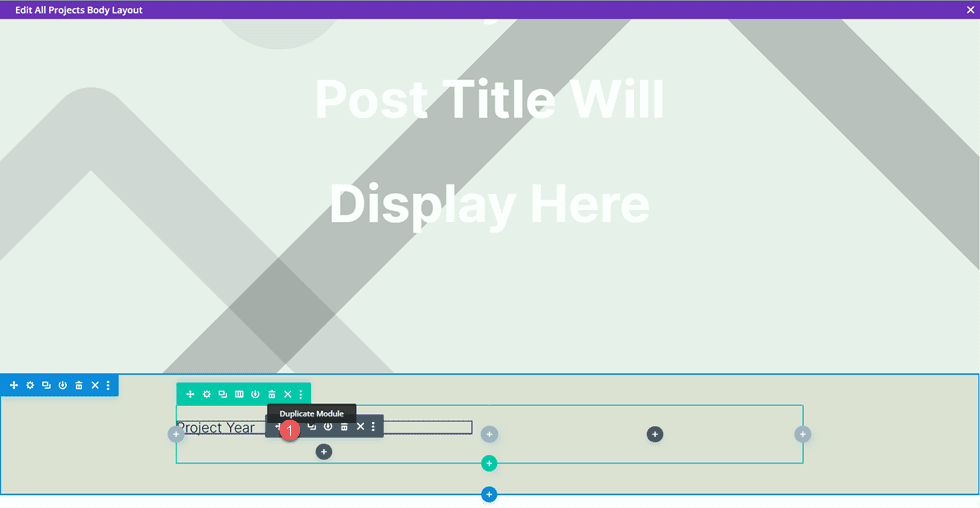
Open the duplicated module settings and substitute the Undertaking Yr dynamic content material with the Consumer Title dynamic content material.
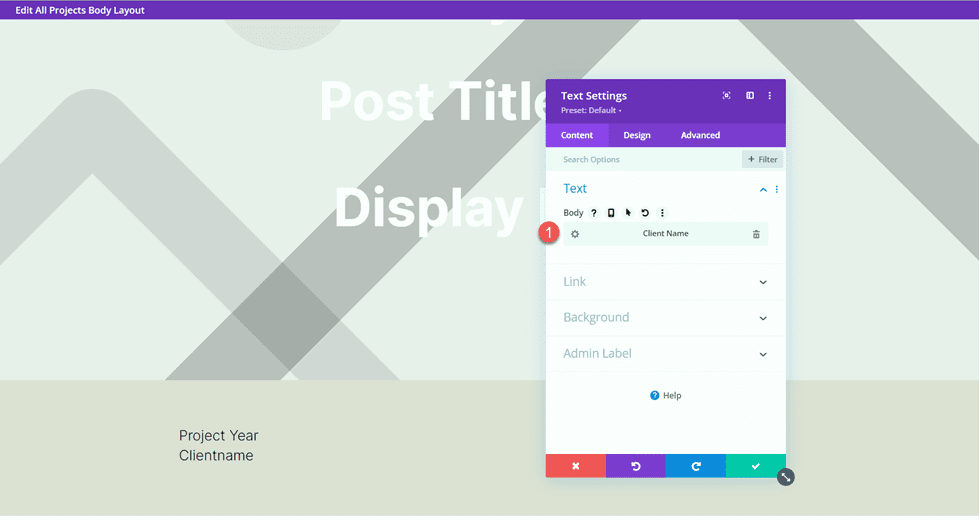
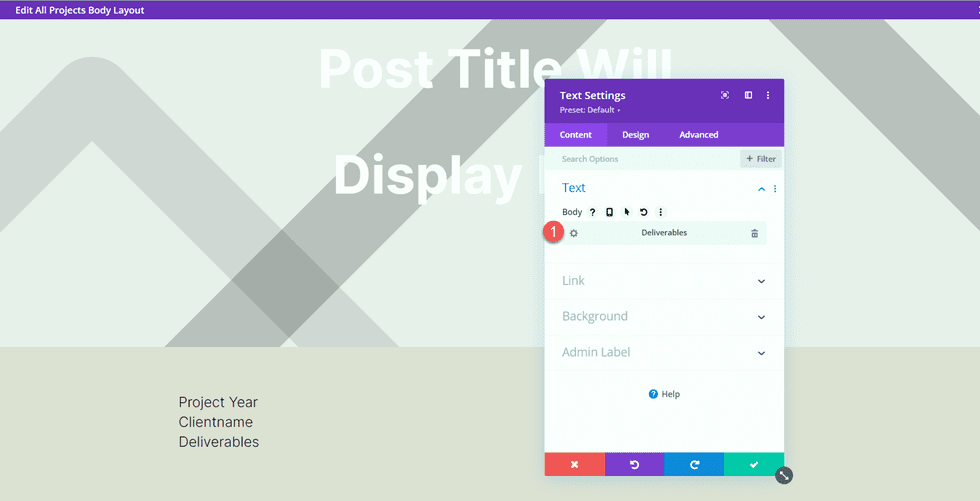
Repeat the similar steps and copy the Consumer Title textual content module. Then, substitute the Consumer Title dynamic content material with the Deliverables dynamic content material.
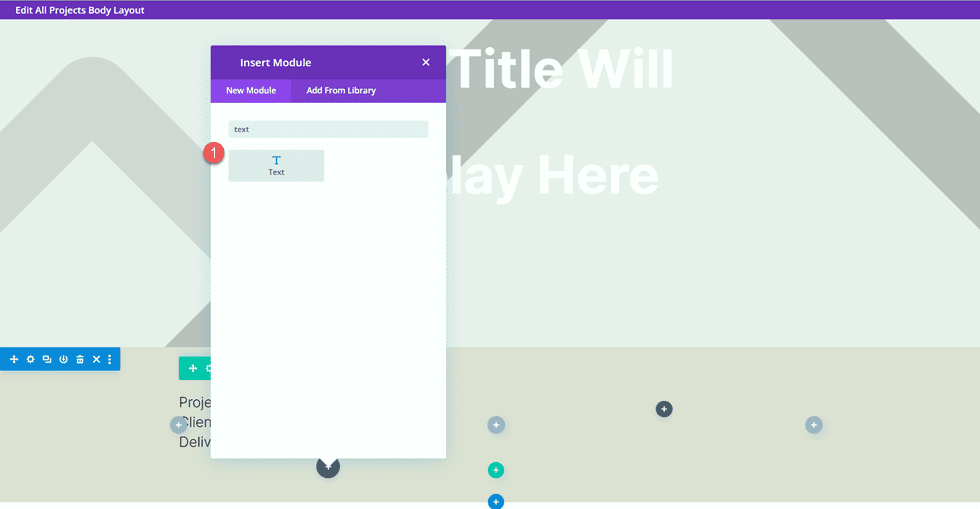
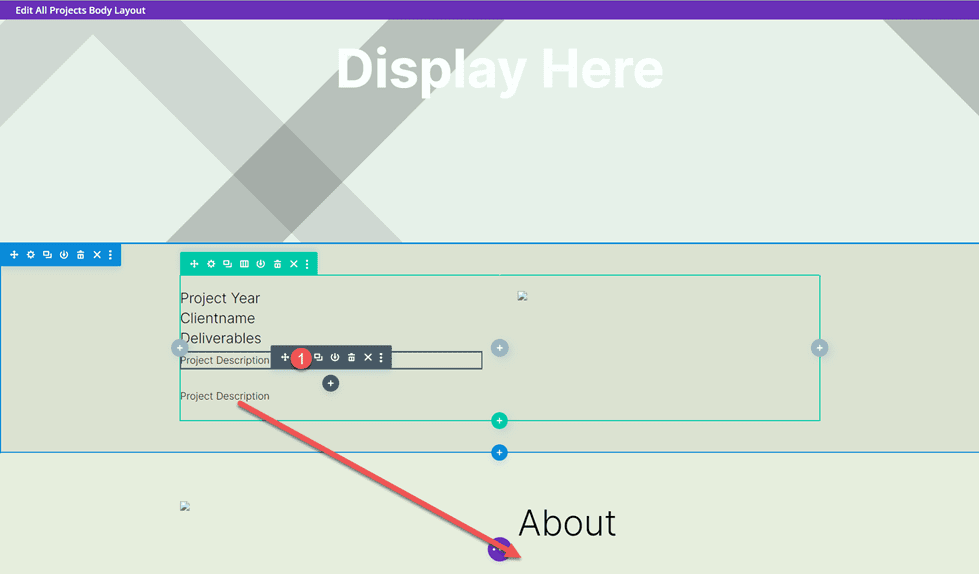
Subsequent, upload a brand new textual content module underneath the Deliverables module.
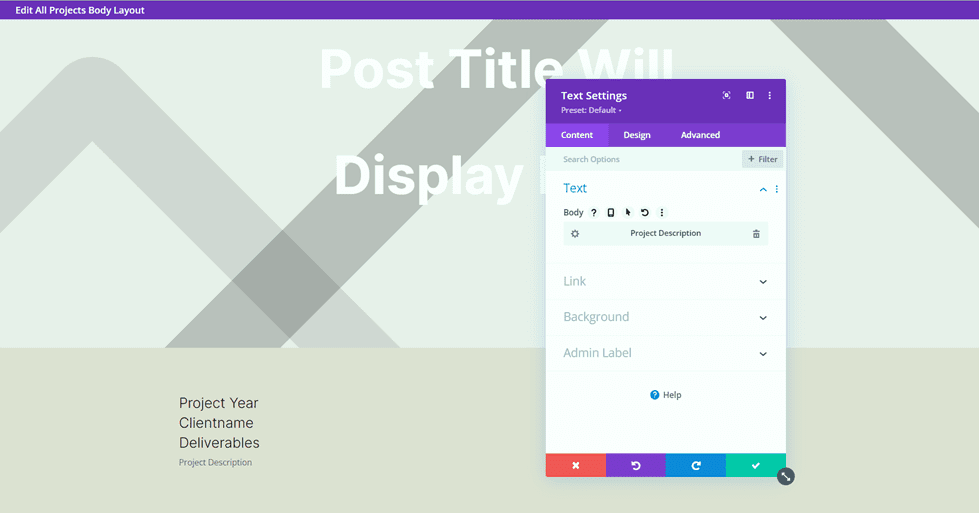
Exchange the content material with the Undertaking Description dynamic content material.
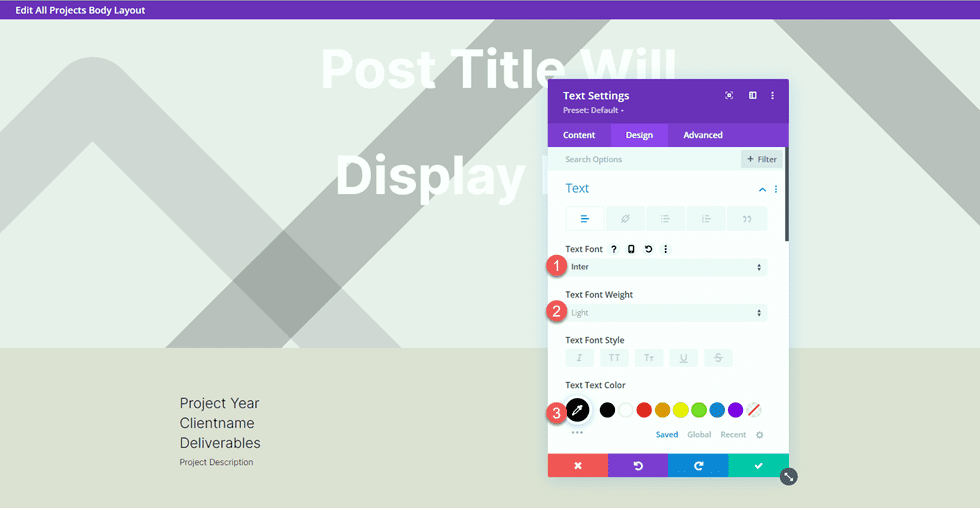
Open the Textual content choices below the Design tab and customise the font:
- Textual content Font: Inter
- Textual content Font Weight: Mild
- Textual content Colour: #000000
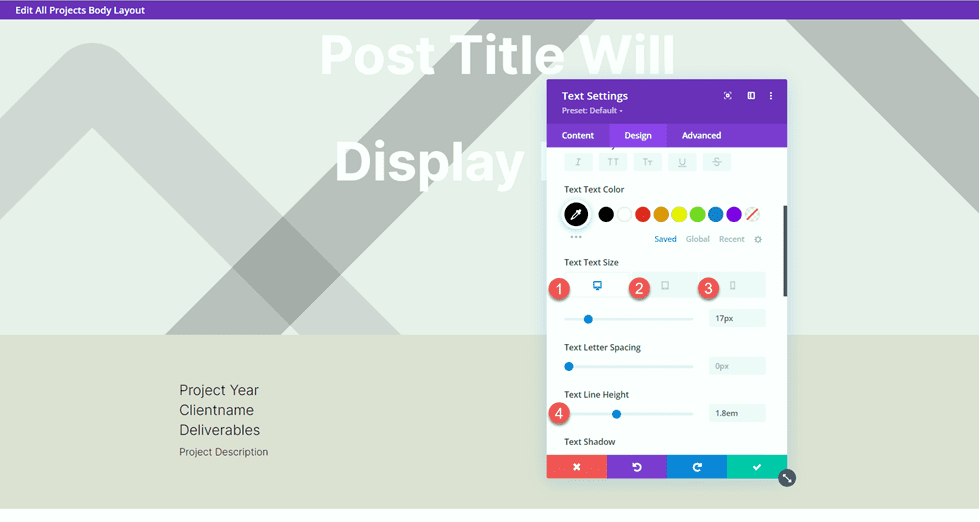
Then set the textual content measurement and line peak. As soon as once more, use the responsive choices to set other textual content sizes for various monitors.
- Textual content Measurement Desktop: 17px
- Textual content Measurement Pill: 16px
- Textual content Measurement Cell: 14px
- Textual content Line Top: 1.8em
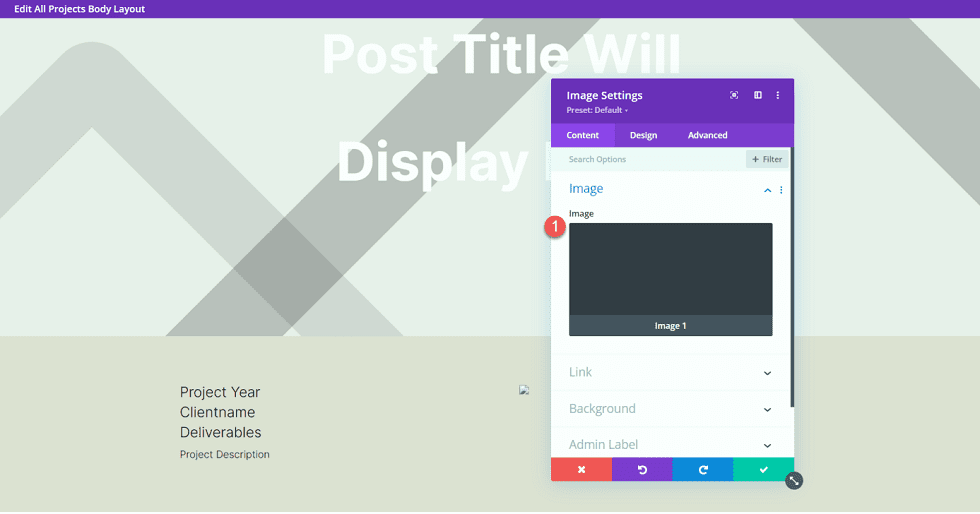
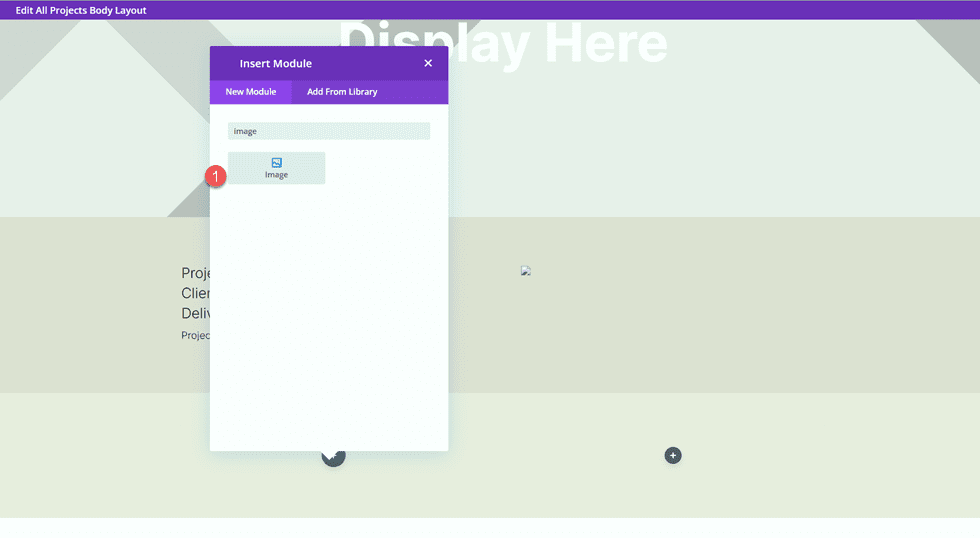
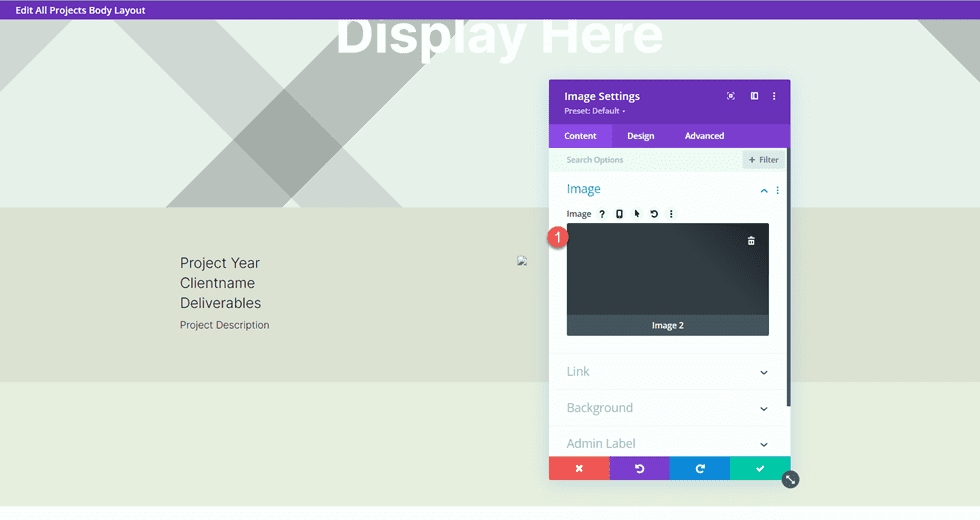
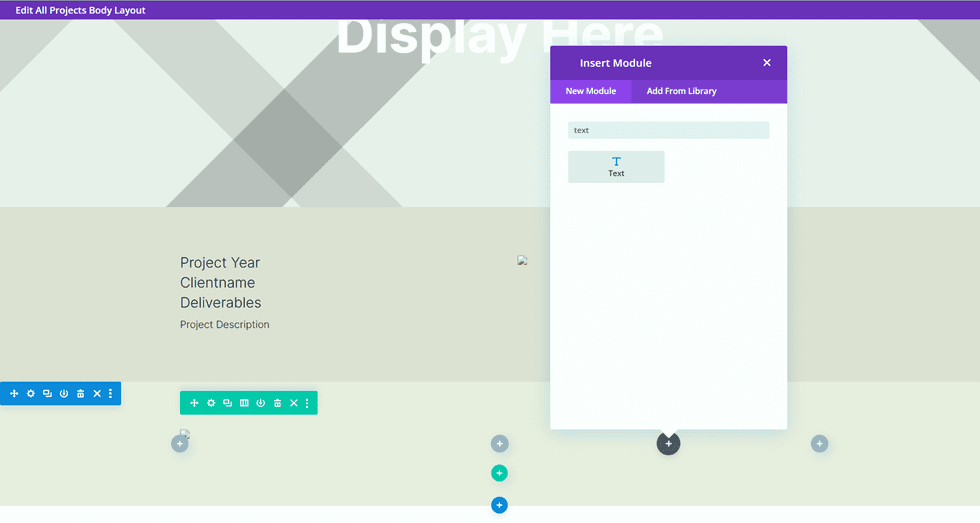
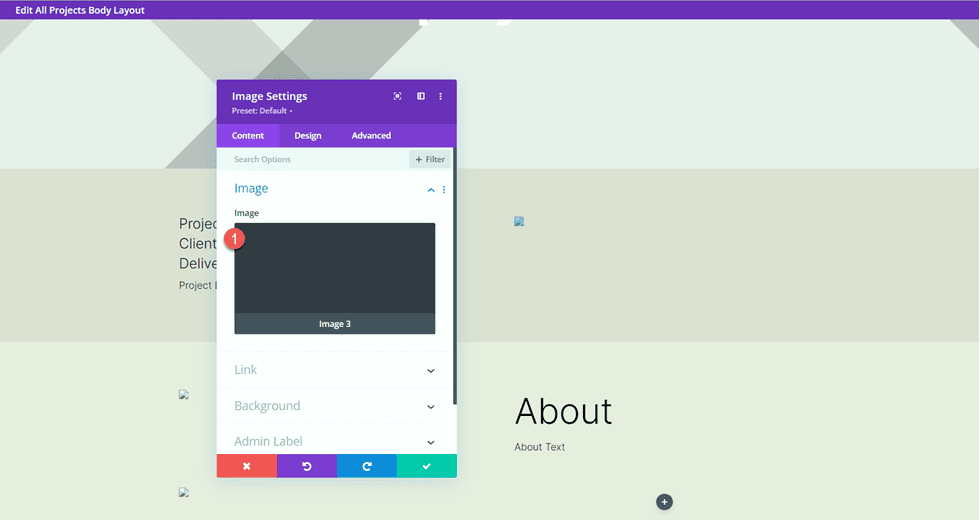
In spite of everything, upload a picture module to the suitable column.
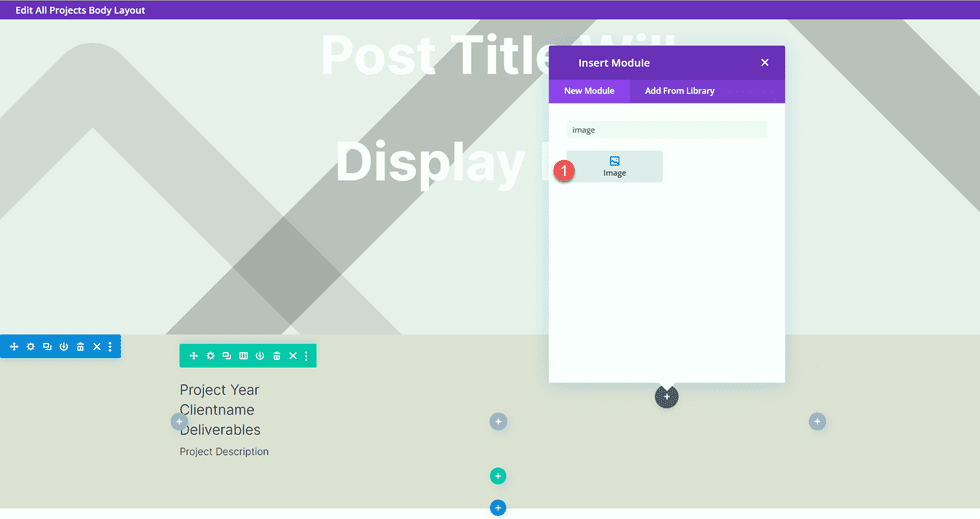
The picture may also be dynamically populated. Choose the dynamic content material icon and make a choice Symbol 1 from our customized fields.
About Phase Design
Now let’s transfer directly to the About segment. Upload a brand new common segment to the web page.
Open the segment settings and upload a background colour.
- Background: #eae8de
Upload a row with two columns.
Subsequent, upload a picture to the left column.
Choose the dynamic content material icon and make a choice Symbol 2.
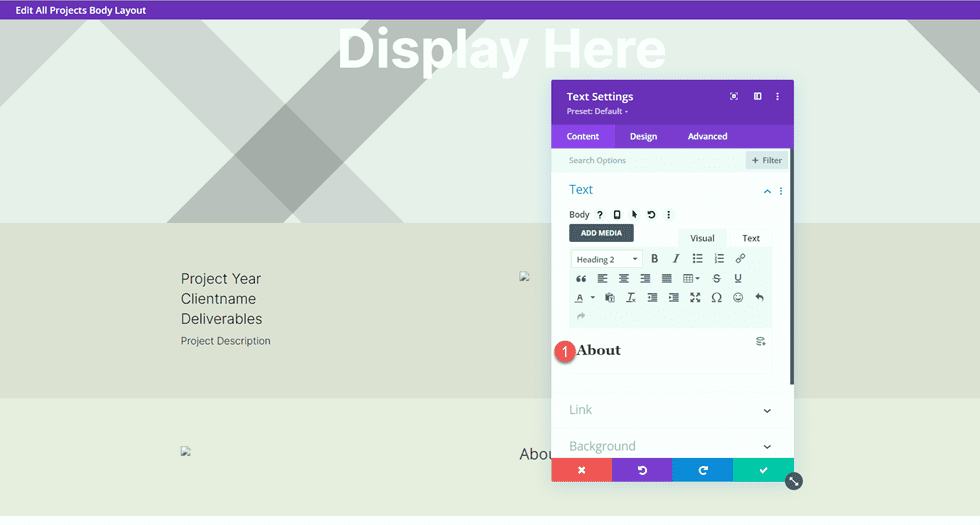
Subsequent, upload a textual content module to the suitable column.
Upload the frame textual content.
- Heading 2: “About”
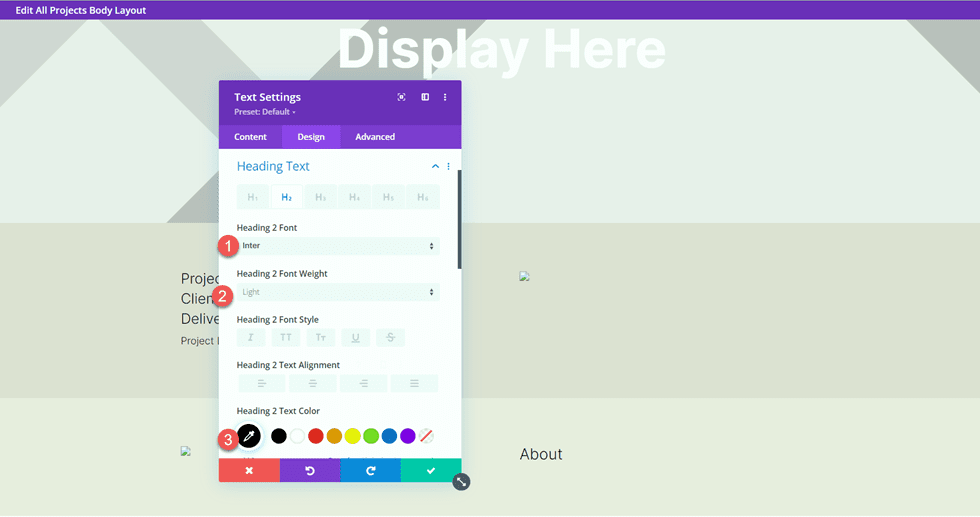
Underneath the design tab, regulate the heading textual content kinds.
- Heading 2 Font: Inter
- Heading 2 Font Weight: Mild
- Heading 2 Textual content Colour: #000000
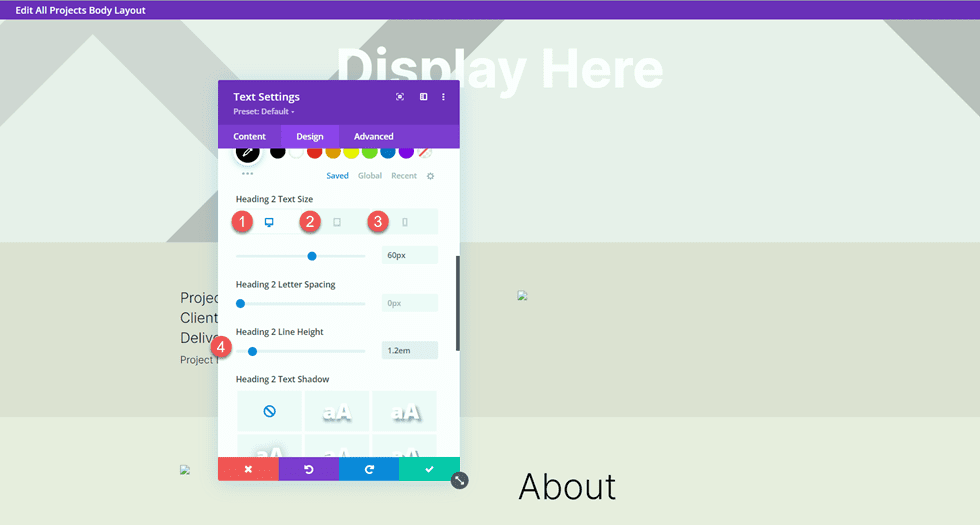
Subsequent, regulate the textual content measurement the use of the responsive choices, and upload the road peak.
- Heading 2 Textual content Measurement Desktop: 60px
- Heading 2 Textual content Measurement Pill: 36px
- Heading 2 Textual content Measurement Cell: 30px
- Heading 2 Line Top: 1.2em
In spite of everything, open the Sizing settings and take away the ground margin.
- Margin-Backside: 0px
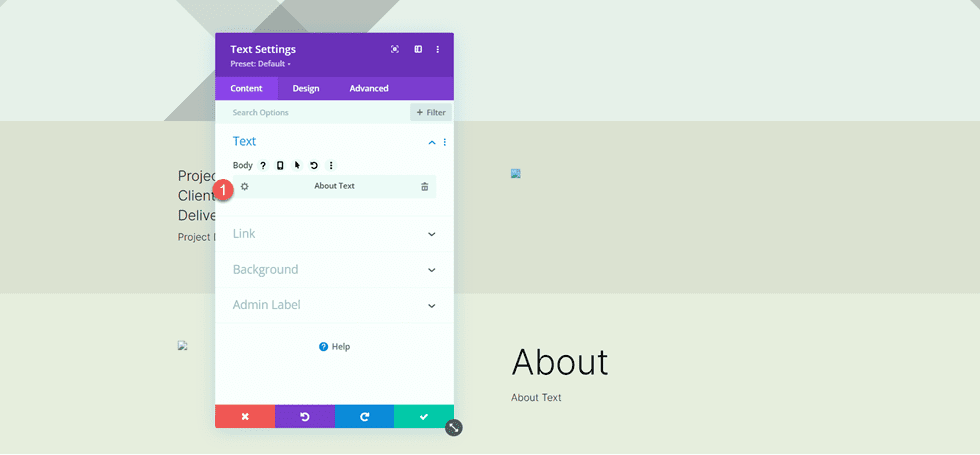
Replica the Undertaking Description textual content module from the segment above, then drag it to underneath the About textual content module.
Open the duplicated module settings and substitute the dynamic content material with the About Textual content.
Pictures 3 and four
Upload a brand new row with two columns to the web page.
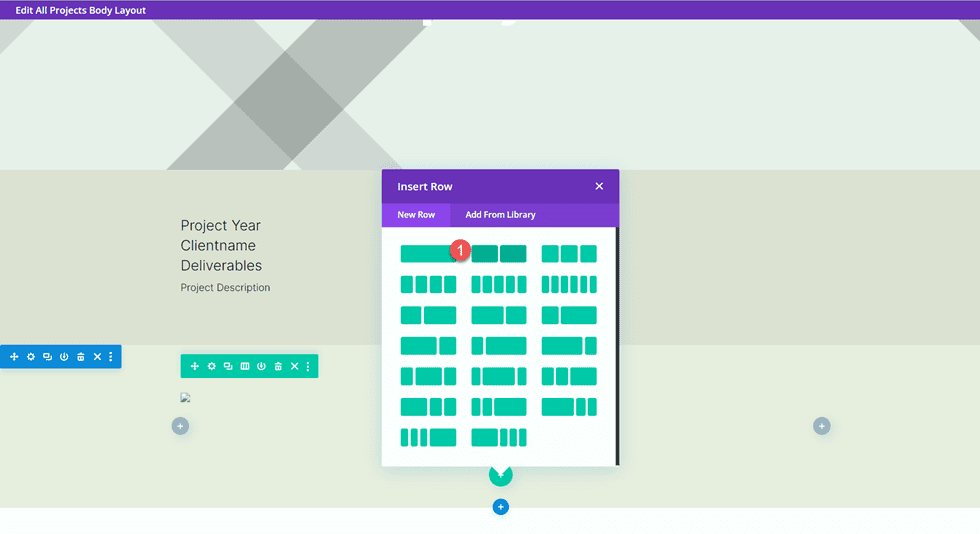
Then, upload a picture module to the left column.
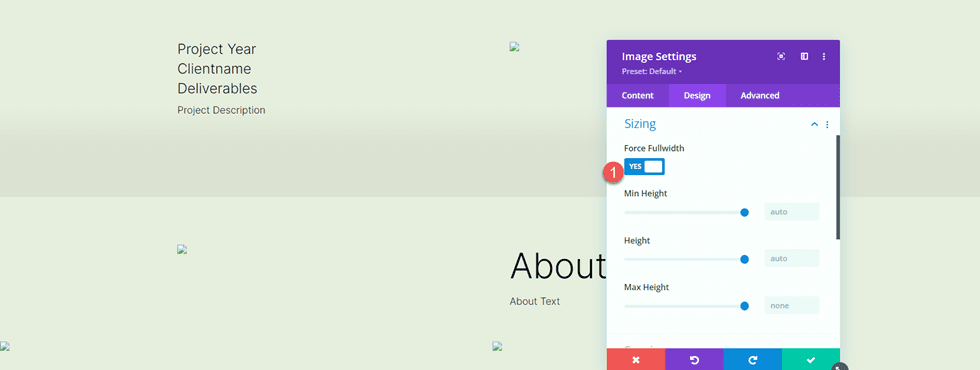
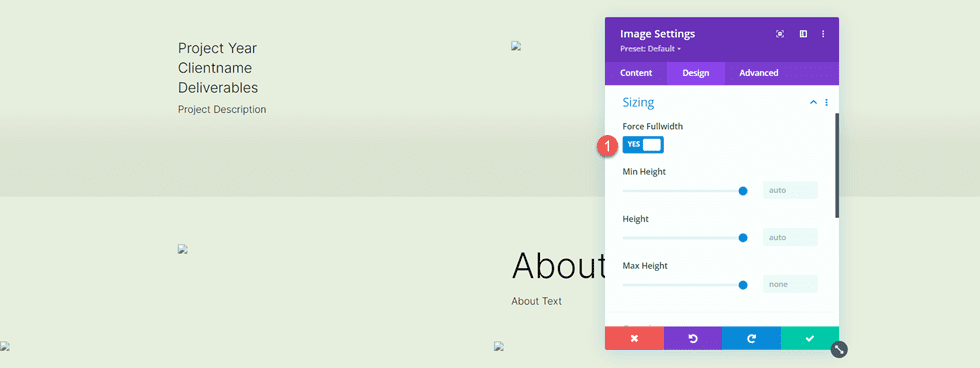
The use of the dynamic content material settings, set this symbol module to the Symbol 3 customized box.
Underneath the Sizing settings within the Design tab, allow Power Fullwidth.
- Power Fullwidth: Sure
Repeat those steps in the suitable column and upload a picture module. Use the dynamic content material settings to set this symbol to Symbol 4.
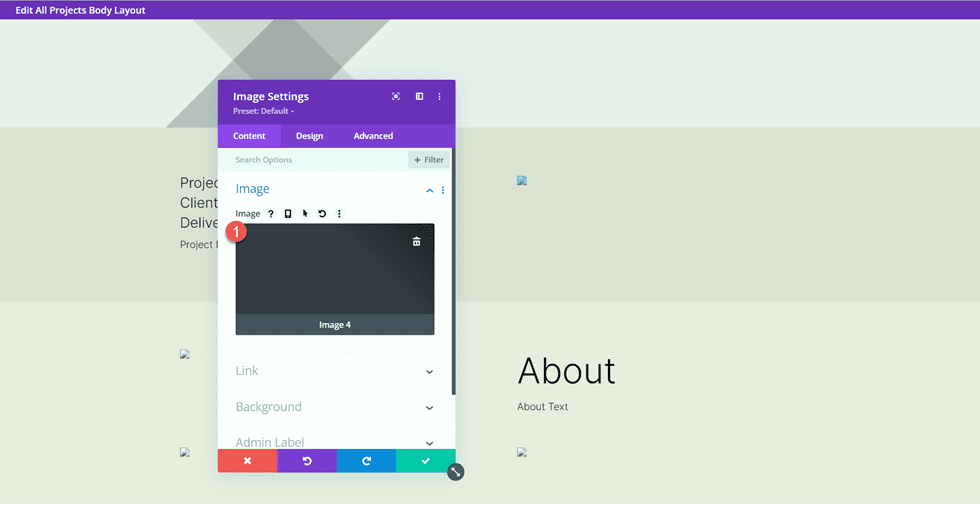
As soon as once more, allow Power Fullwidth within the Sizing settings.
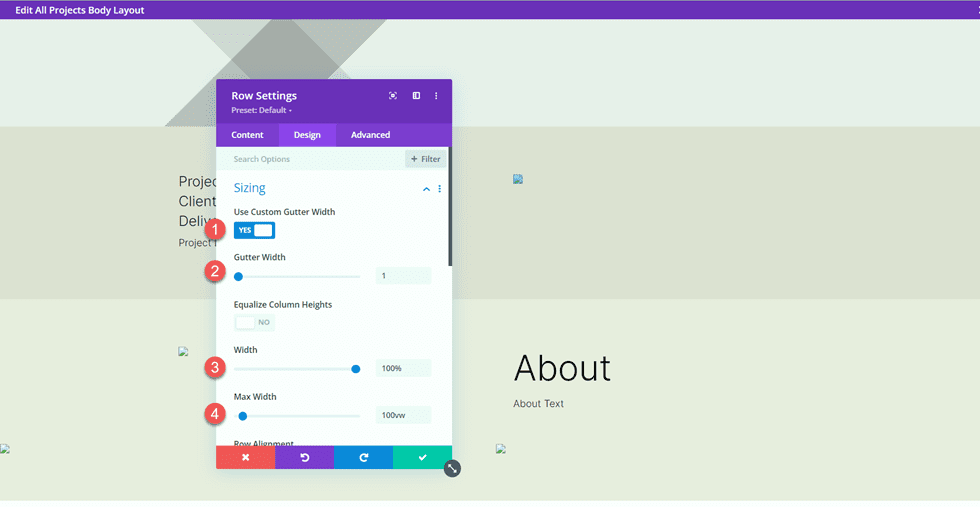
Subsequent, open the row settings and open the Sizing settings below the Design tab. Customise the sizing settings as follows:
- Use Customized Gutter Width: Sure
- Gutter Width: 1
- Width: 100%
- Max Width: 100vw
Testimonial Format
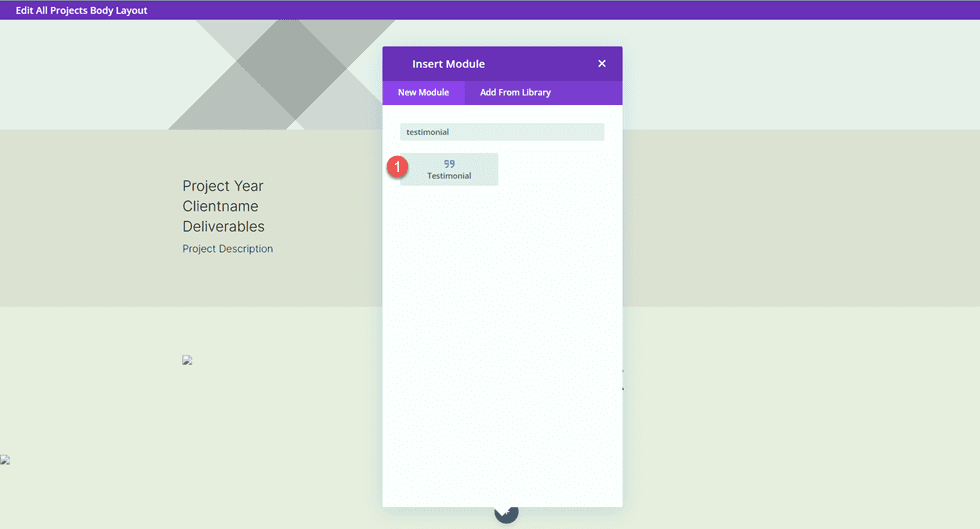
Upload a brand new row with a unmarried column to the web page.
Then, upload the testimonial module.
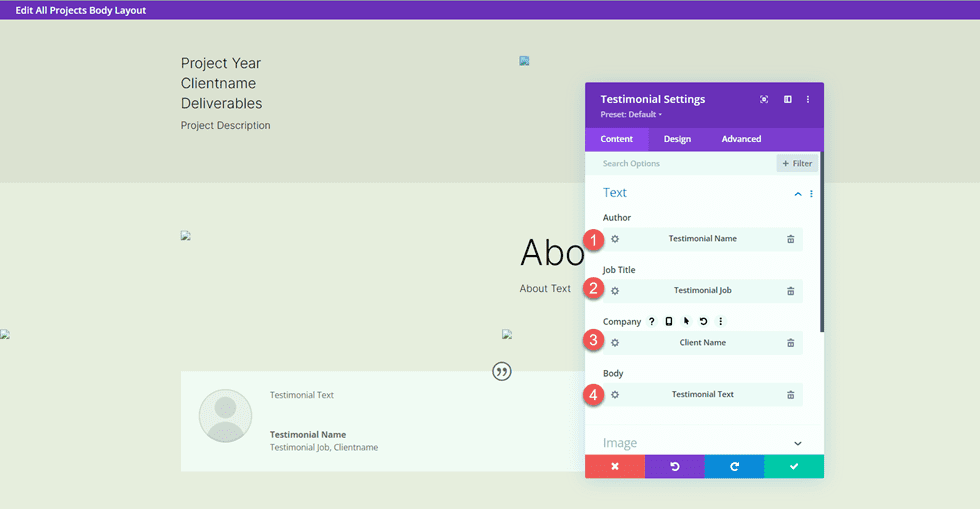
We will be able to use dynamic content material on this module as neatly. Open the testimonial module environment and upload the next dynamic content material to the fields.
- Creator: Testimonial Title Dynamic Content material
- Process Name: Testimonial Process Dynamic Content material
- Corporate: Consumer Title Dynamic Content material
- Frame: Testimonial Textual content Dynamic Content material
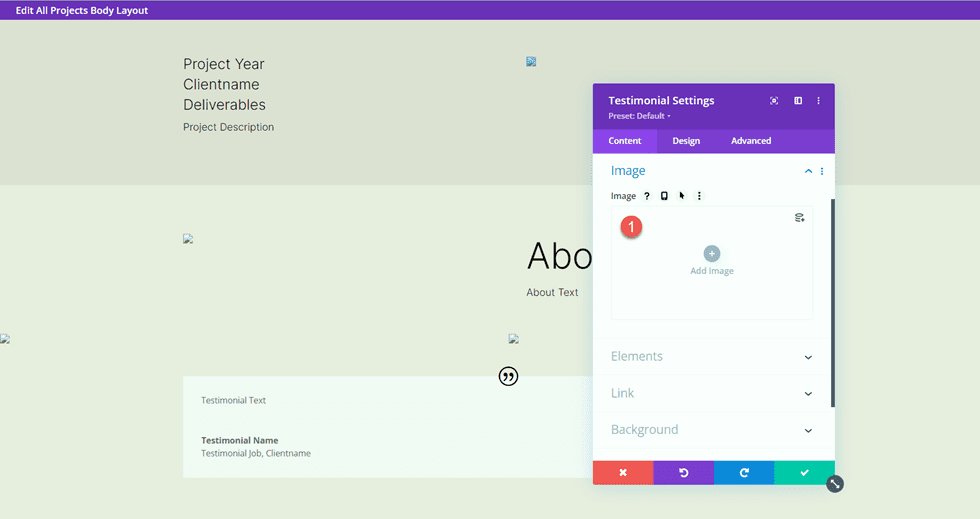
Delete the testimonial symbol.
Transfer to the design tab and customise the quote icon.
- Quote Icon Colour: #000000
- Quote Icon Background Colour: rgba(255,255,255,0)
![]()
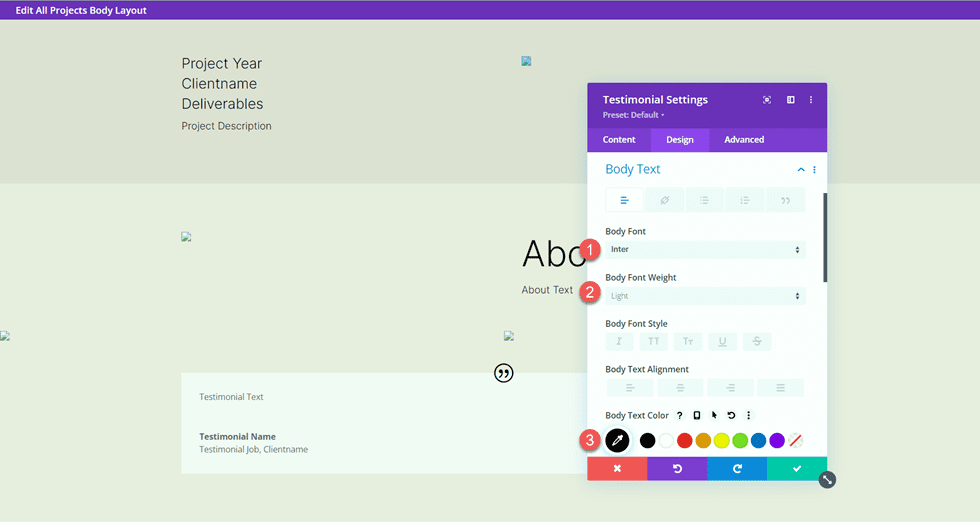
Subsequent, regulate the frame font.
- Frame Font: Inter
- Frame Font Weight: Mild
- Frame Textual content Colour: #000000
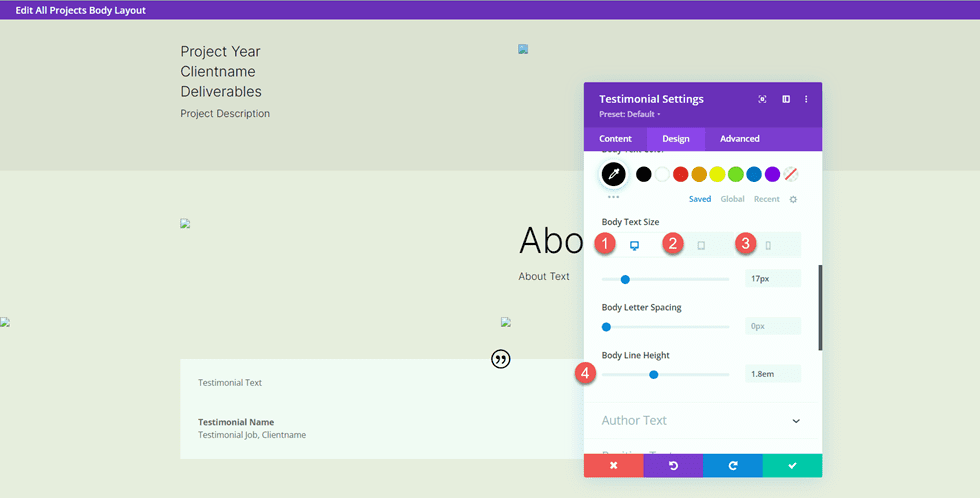
Customise the frame textual content measurement the use of responsive choices and modify the frame line peak.
- Frame Textual content Measurement Desktop: 17px
- Frame Textual content Measurement Pill: 16px
- Frame Textual content Measurement Cell: 14px
- Frame Line Top: 1.8em
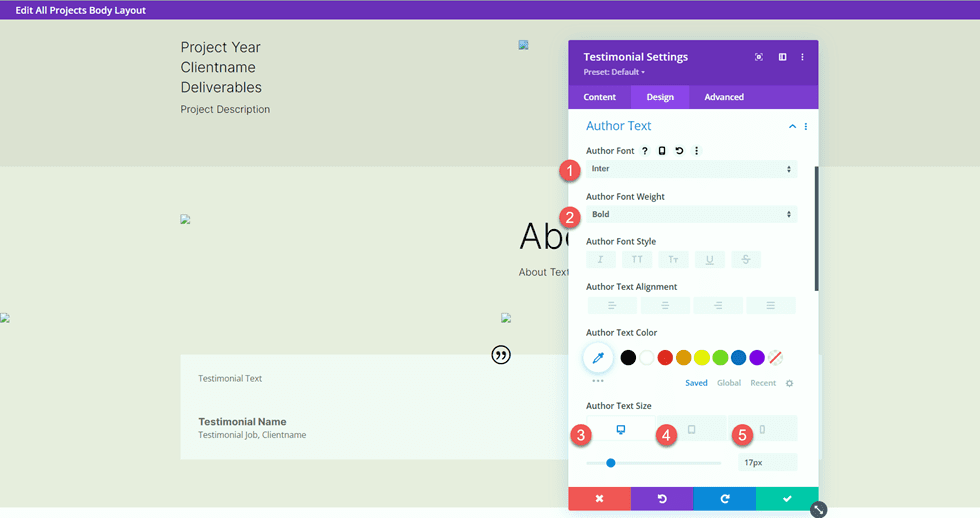
Subsequent, customise the creator textual content settings.
- Creator Font: Inter
- Creator Font Weight: Daring
- Creator Textual content Measurement Desktop: 17px
- Creator Textual content Measurement Pill: 16px
- Creator Textual content Measurement Cell: 14px
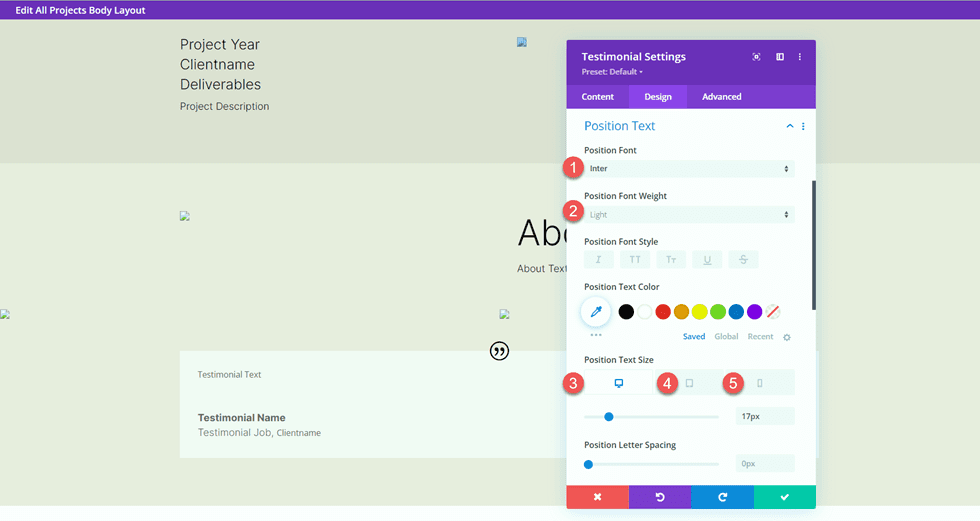
Then regulate the font settings for the placement textual content.
- Place Font: Inter
- Place Font Weight: Mild
- Place Textual content Measurement Desktop: 17px
- Place Textual content Measurement Pill: 16px
- Place Textual content Measurement Cell: 14px
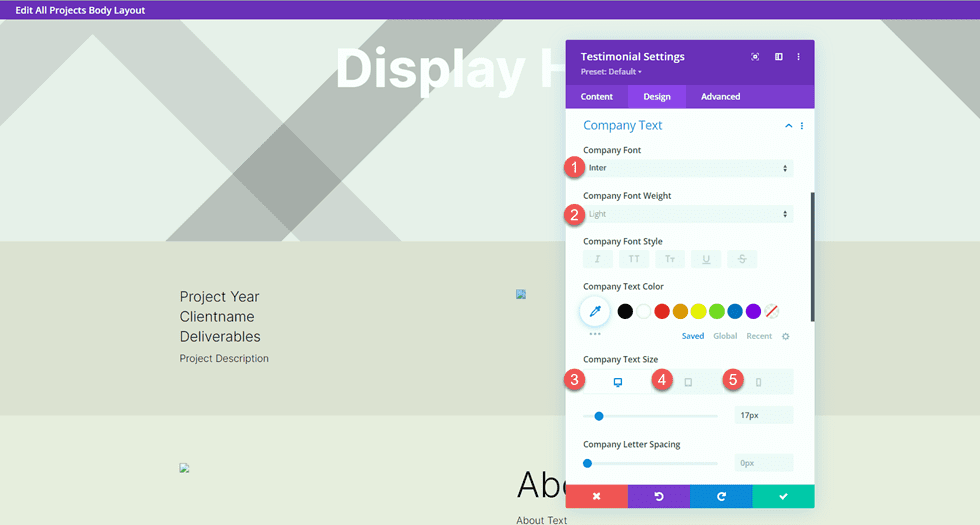
Customise the corporate font settings as neatly.
- Corporate Font: Inter
- Corporate Font Weight: Mild
- Corporate Textual content Measurement Desktop: 17px
- Corporate Textual content Measurement Pill: 16px
- Corporate Textual content Measurement Cell: 14px
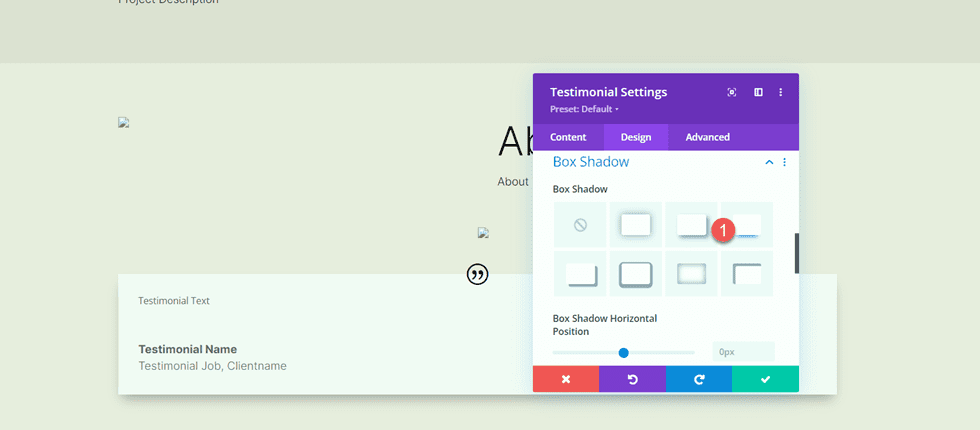
In spite of everything, upload a field shadow to the testimonial module.
- Field Shadow: Under
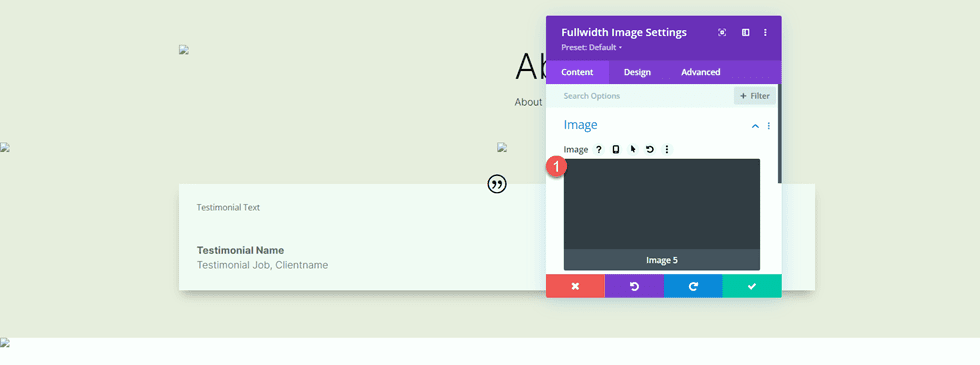
Fullwidth Symbol
Upload a fullwidth segment to the web page.

Then, upload a fullwidth symbol module.
The use of the dynamic content material settings, set this symbol module to Symbol 5.
Name to Motion Sections
Now our dynamic content material has been laid out. There are a few call-to-action sections that we will be able to replica and regulate from the portfolio web page. In a unique tab, open the portfolio web page within the visible builder, then scroll to the ground of the web page.
Reproduction the “Customized Designs & Commissions” segment.
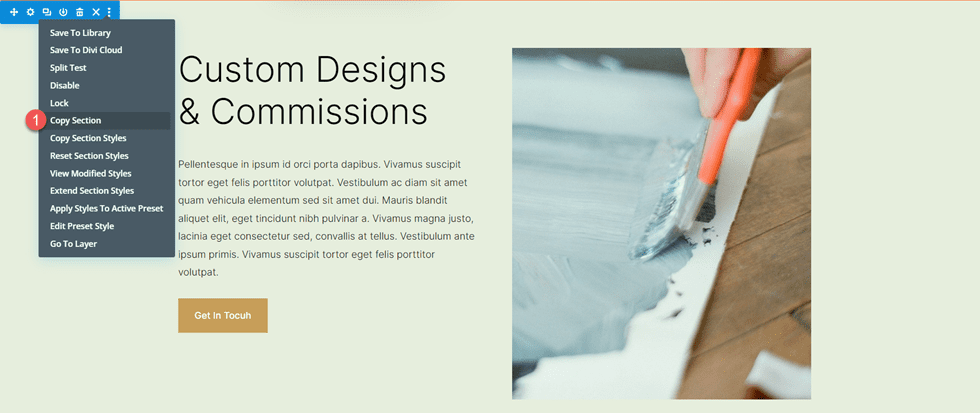
Transfer again to the undertaking web page template and paste the “Customized Designs & Commissions” segment underneath the present content material.

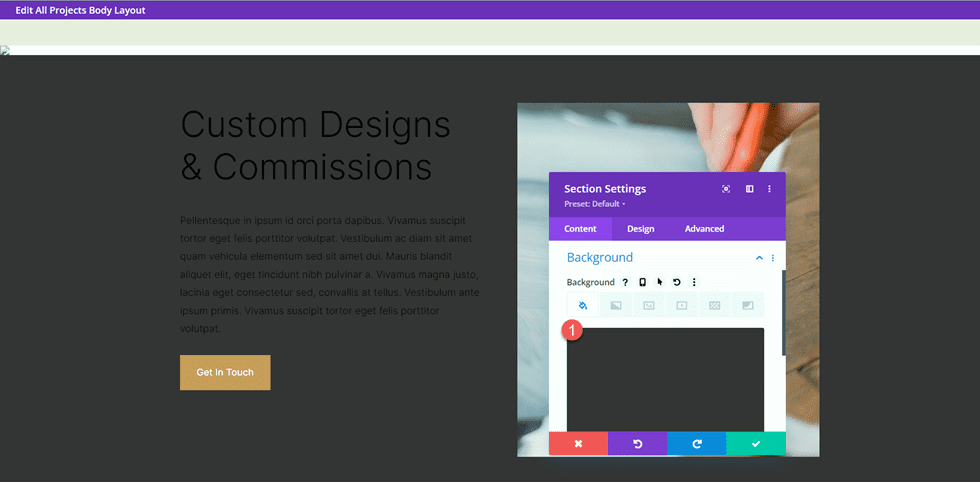
Open the segment settings and alter the background colour.
- Background: #333333
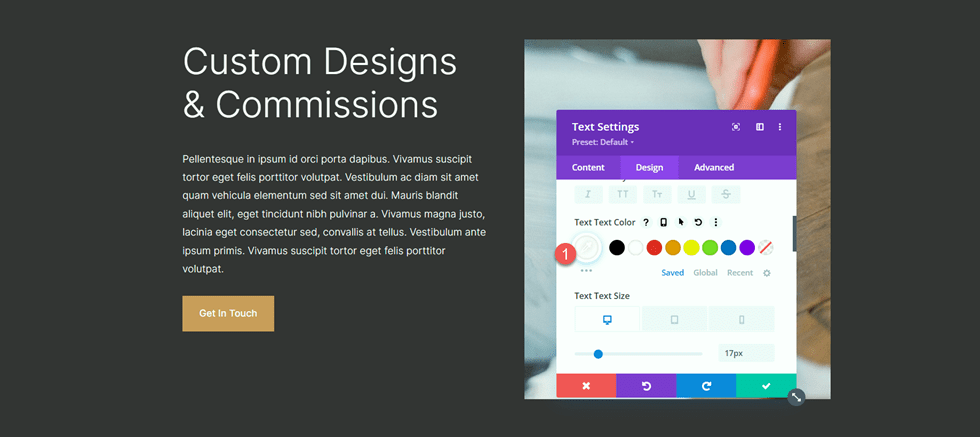
Open the settings for the “Customized Designs & Commissions” textual content module and alter the Heading 2 textual content colour.
- Heading 2 Textual content Colour: #FFFFFF
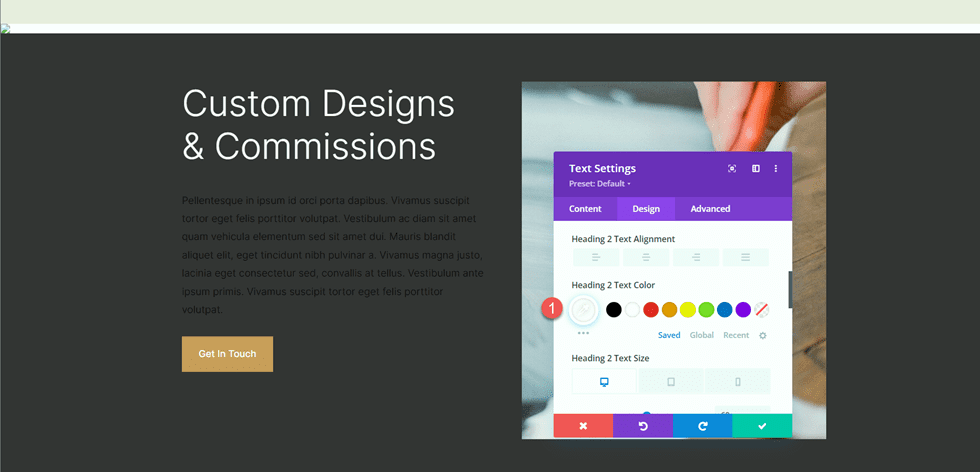
Then, open the module settings for the frame textual content and alter the textual content colour.
- Textual content Textual content Colour: #FFFFFF
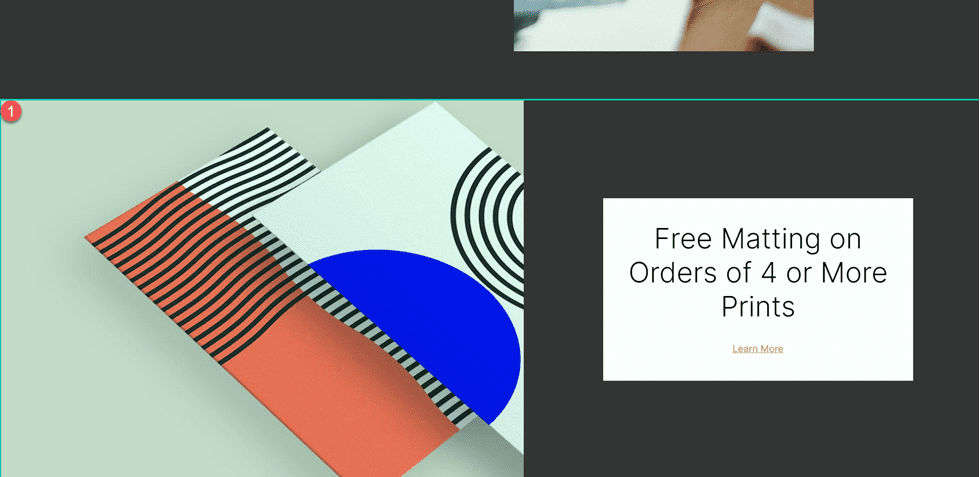
Subsequent, transfer again to the portfolio web page. Reproduction the “Loose Matting on Orders of four or Extra Prints” segment.
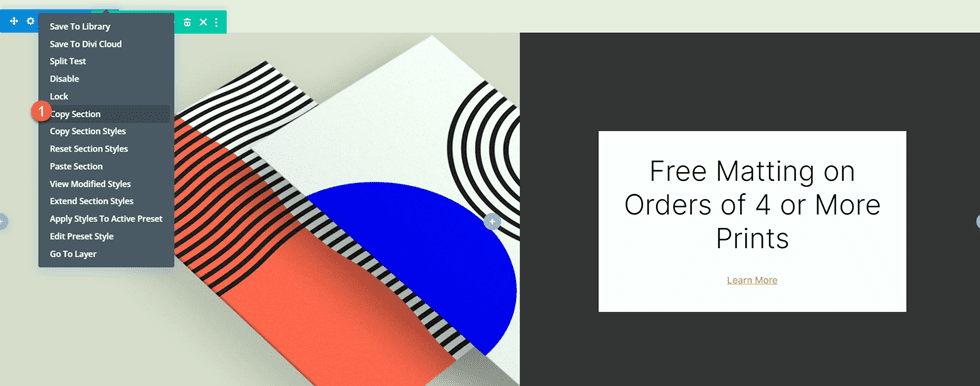
Then, paste the “Loose Matting” segment to the ground of the Undertaking template web page.
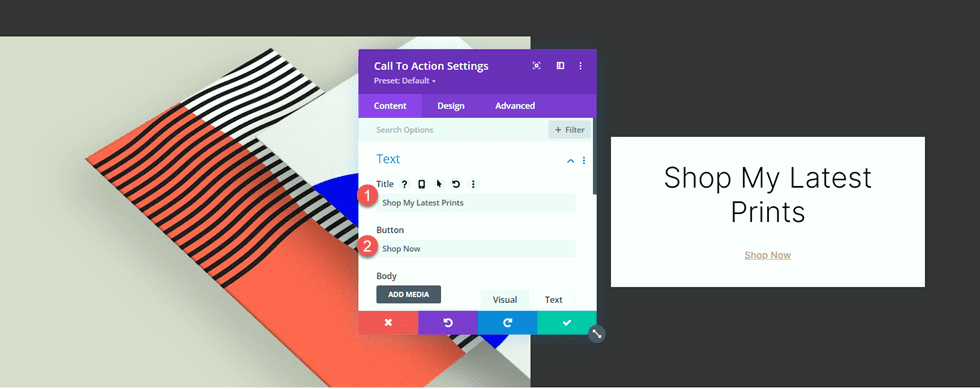
Open the Name To Motion module settings and alter the textual content.
- Name: Store My Newest Prints
- Button: Store Now
Open the row settings, then open the Column 2 settings.

Trade the background colour.
- Background: #ff804f

Then, upload a background symbol. This symbol of summary traces will have to be for your media library so long as you used the print clothier touchdown web page structure pack to design the portfolio web page.
- Background Symbol: Print-designer-10.png

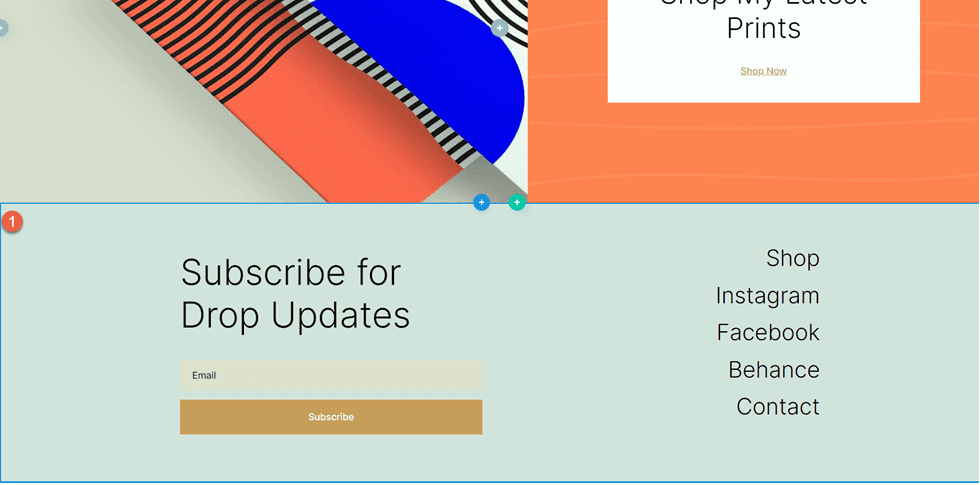
We will be able to additionally replica the footer segment from the portfolio web page to make use of at the undertaking template. Transfer to the tab with the portfolio web page and duplicate the “Subscribe for Drop Updates” footer segment.
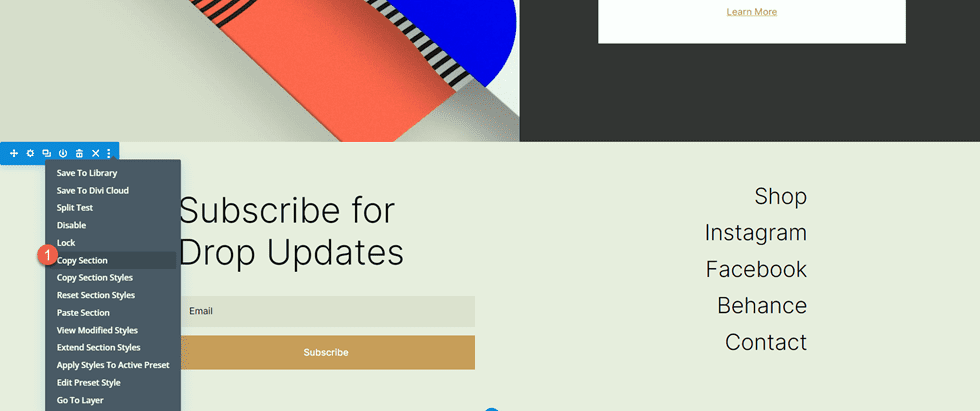
Then after all, paste the footer segment to the ground of the undertaking template web page.
Undertaking Web page Ultimate Design
This is the finished design for the undertaking web page. The template is carried out to probably the most initiatives and is populated with dynamic content material.
Ultimate Consequence
Now let’s check out our matching portfolio and undertaking pages.
Portfolio Web page
Undertaking Web page
Ultimate Ideas
Via the use of dynamic content material for your designs, you’ll be able to simply create templates that will let you briefly upload new pages and content material on your site with no need to design the web page structure each and every time. This works nice for portfolio and undertaking content material, however you’ll be able to use the similar ideas to create any roughly web page template you prefer to! For some other portfolio instructional, take a look at this newsletter to be told how to create a scrollable portfolio navigation list. Do you employ dynamic content material or templates to your site? We would really like to listen to from you within the feedback!
The put up How to Create Matching Portfolio & Projects with Divi seemed first on Elegant Themes Blog.

0 Comments