
Are you taking a look in an effort to upload an express checkout button on your online store?
Express checkout helps streamline the checkout process and improves all the purchasing groceries revel in for your customers. It will smartly moreover boost conversions and cut back cart abandonment.
In this article, we will show you learn to add express checkout buttons in WooCommerce.
Why Add Express Checkout in WooCommerce?
Together with express checkout on your WooCommerce store provides a better purchasing groceries revel in for your customers.
It allows customers to go at once to the price internet web page and skip the buying groceries cart or checkout pages. Moreover they gained’t must talk over with a price provider internet web page or fill out a checkout form to complete their purchases.
Express checkout buttons make all of the buying process quicker. Shoppers can simply click on at the buttons and log in to pay for the products they want to acquire instantly. On account of this, you may even see a boost in conversions and fewer deserted carts.
Together with express checkout moreover helps mobile shoppers where their show sizes are small. Shoppers will merely tap the buttons to quickly gain the products.
Then again, WooCommerce doesn’t offer an express checkout selection via default. You will need to use a WooCommerce plugin in an effort to upload the feature on your online store.
That discussed, let’s see the way you’ll be capable of add express checkout buttons in WooCommerce.
Setting Up FunnelKit on Your WooCommerce Store
FunnelKit is the best WooCommerce gross sales funnel plugin to be had available on the market. It permits you to add express checkout buttons and create different funnel pages for your online store.
The most efficient issue about the use of the plugin is that it truly works with Stripe, Apple Pay, Google Pay, PayPal Express, Amazon Pay, and other price gateways for express checkout. This way, you don’t have in an effort to upload each and every price provider on your online store the use of third-party plugins or extensions.
FunnelKit moreover provides user-friendly templates and lets you do A/B trying out. You’ll merely customize your funnels the use of different drag-and-drop internet web page builders. Plus, there are a few pre-built templates and automation choices for your promoting campaigns.
Follow: For this educational, we will be the use of the FunnelKit Professional plugin because it accommodates best magnificence templates and additional customization possible choices. You’ll moreover use the free Funnel Builder for WordPress through FunnelKit plugin in an effort to upload express checkout buttons in WooCommerce.
First, it is very important arrange and switch at the FunnelKit plugin. If you want to have be in agreement, you then’ll be capable of follow our knowledge on learn how to set up a WordPress plugin.
Upon activation, you’ll see the FunnelKit setup wizard. Transfer ahead and click on at the ‘Get Started’ button.

After that, it is very important enter your license key. You’ll to seek out the essential factor inside the FunnelKit account space.
Simply click on at the ‘Activate’ button once you have into the license key.

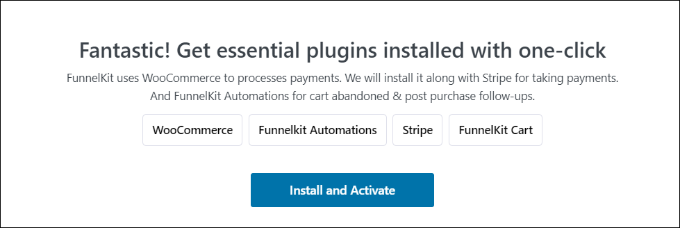
Next, FunnelKit will ask you to place in essential plugins. The ones include WooCommerce, Stripe, FunnelKit Automations, and FunnelKit Cart.
The most efficient phase is that you just want to click on at the ‘Arrange and Activate’ button, and FunnelKit will take care of the rest.
After the plugins are vigorous, the overall step is to enter your electronic message take care of.
Once that’s accomplished, simply click on at the ‘Put up & Finish’ button.
You’ll now see a success message. You’re able to create funnels the use of the plugin and add express checkout buttons on your WooCommerce store.
Transfer ahead and click on at the ‘Transfer to Funnels’ button to continue.

Enabling Price Gateways in WooCommerce
Faster than moving forward, you will have to indisputably have organize at least one price supplier to your WooCommerce store.
To do that, simply move to WooCommerce » Settings from your WordPress dashboard and click on on on the ‘Expenses’ tab.
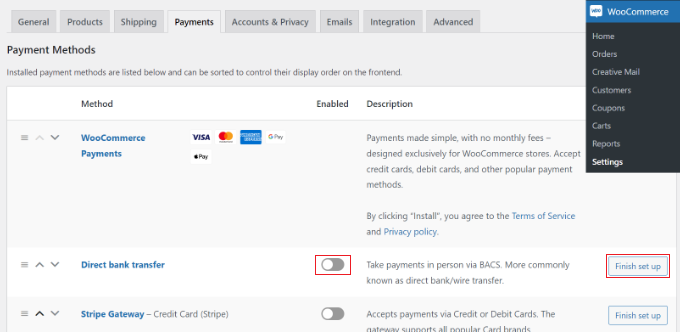
After that, you’ll be capable of click on at the toggle to allow the cost gateway of your variety and click on at the ‘Finish organize’ button to complete the configuration.
To learn additional, you’ll be capable of follow our knowledge on learn how to permit customers to select cost strategies in WooCommerce.
Together with Express Checkout Buttons to WooCommerce
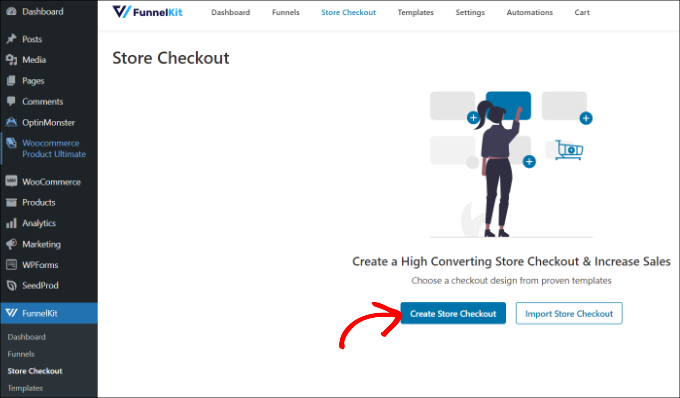
Upon getting enabled your most popular price gateways, you’ll be capable of head to the FunnelKit » Store Checkout internet web page from your WordPress admin panel.
From proper right here, simply click on at the ‘Create Store Checkout’ button.
On the next show, FunnelKit will show you professionally-designed templates for your checkout internet web page. It’ll moreover will can help you create a checkout internet web page from scratch.
Then again, we recommend the use of a template and quickly customizing it in line with your must haves.
Simply hover over a template you’d like to use and click on at the ‘Preview’ button.
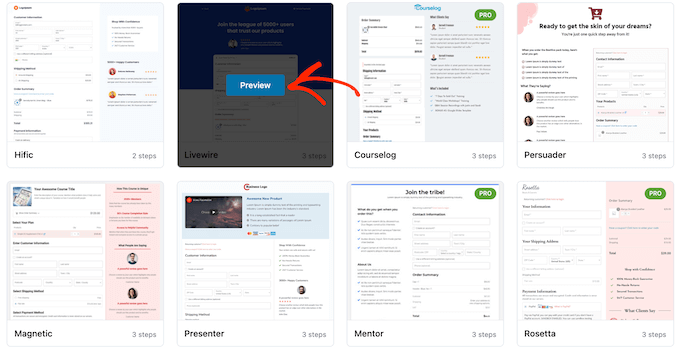
For this educational, we will use the Livewire template.
Next, move ahead and click on at the ‘Import This Funnel’ button at the top.
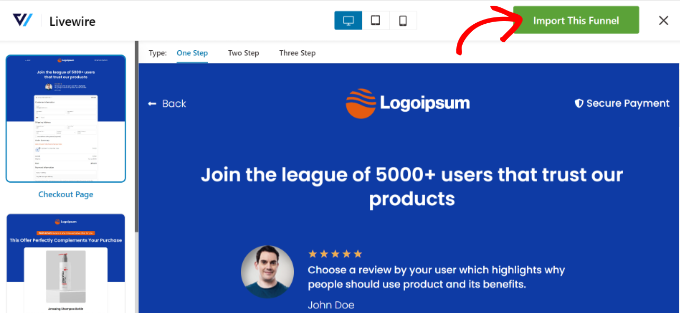
Depending on the template you use, FunnelKit would in all probability ask you to place in additional plugins like Elementor to edit the checkout internet web page.
Next, it is very important enter a name for your store checkout and click on at the ‘Add’ button.
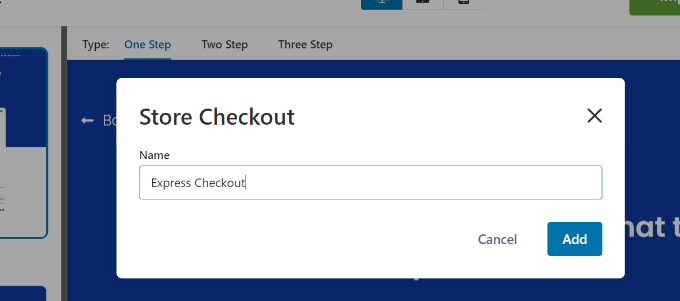
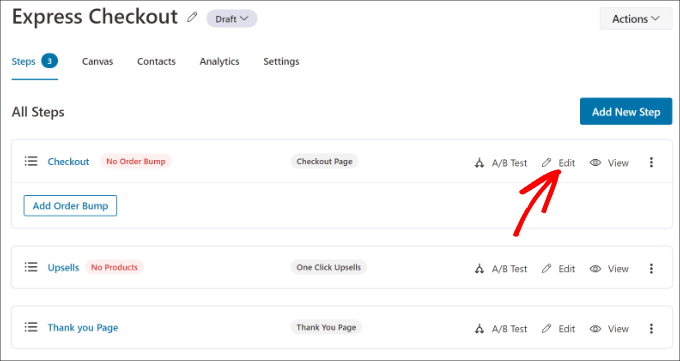
After that, you’ll see all the steps which can also be built-in inside the template.
You’ll simply click on at the ‘Edit’ button for the Checkout internet web page to continue.
Next, you’ll be capable of switch to the ‘Optimizations’ tab. From proper right here, simply allow the ‘Express Checkout Buttons’ selection.
FunnelKit may even will can help you choose the location of the buttons from the following possible choices:
- Perfect of the checkout internet web page
- Faster than/after the product switcher
- Faster than/after the order summary
- Above the price gateways
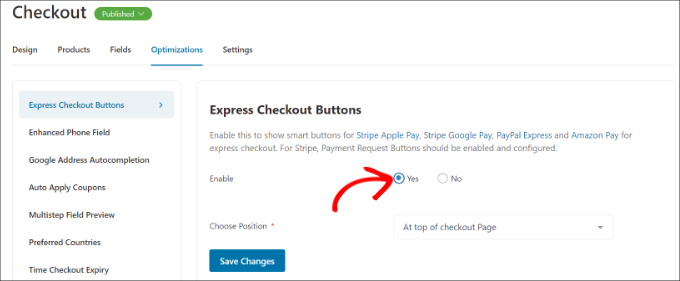
When you are accomplished, simply click on at the ‘Save Changes’ button.
That’s it, you’ve were given successfully added express checkout buttons on your on-line retailer.
If you want to edit the appearance of the checkout internet web page, you then’ll be capable of switch to the ‘Design’ tab and click on at the ‘Edit Template’ button.
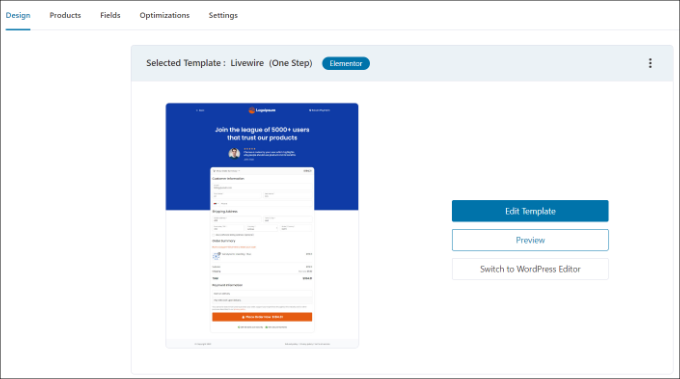
You’ll be informed additional via following our knowledge on learn how to customise the WooCommerce checkout web page.
Upon getting made your changes, simply visit your online store to view the specific checkout buttons in movement.

Additionally, FunnelKit helps you upsell merchandise in WooCommerce. This way, you’ll be capable of boost product sales via encouraging shoppers to buy additional products.
You’ll moreover organize automatic emails in WooCommerce the use of FunnelKit Automations, a sister fabricated from FunnelKit. This plugin permits you to create computerized workflows and send electronic message campaigns to customers.
We hope this article helped you realize about learn to add express checkout buttons in WooCommerce. You might also want to see our checklist of the absolute best WooCommerce plugins to your retailer and learn how to create a WooCommerce popup to extend gross sales.
When you most popular this article, then please subscribe to our YouTube Channel for WordPress video tutorials. You’ll moreover to seek out us on Twitter and Fb.
The post The best way to Upload Categorical Checkout Buttons in WooCommerce first gave the impression on WPBeginner.

0 Comments